Scenes
The primary focus of Owlbear Rodeo is to replicate the shared play-space available when playing a game around a table. Many games and gaming groups will use this space differently. You might simply place a large map and miniatures for your players to move. You might place multiple maps side-by-side for a multi-floor tavern. You might even place down a large sheet of graph paper and draw each room of a dungeon as you go.
In Owlbear Rodeo this shared play-space is called a Scene.
Scenes Vs Maps
A scene is an infinite canvas. This canvas can be set up with a grid (square or hexagonal) and some information on how measurements should be made.
You can then use the tools in Owlbear Rodeo to fill that scene with your maps, tokens and drawings just like you would do on a physical table.
You can create multiple scenes and switch between them at any time. You can think of this as switching the table your players are sitting at but without the need to shuffle anything around. This can be useful when you wish to move to a new area or encounter. Because of this it is common to create a new scene for every encounter you wish to have. But you’re not limited to just encounters. You could have a scene that tracks your players movement with a large overland travel map. You could even create a scene for a landing page to help your players visually track a quest.
A map is a single image in your library. A map will also have some information about how it should be positioned and resized to fit the grid of a scene. In Owlbear Rodeo maps are saved outside a scene. This means a single map can be used across multiple scenes. This makes it easy to use the same maps across multiple campaigns. You can even create a library of basic maps that can be shared across encounters in a single campaign. Sharing maps like this is also great for your storage space because you won’t have to store a large image many times.
Creating Scenes
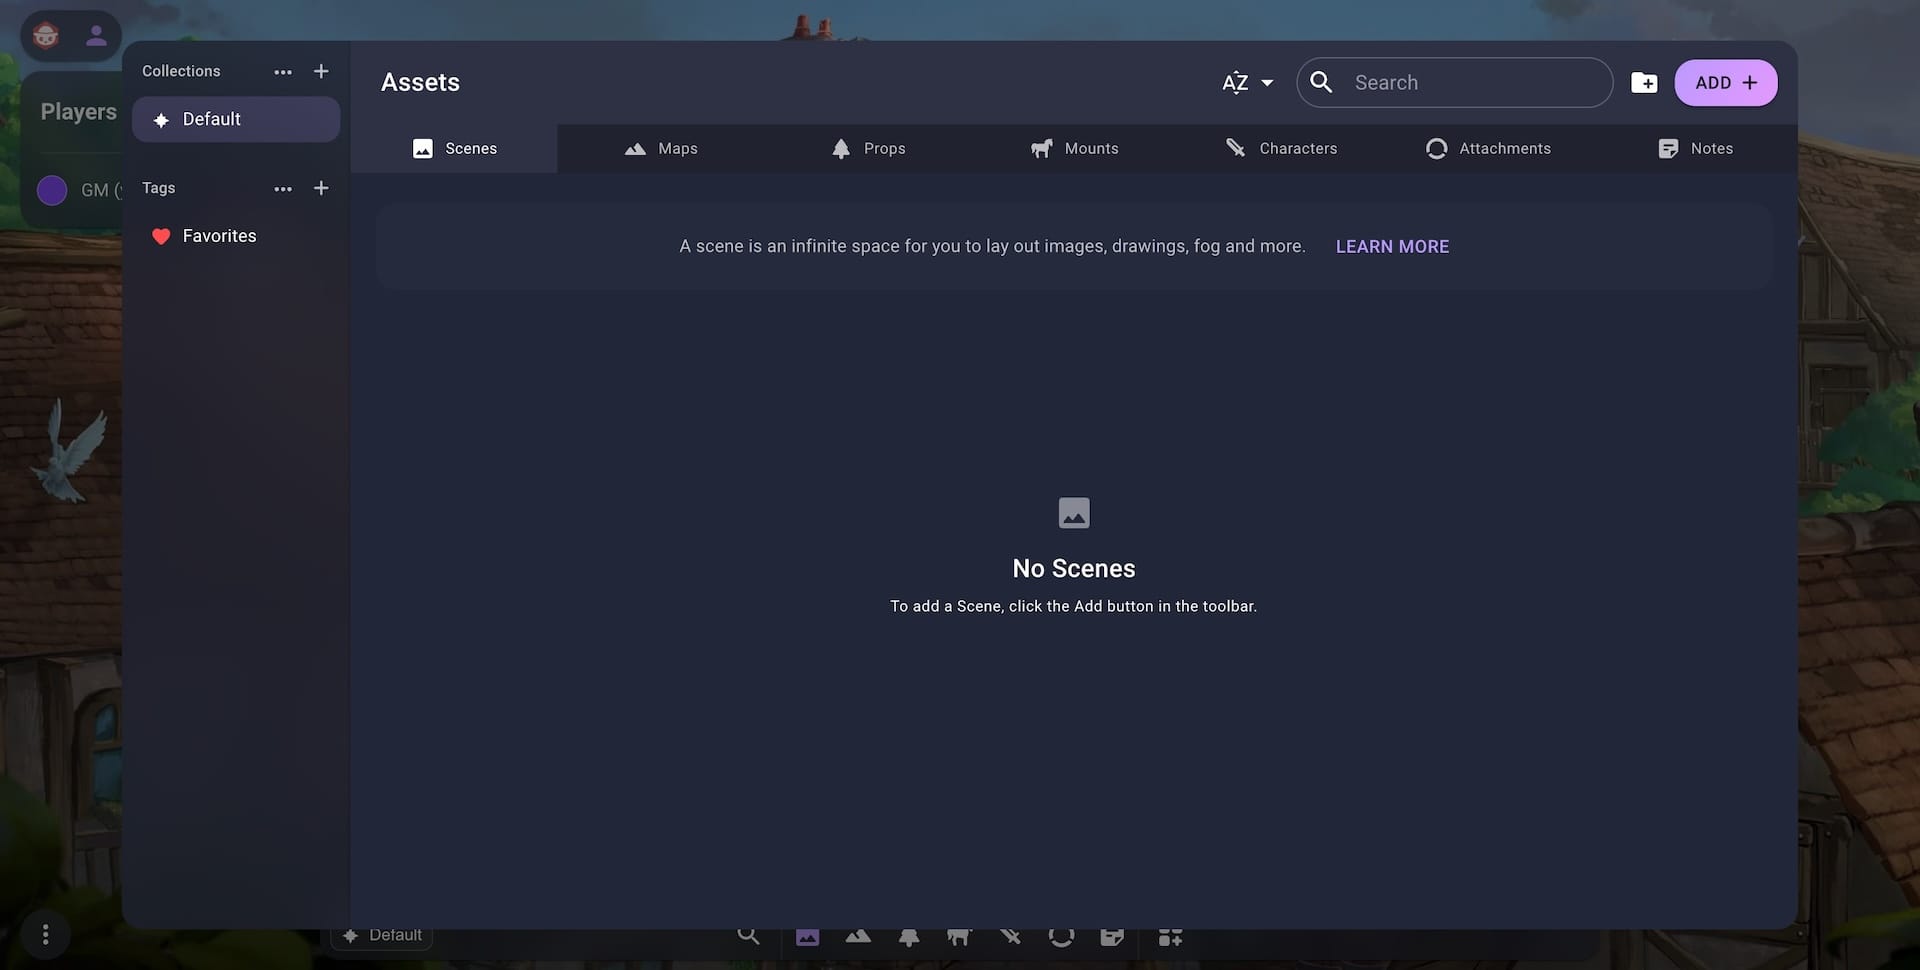
The Asset Manager allows you to manage all your scenes. It can be opened by selecting the Asset Manager button on the right side of the Dock.
See the Assets guide for more information on using the Asset Manager.
Creating a Scene with a Map
The most common workflow when using Owlbear Rodeo is to have a single map for each scene you create. To make this scenario as easy as possible Owlbear Rodeo allows you to create a new scene with a map in a single action.
To do this first open the Scene Importer by clicking the Add button with the Scene tab active.
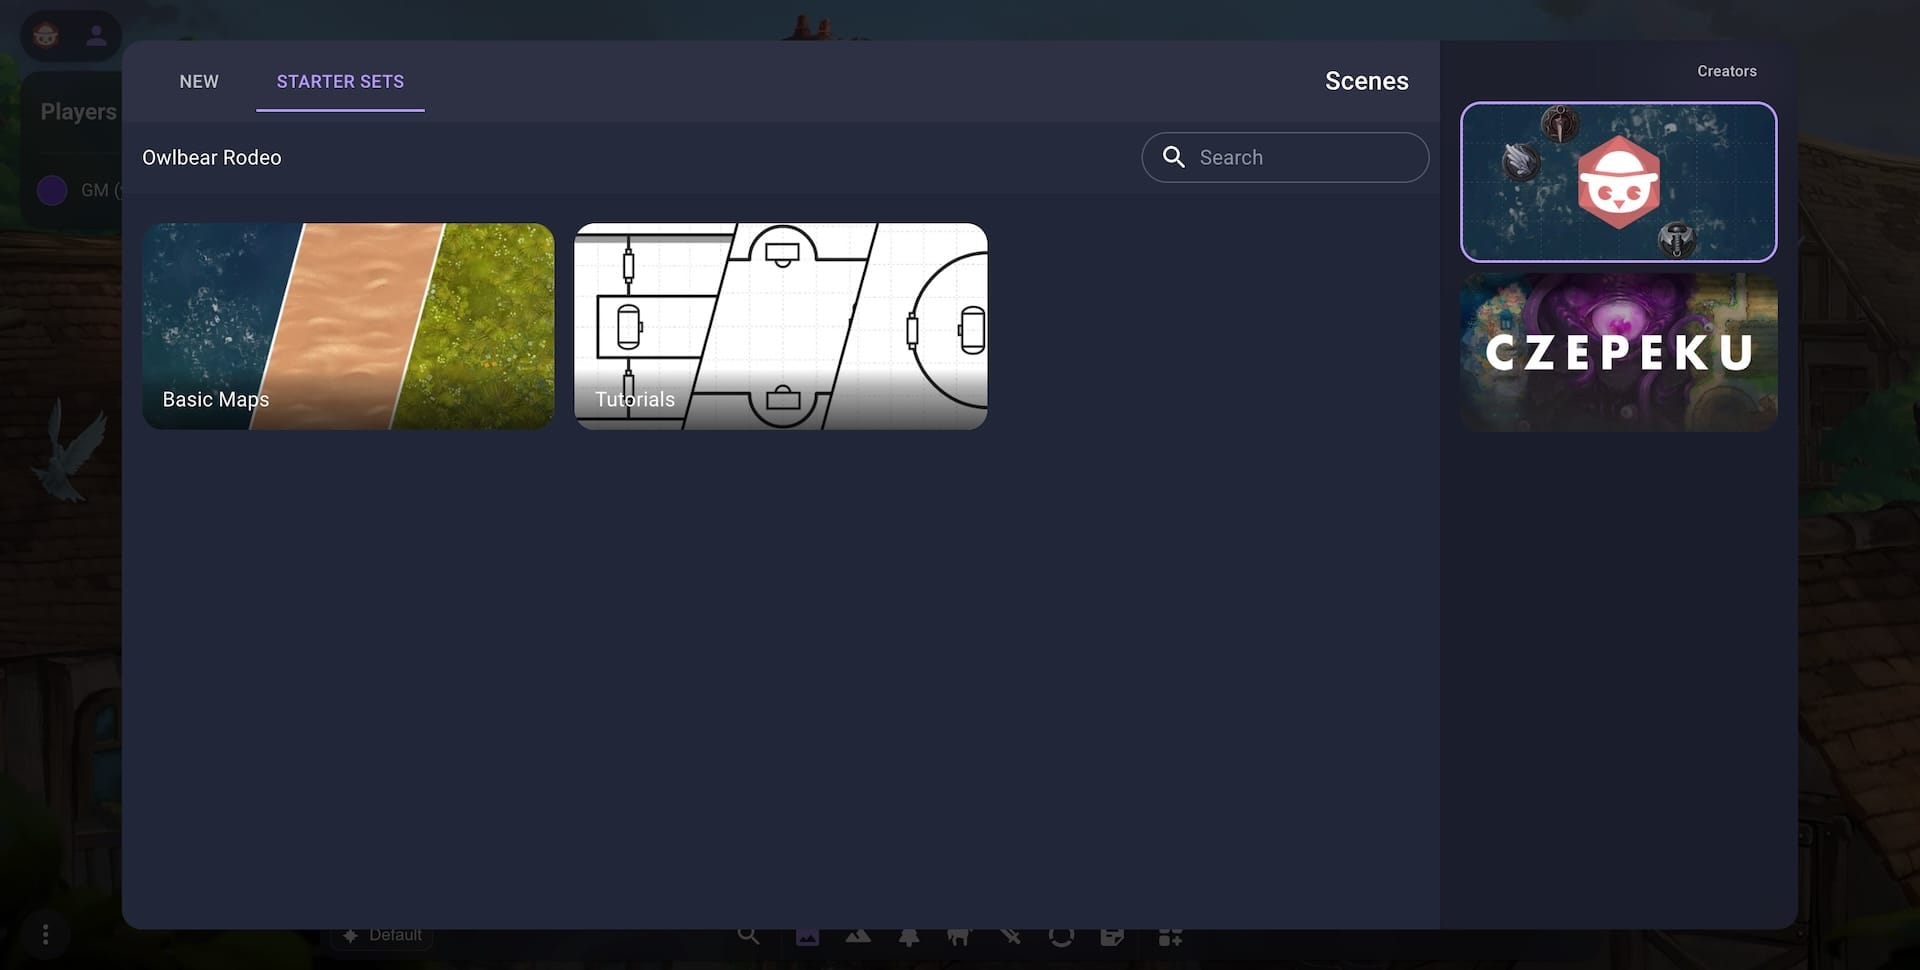
The Scene Importer is split into two tabs. The Starter Sets tab allows you to get started with some sample scenes that are built into Owlbear Rodeo. The New tab allows you to create a new scene.
To create a new scene from a map you’ve either created or found online select the New tab.
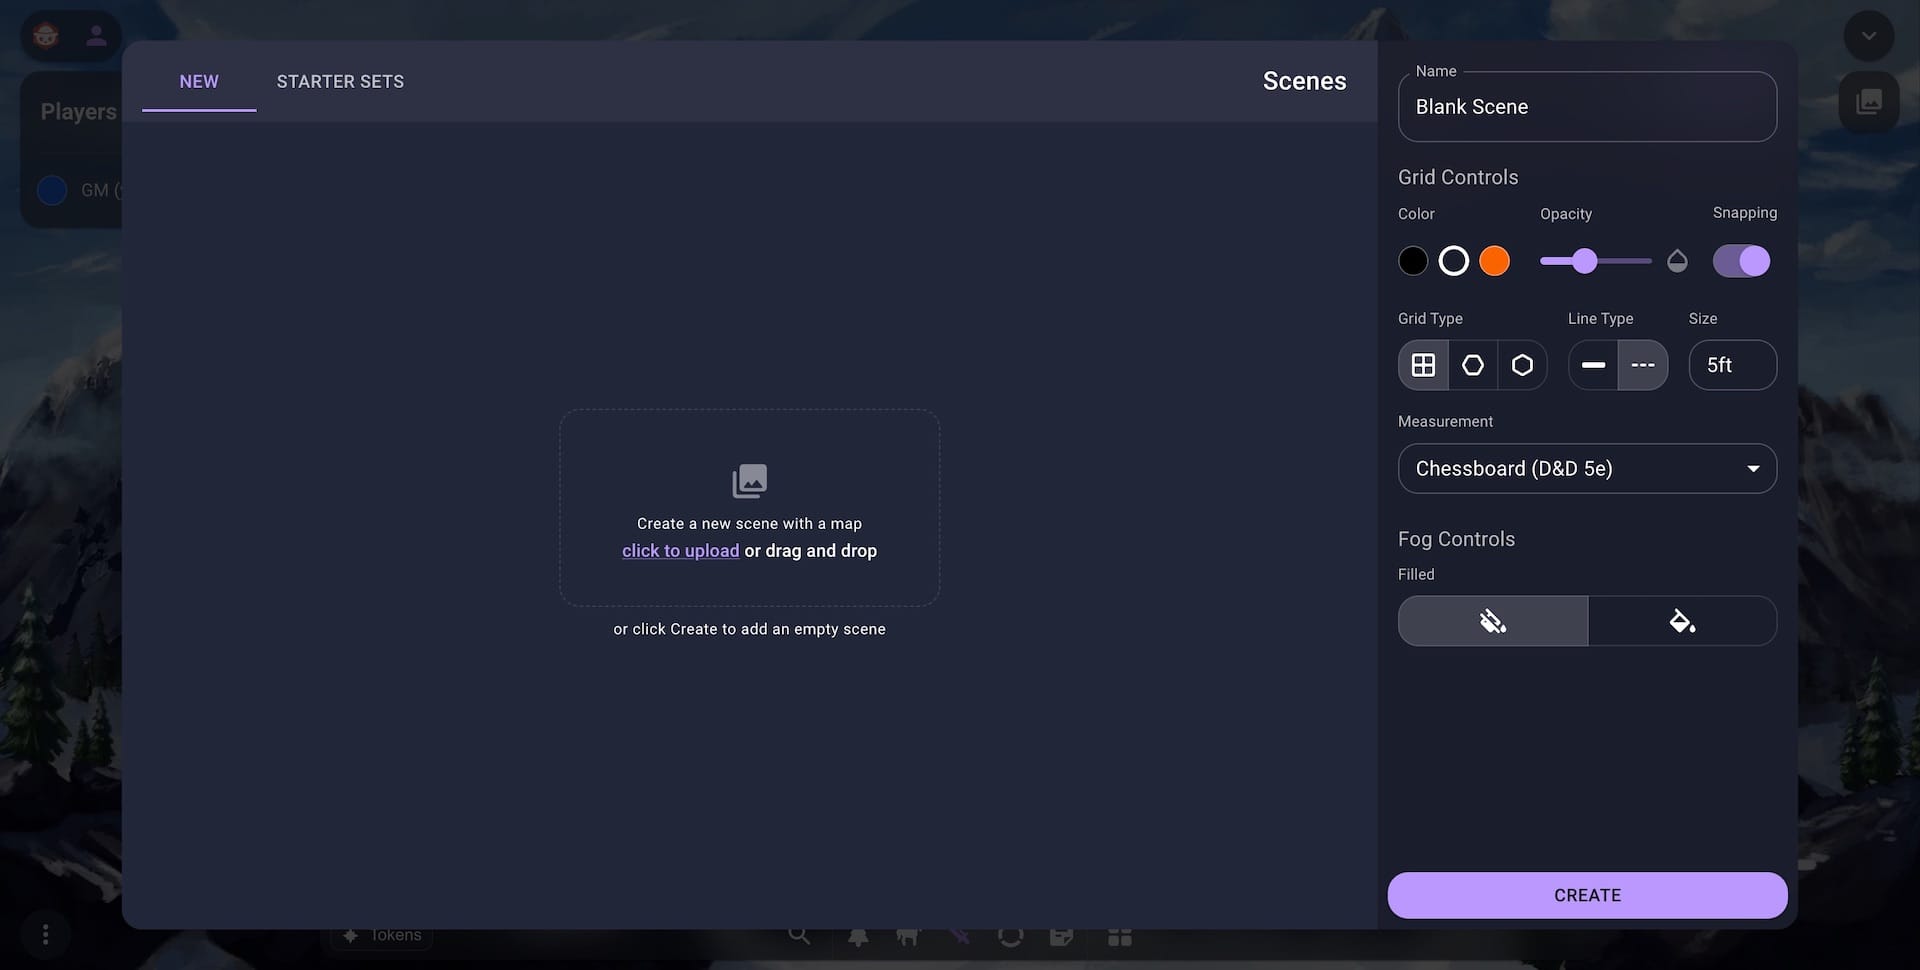
The New Scene creator is split into two sections. On the left there are some controls for importing a new map for this scene. On the right there are options for this scene such as name and grid type.

To select a map for this scene you can either drag in an image from your computer or click on the upload button. Once you do this the left panel will turn into a visual editor that will allow you to preview how your map will look once imported. This editor will also give you access to tools and controls that will make aligning this map to your grid a breeze. For more information about the alignment process see this tutorial.
When selecting a map for a scene the grid color for that scene will be automatically selected from the brightness of that map. For example a white map will have a dark grid and a black map will have a light grid. You can override this value or change any other grid settings with the controls on the right side. See here for more.
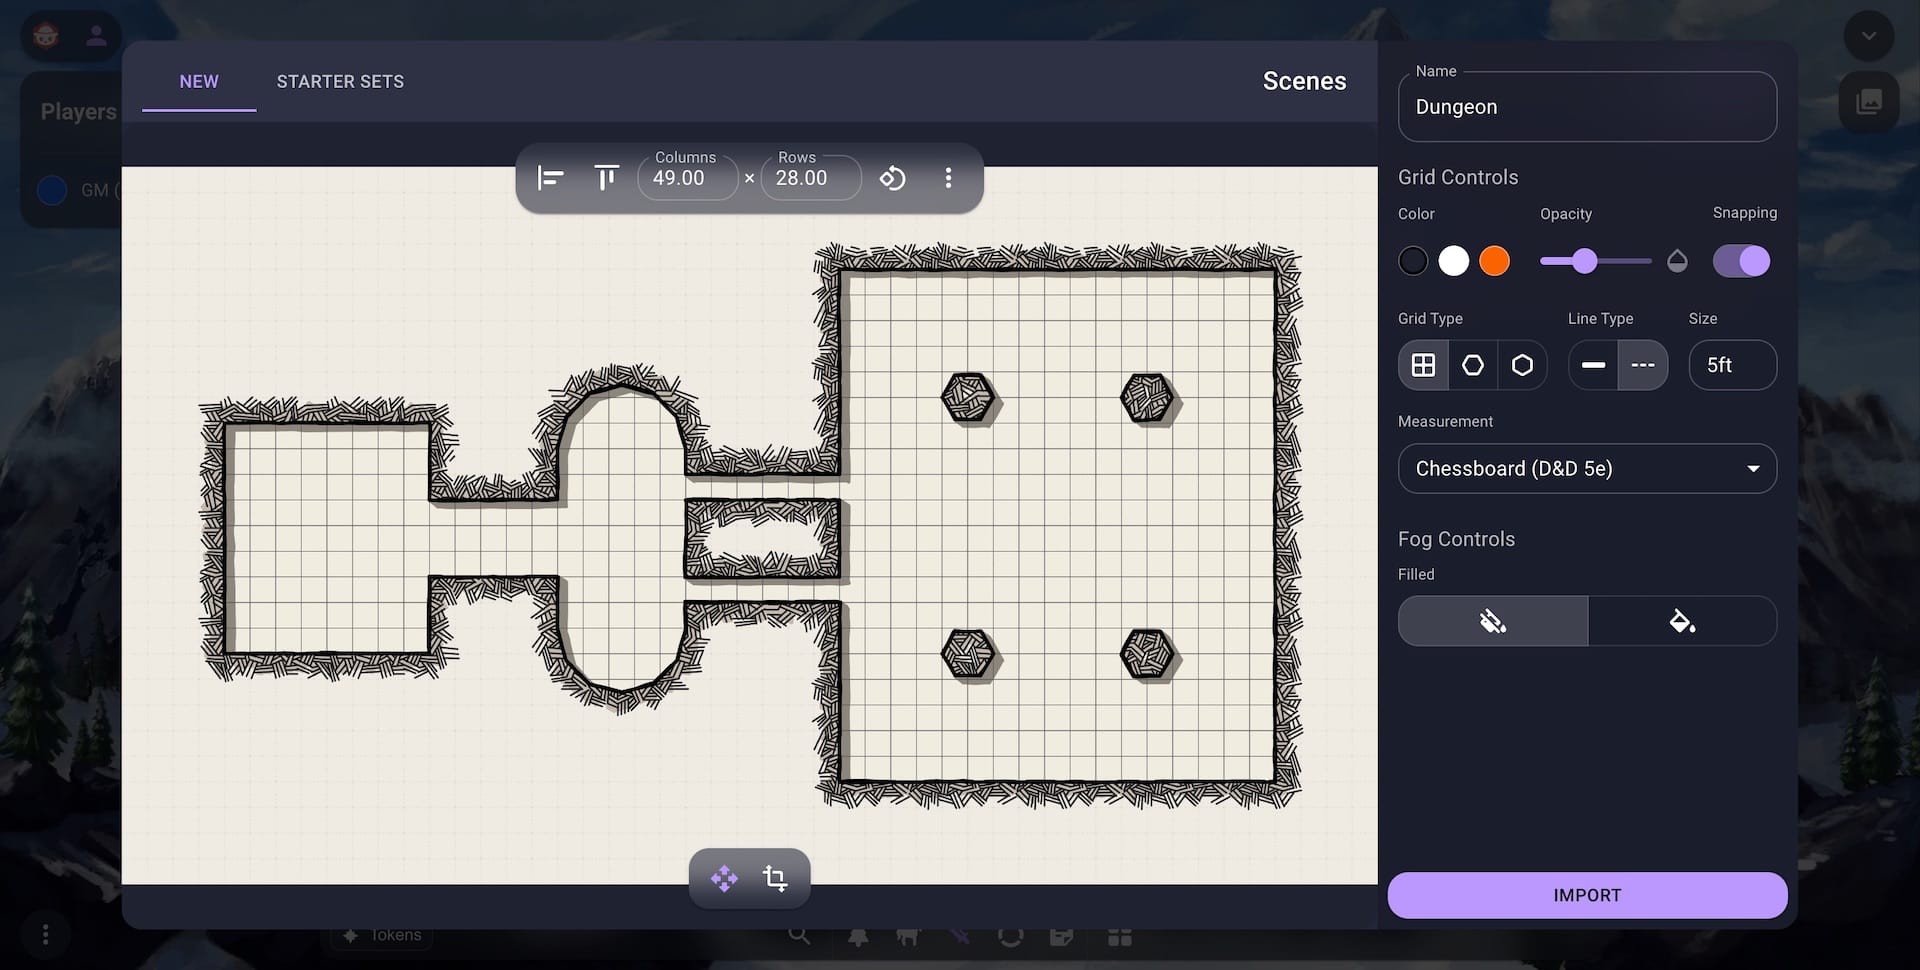
Once you are happy with the alignment of your map click the Import button in the bottom right. This will create a new scene in the current collection and folder you have selected. This will also import the map into the base folder of the Maps tab. If you decide you no longer need this map or scene you can delete them by selecting them and pressing the delete key.
To open your new scene select the Scene tile and click the Open button
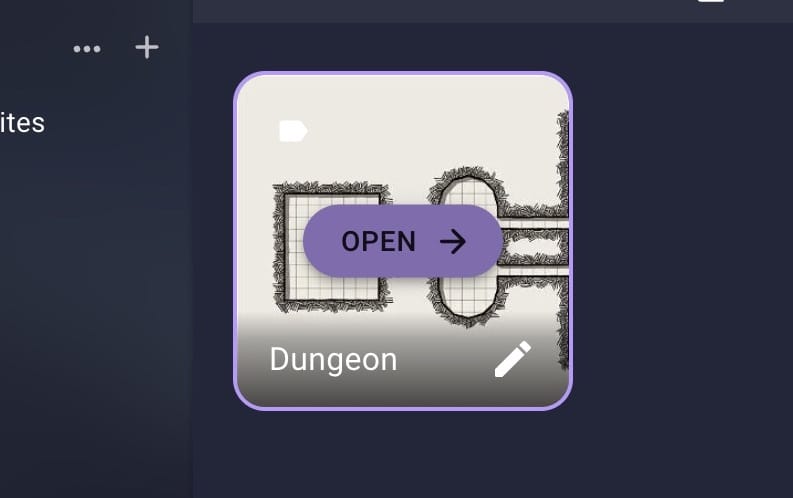
Once open you will see your map in an infinite grid, ready for you to add tokens, drawings or more.
Creating a Scene without a Map
In some cases you might want to create an empty scene without any map.
To do this open the Scene Importer by clicking the Add button with the Scene tab active.
Once in the Scene Importer ensure you are in the New tab. You can now give your scene a name or adjust the grid settings using the sidebar on the right side. Once your settings are to your liking you can create your new scene by clicking the Create button on the bottom right.
Creating a Scene with multiple Maps
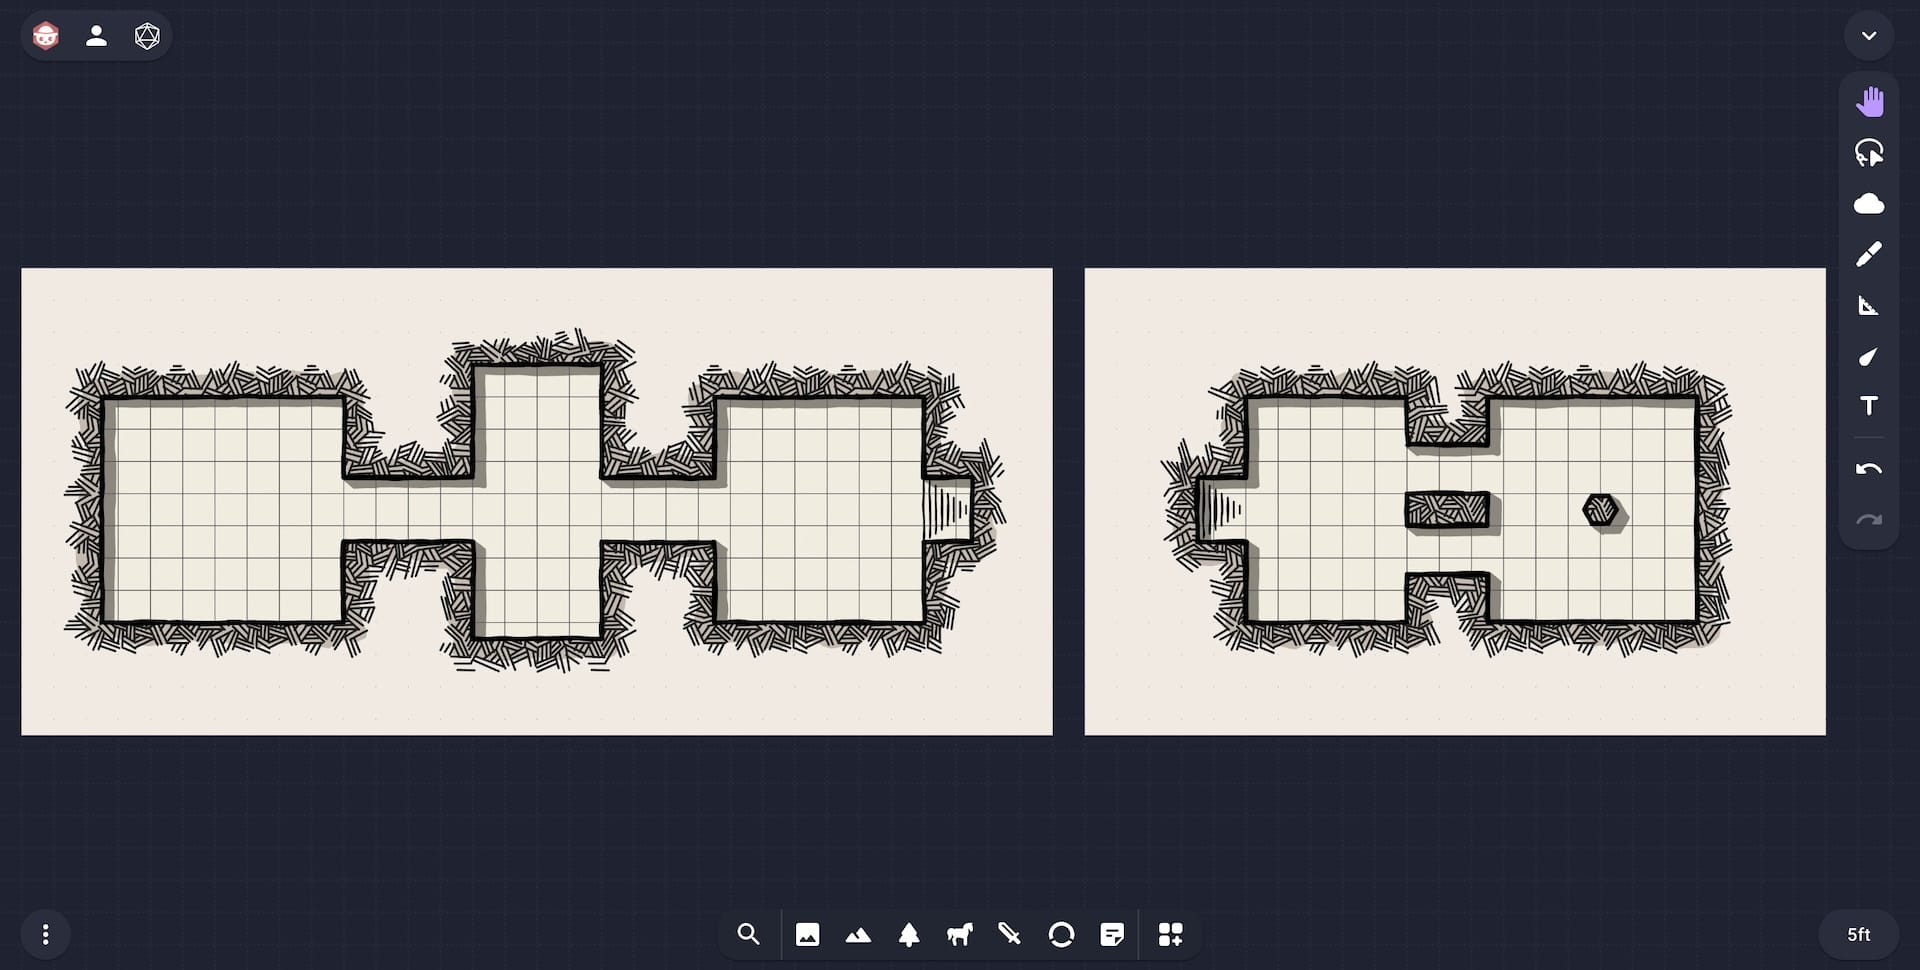
If you are running an encounter where players may be split between two maps you can speed up combat by putting those maps side-by-side in a single scene. This can commonly occur if you have a building with multiple floors where players can explore freely. To do this Owlbear Rodeo first create an empty scene and open that new scene. Now open the Maps tab and Import your maps by selecting the Add button.

This will open the Image Importer which has two tabs like the Scene Importer. The Starter Sets and the New tab. To add your new maps select the New tab.
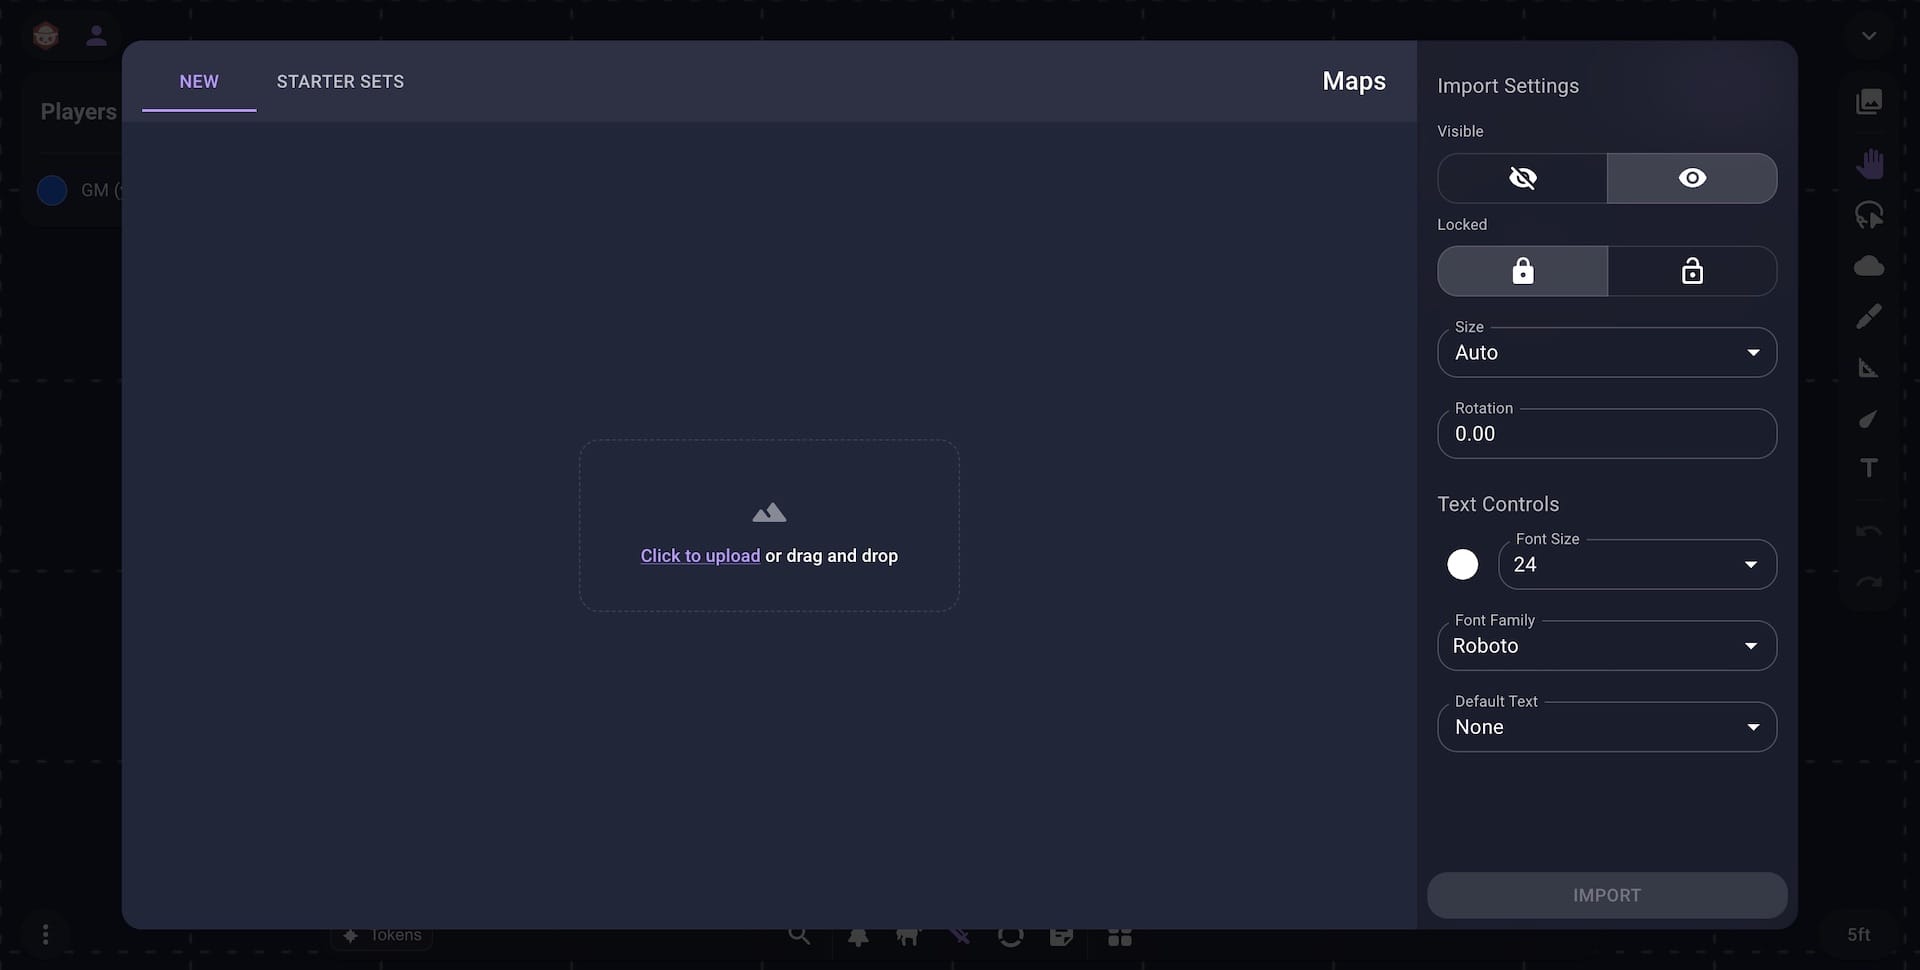
The New Image tab is split into two sections. On the left is a large area for you to import and preview new images. On the right are a set of import options which allow you to control the default values of each image. For a breakdown of each of these controls see here. Import each map you wish to use in your scene by dragging them in or selecting the Upload button. Once your happy with your import settings select the Import button.
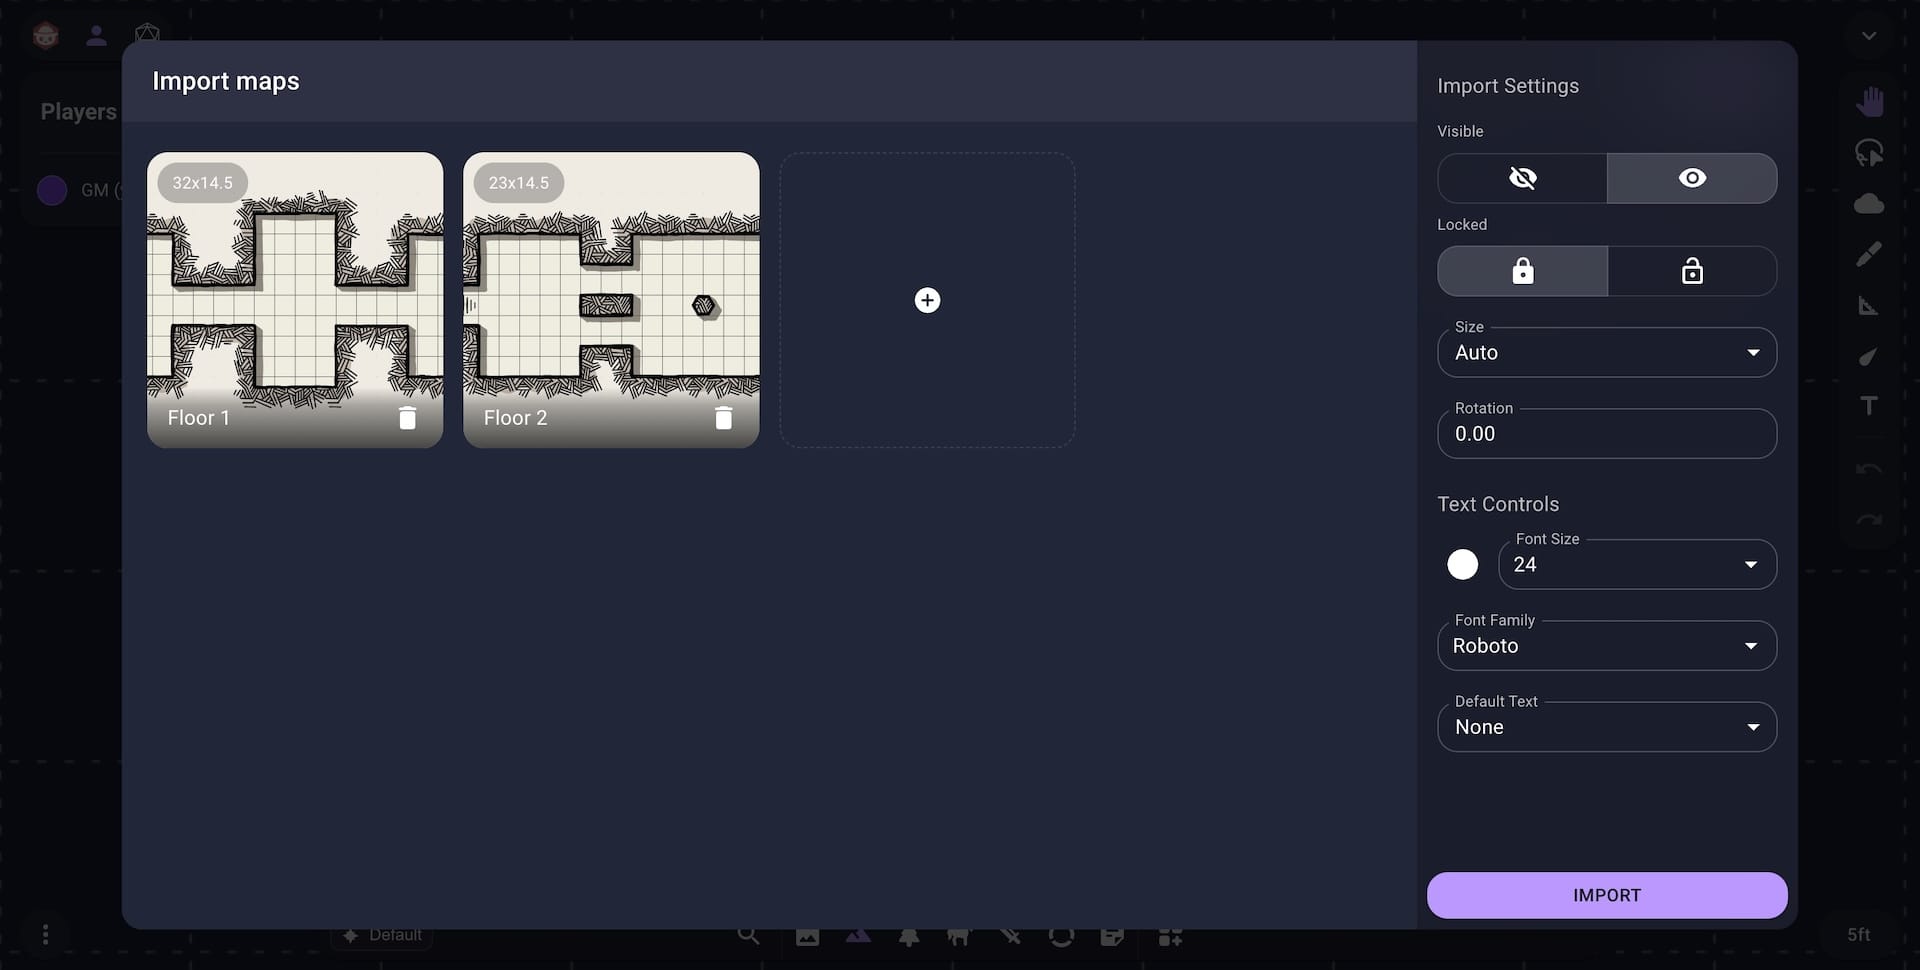
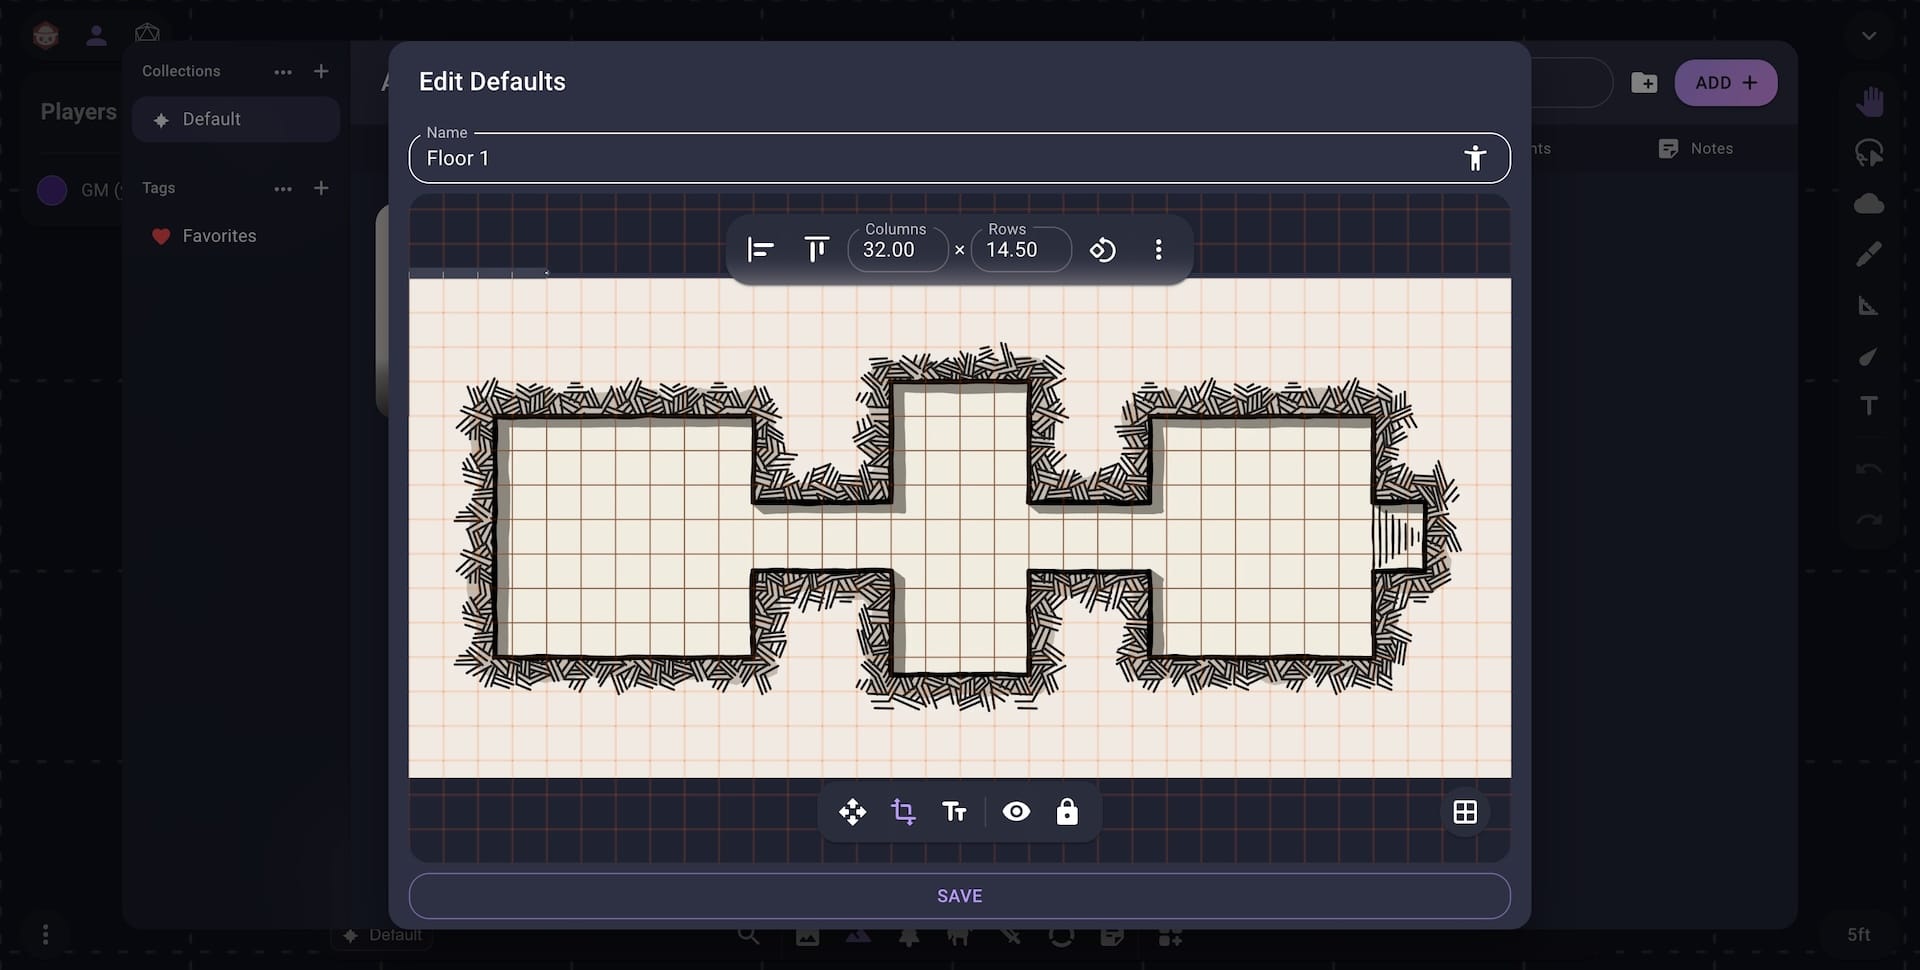
If you would wish to adjust the alignment for your maps you can do this by selecting the Edit button on the Map tile.
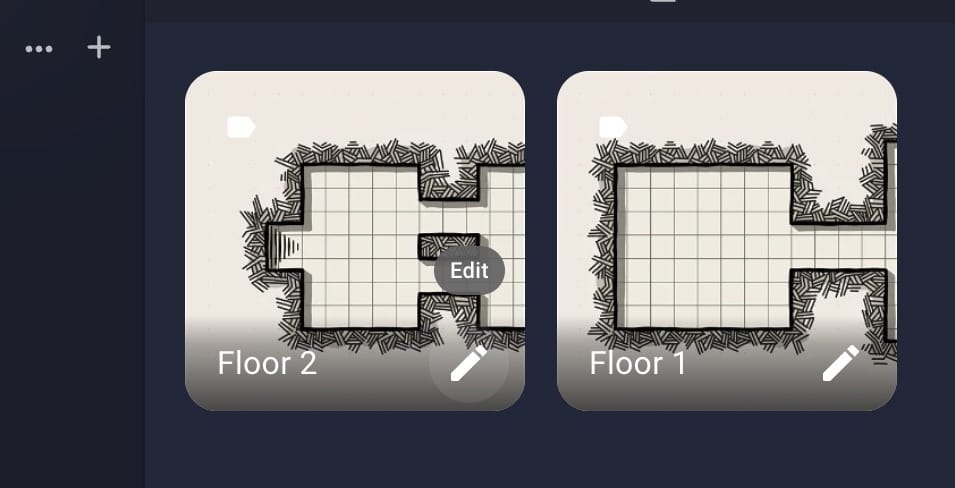
This will open the Image Editor which will give you access to the same editing controls shown in the alignment tutorial.
To insert the new maps into the currently open scene drag them from the Dock.
By default a map will be locked when being inserted, this is to avoid accidentally moving it. To unlock a map so you can move it you will need to select it by double clicking. Once selected you can unlock the map by pressing the Unlock button.
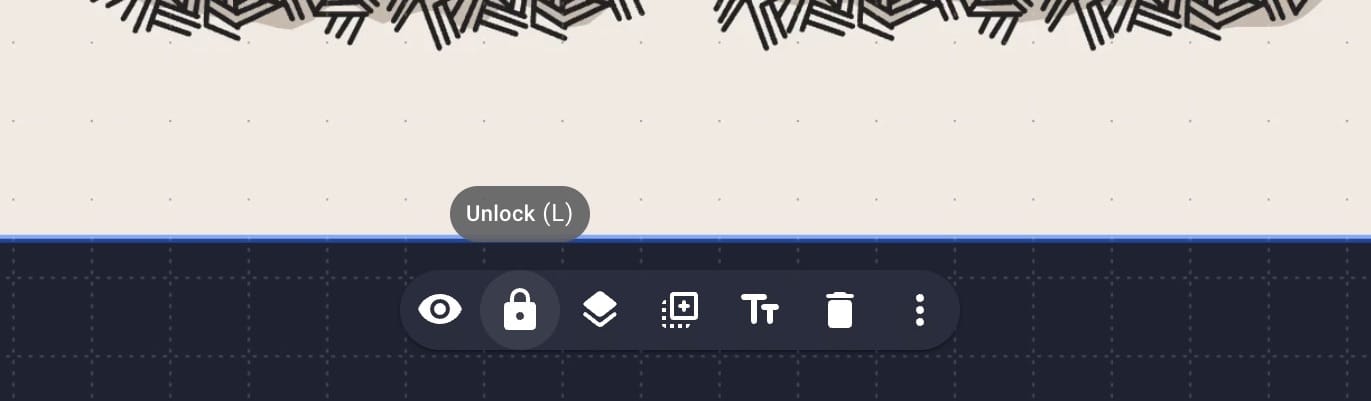
Move the map to a place that makes sense for your encounter and once you are happy with where it is you can lock it again to prevent it from moving.
Scene Controls
To support various game systems Owlbear Rodeo allows you to choose between a few options for your scene.
These options can be either be chosen before it is created or changed after it is created.
Name
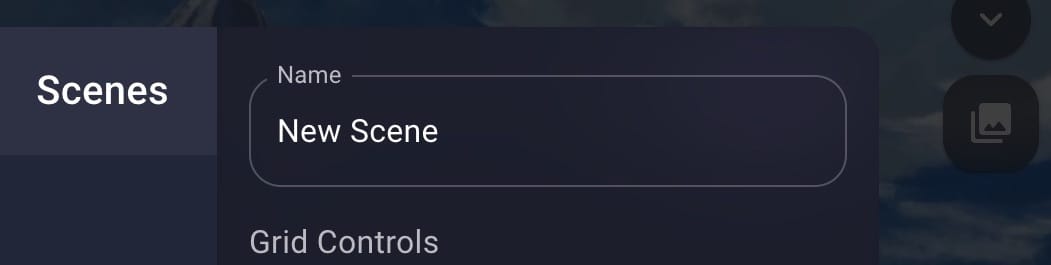
To change the name of a scene before it is created use the Name input field on the top of the Scene Importer
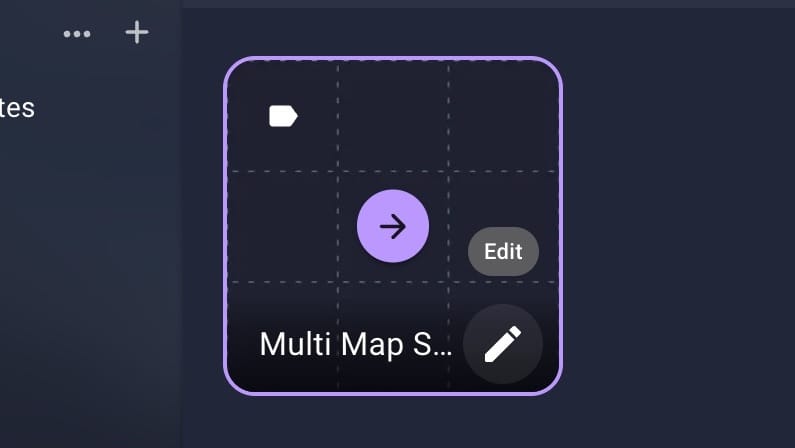
To change the name of a scene after it has been created click the Edit button on the Scene tile.

Grid Controls
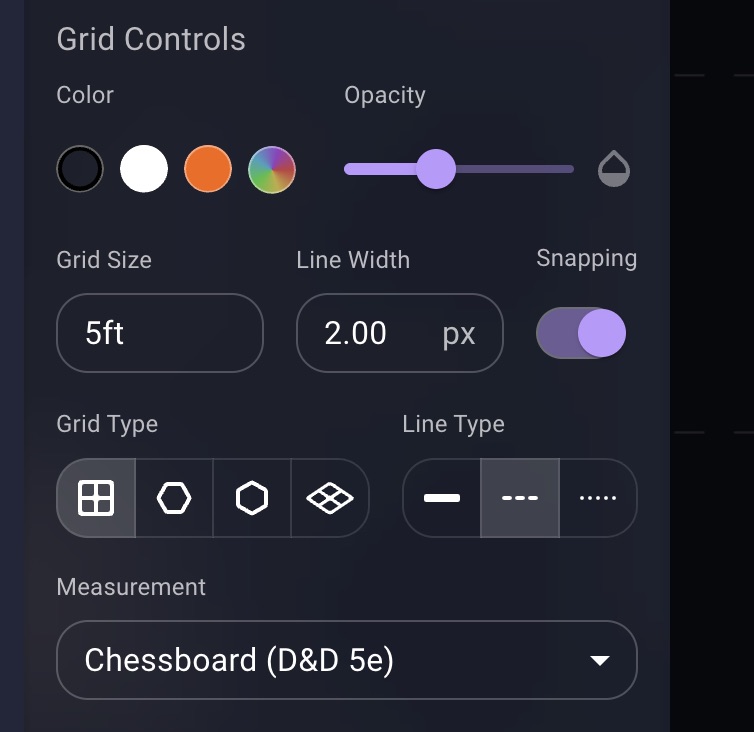
The grid controls allow you to change the visual display of the grid as well as determine how other tools work with the grid.
Bellow is a breakdown of the grid controls:
| Setting | Description |
|---|---|
| Color | Change the line color of the grid to a dark, light or highlight color |
| Opacity | Adjust the opacity of the grid from 0 to 1 |
| Grid Size | Change the grid size used in measurements with the ruler |
| Line Width | Change the line width of the grid in pixels |
| Snapping | Enable or disable grid snapping |
| Grid Type | Change between a square, hexagon horizontal, hexagon vertical and isometric grids |
| Line Type | Change between a solid, dashed or dotted grid line |
| Measurement | Change the formula used to measure distances with the ruler |
To adjust the grid controls before a scene is created use the settings on the sidebar of the Scene Importer.
When selecting an isometric grid type a new Axonometry control will be shown.

The two options for this control are Isometric and Dimetric. Isometric grids have a common angle between all sides and are used in art and design programs. Dimetric grids only have two common angles and are used in some video games.
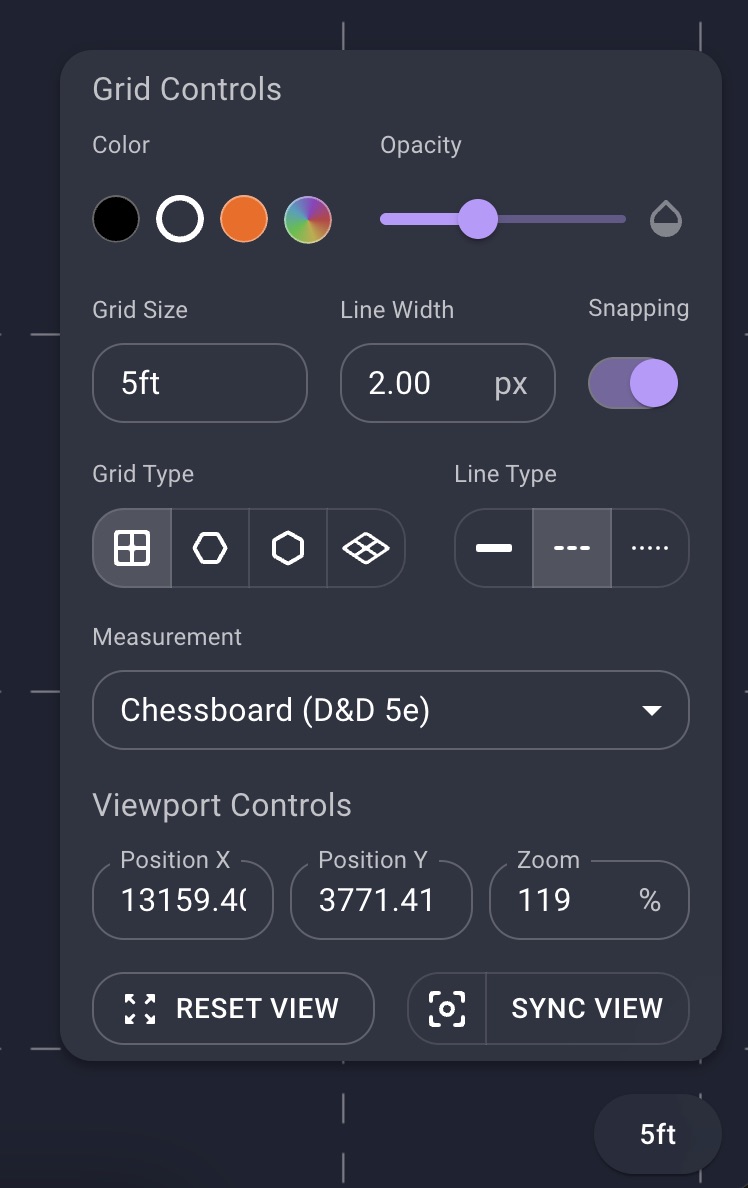
To adjust the grid controls after a scene is created use the Scene Controls menu in the bottom right of an open scene.

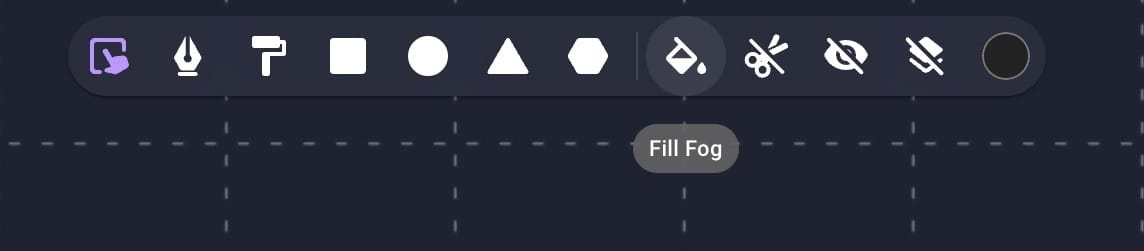
Fog Controls
Owlbear Rodeo has a large selection of fog tools. One tool is the Fog Fill which allows you to cover the whole screen in darkness to avoid players from seeing any spoilers.
To change the fog fill setting before a scene is imported use the Scene Importer sidebar.

Once a scene has been created adjust this setting using the Fog tool.
Read more about the fog tool here.