Assets
In Owlbear Rodeo there are a few different kinds of assets. For every kind of asset you will interact with them in two main places: the Dock and the Asset Manager.
The Dock sits at the bottom of your room and allows you to easily share assets with your players.
The Asset Manager can be opened using the Asset Manager button in the Dock and allows you to create new assets, edit existing assets or delete old assets.
Dock

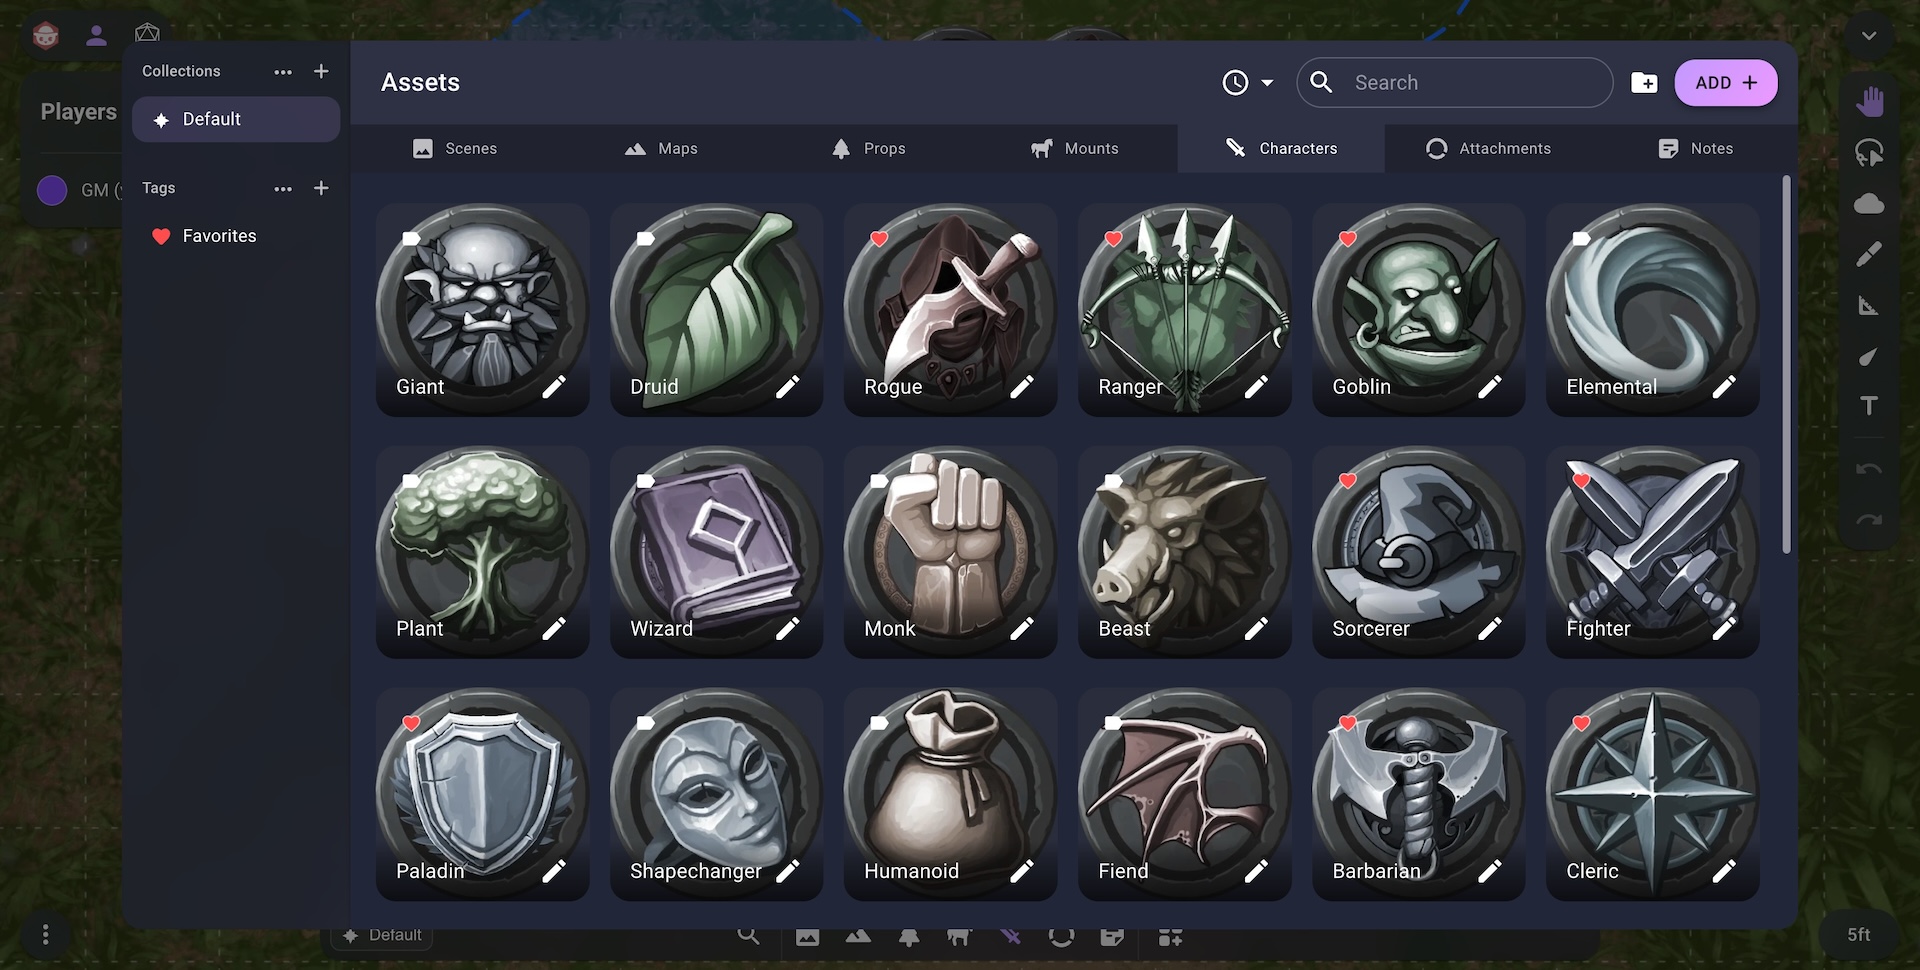
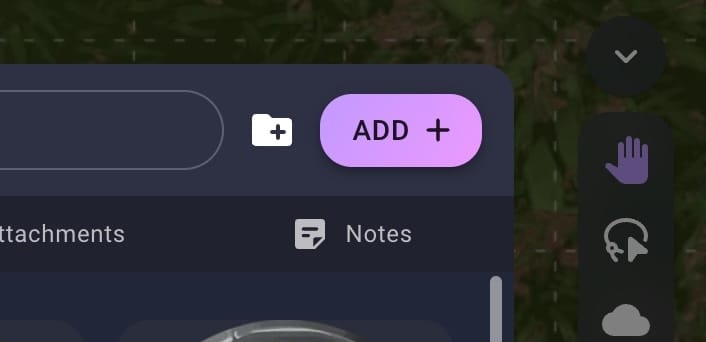
The Dock is split into tabs for each type of asset: Scenes, Maps, Props, Mounts, Characters, Attachments and Notes.
Scenes are an infinite space for you to lay out images, drawings, fog and more. You can think of them like the table that you will place your maps and tokens on. Once you have created a new scene you can open it from the Dock by dragging it into the viewport.
The rest of the tabs Maps, Characters, etc. represent the images that you will add to a scene.
For example each token you import for your players will be added to the Characters tab. You can then drag these Characters from the Dock into an open scene.
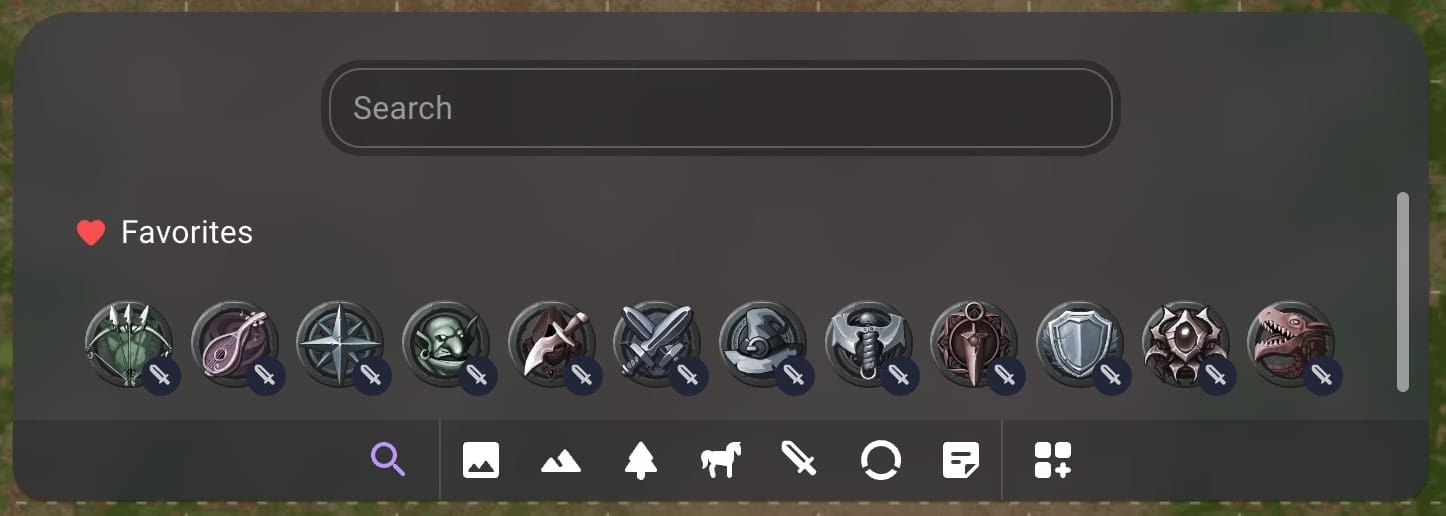
Dock Search
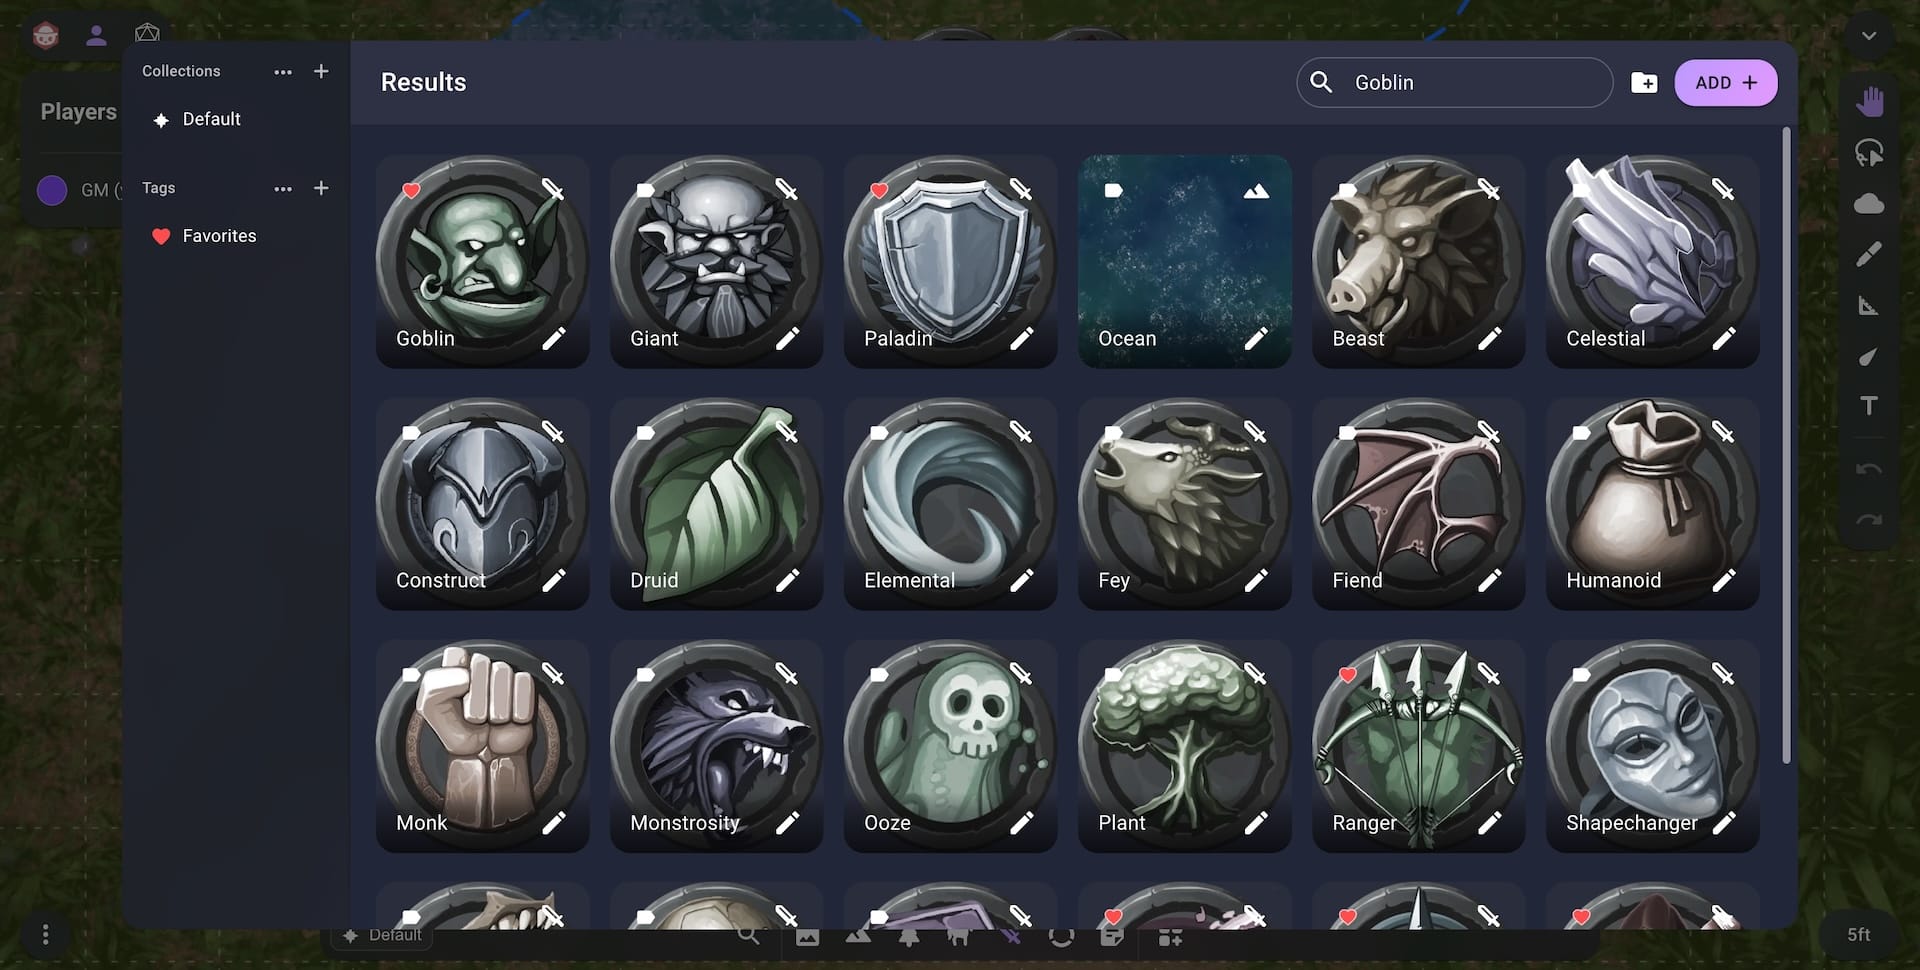
On the left side of the Dock is the Search button. Clicking this will open a search bar and preview section that makes it easier to find the asset you're looking for.
Before typing in anything the search will show a preview of any tags you have created. This makes it easy to find your most used assets.
Typing into the search bar will find any assets with a similar name.
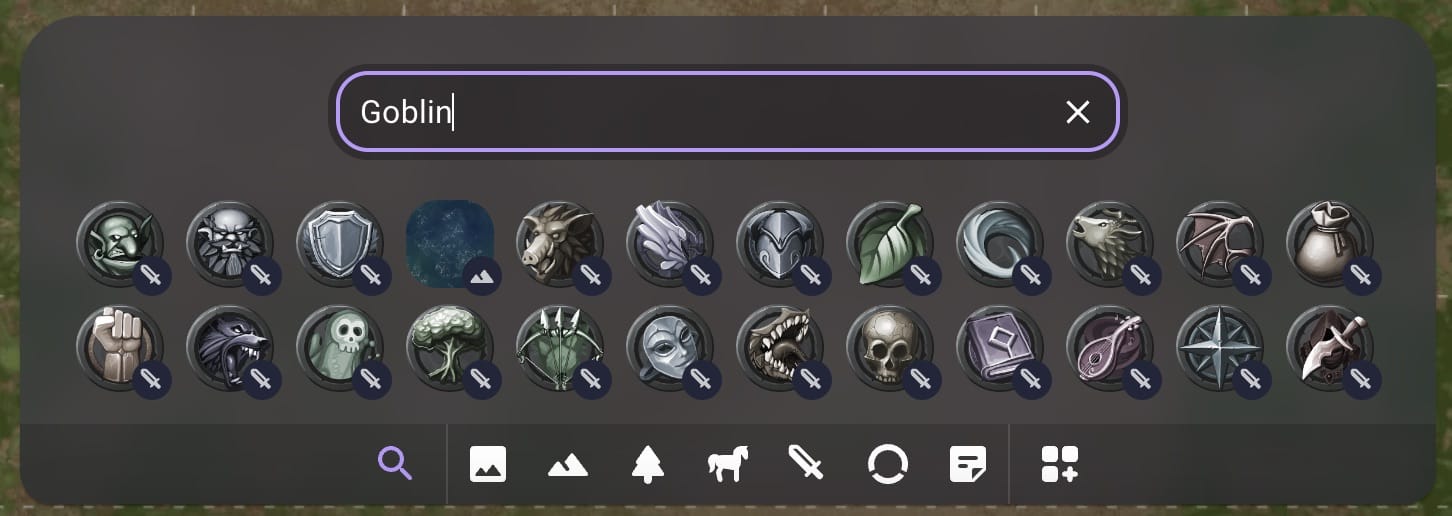
Each asset shown in the search tab will have a small badge in the bottom right that tells you the type of the asset.
Asset Manager
The Asset Manager is where you will add new assets, edit existing assets or delete old assets.
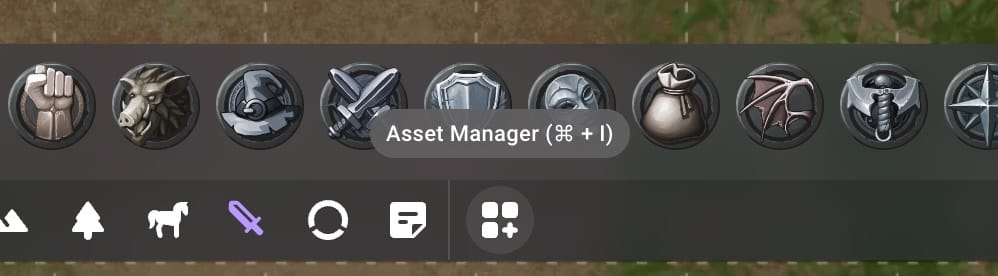
To open the Asset Manager you can use the Asset Manager button on the right side of the Dock.
Add/Edit Assets
To add new assets you can click the Add button in the top right with the correct tab selected. For example clicking Add with the Scenes tab selected will open the Scene Importer.
You can also drag and drop an image from your computer or anywhere on the web to open an importer.
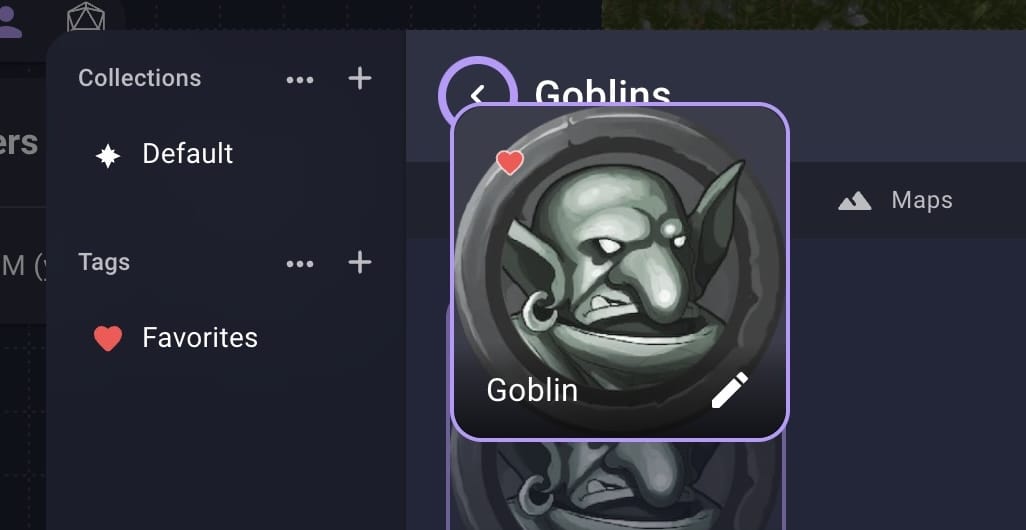
To edit an asset you can click on the pencil icon on the bottom right of the asset tile.
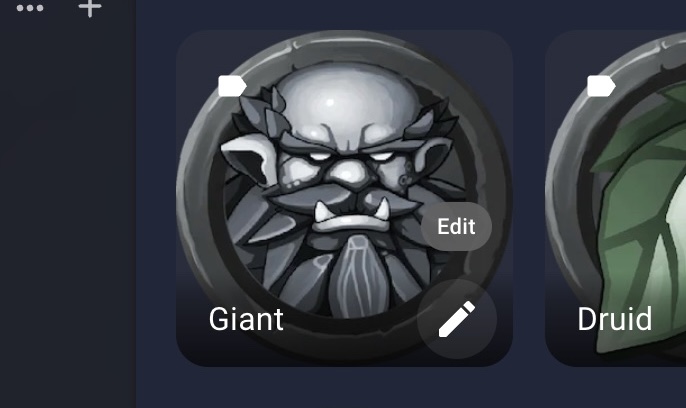
This will open an editor for the type of asset selected.
To better explore these options see the Scenes guide for how to add/edit Scenes. For Maps, Characters and the other image types see the Images guide for a breakdown on how to add/edit images.
If you would like to add an image directly from your computer without opening the Asset Manager you can drag an image directly into an open scene.
This will open a type selector wheel that allows you to pick which image type to add. Once you've selected an image type by hovering over the correct icon you can release your mouse to begin uploading. If you would like to import an image to a specific position in the scene you can hold down the Shift key when dragging to lock your selection.
Delete Assets
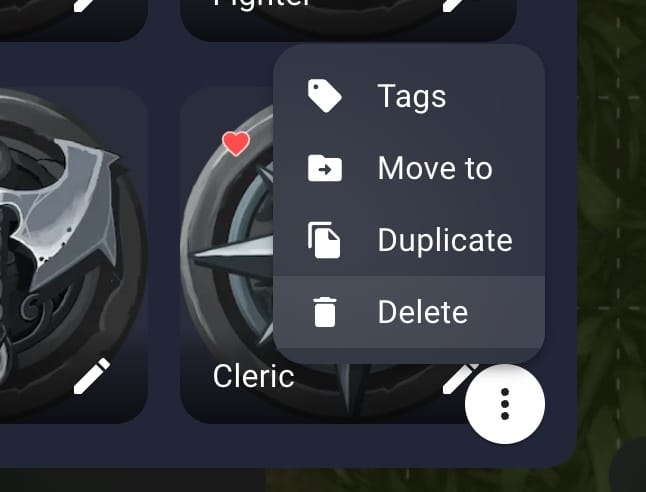
To delete an asset select it in the Asset Manager then press the Delete key on the keyboard. You can also use the menu in bottom right with the three dots and select the Delete menu item.
To delete multiple assets at one time you use the Shift/Ctrl key to select multiple assets before clicking the Delete key.
Sorting Assets
In the toolbar of the Asset Manager you can change between Sort by Created and Sort by Name.
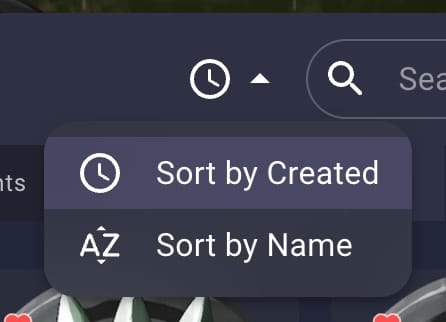
Sort by Created will sort your assets so the newest is first while Sort by Name will sort your assets alphabetically.
Asset Manager Search
In the toolbar of the Asset Manager is a search field that can be used to find assets by name.
Similar to the Dock each asset shown in the search results will have a small icon in the top right that tells you the type of the asset.
Organizing Assets
As your collection continues to grow you'll likely want to organize your assets to make them easier to manage. You can do this with Folders, Collections and Tags.
Folders
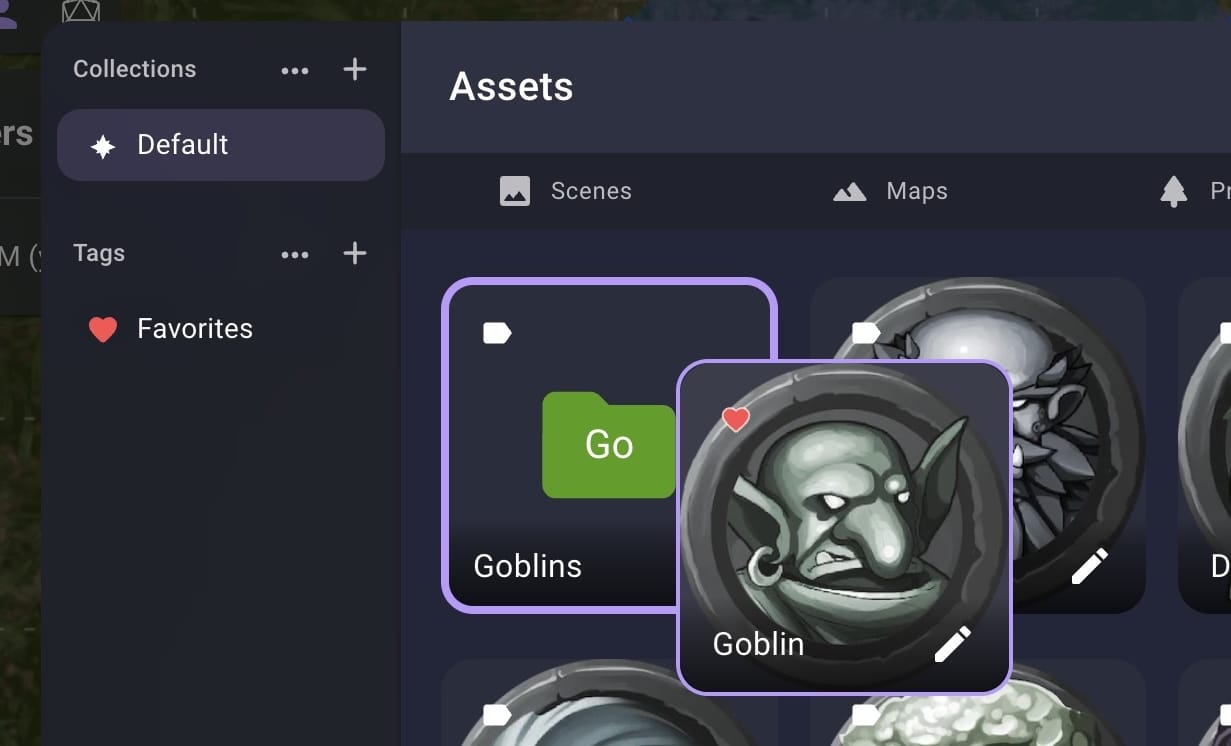
Folders allow you to group common assets together. For example if you want to upload a hoard of different goblins then creating a single folder for them will make it easier to manage.
Folders can be created by clicking the folder icon with the plus button in the top right. You can then name your folder and give it a custom color.
To add existing assets to a folder you can either drag the assets into that folder or use the Move to menu option from the selection menu.
To move assets out of a folder you can either drag the assets to the back button or use the Move to menu option again.
To add new assets to a folder you can open that folder and either drag from your device into the folder or click the Add button in the top right.
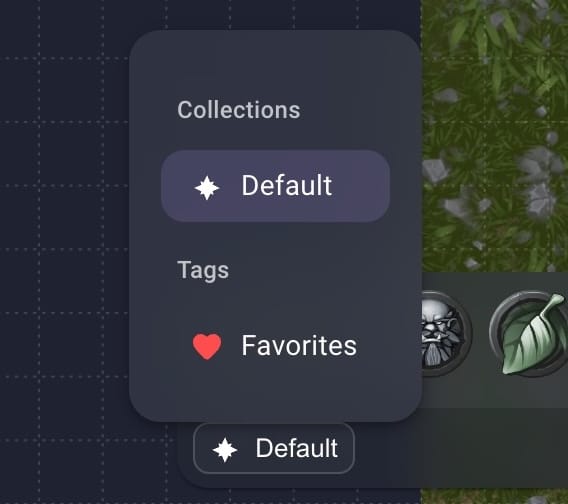
Collections
Collections are designed for GMs that need to run multiple campaigns, systems or worlds. For example if one day of the week I run a fantasy game but another day I run a sci-fi game. I can create a new collection for each world which would allow me to have two distinct sets of assets. Within a collection I can upload new assets or create new folders for further organization.
A new collection can be created by clicking the plus button in the sidebar next the the Collections label.

This button will open the new collection dialog which will allow you to name and color your collection.
To activate a collection you can click the collection in the sidebar. The currently active collection is saved for each room. This means every time I go back to a room the correct collection will automatically be selected for me.
Here are some examples where a collection could be used:
- A collection for each campaign you're running with the Default collection used for assets that could be used in any campaign
- A collection for each setting you're running
- A collection for each game system you're running
Tags
Oftentimes when running a game you'll need to quickly find an asset and you can't remember which folder or collection you put it in. You could use the search if you remember the assets name but if you need to find a group of assets then searching for each individually can be a pain.
Tags are designed to solve this problem.
As an example I might have each character in my adventuring party tagged with their party name. Then during the game if I need to find them I can click on their tag to jump straight to the images I need.
A new tag can be created by clicking the plus button in the sidebar next to the Tags label.

This button will open the new tag dialog which will allow you to name and color your tag.
To activate a tag you can click the tag in the sidebar. A tag can also be chosen from the Dock when it is open.
When activating the search bar in the Dock a preview of your tags will also be shown. This makes it really simple to scroll through your tags and find the asset you need.
To tag an asset you can select the asset and press the tags button in the top left of the asset tile.
Once pressed you can click one or more tags to use for the selected assets.
Here are some examples where tags could be used:
- Spells that need a visual representation such as spiritual weapon
- The characters in your current adventuring party
- Common NPCs that will join the players
- Wildshapes or player transformations