Getting Started
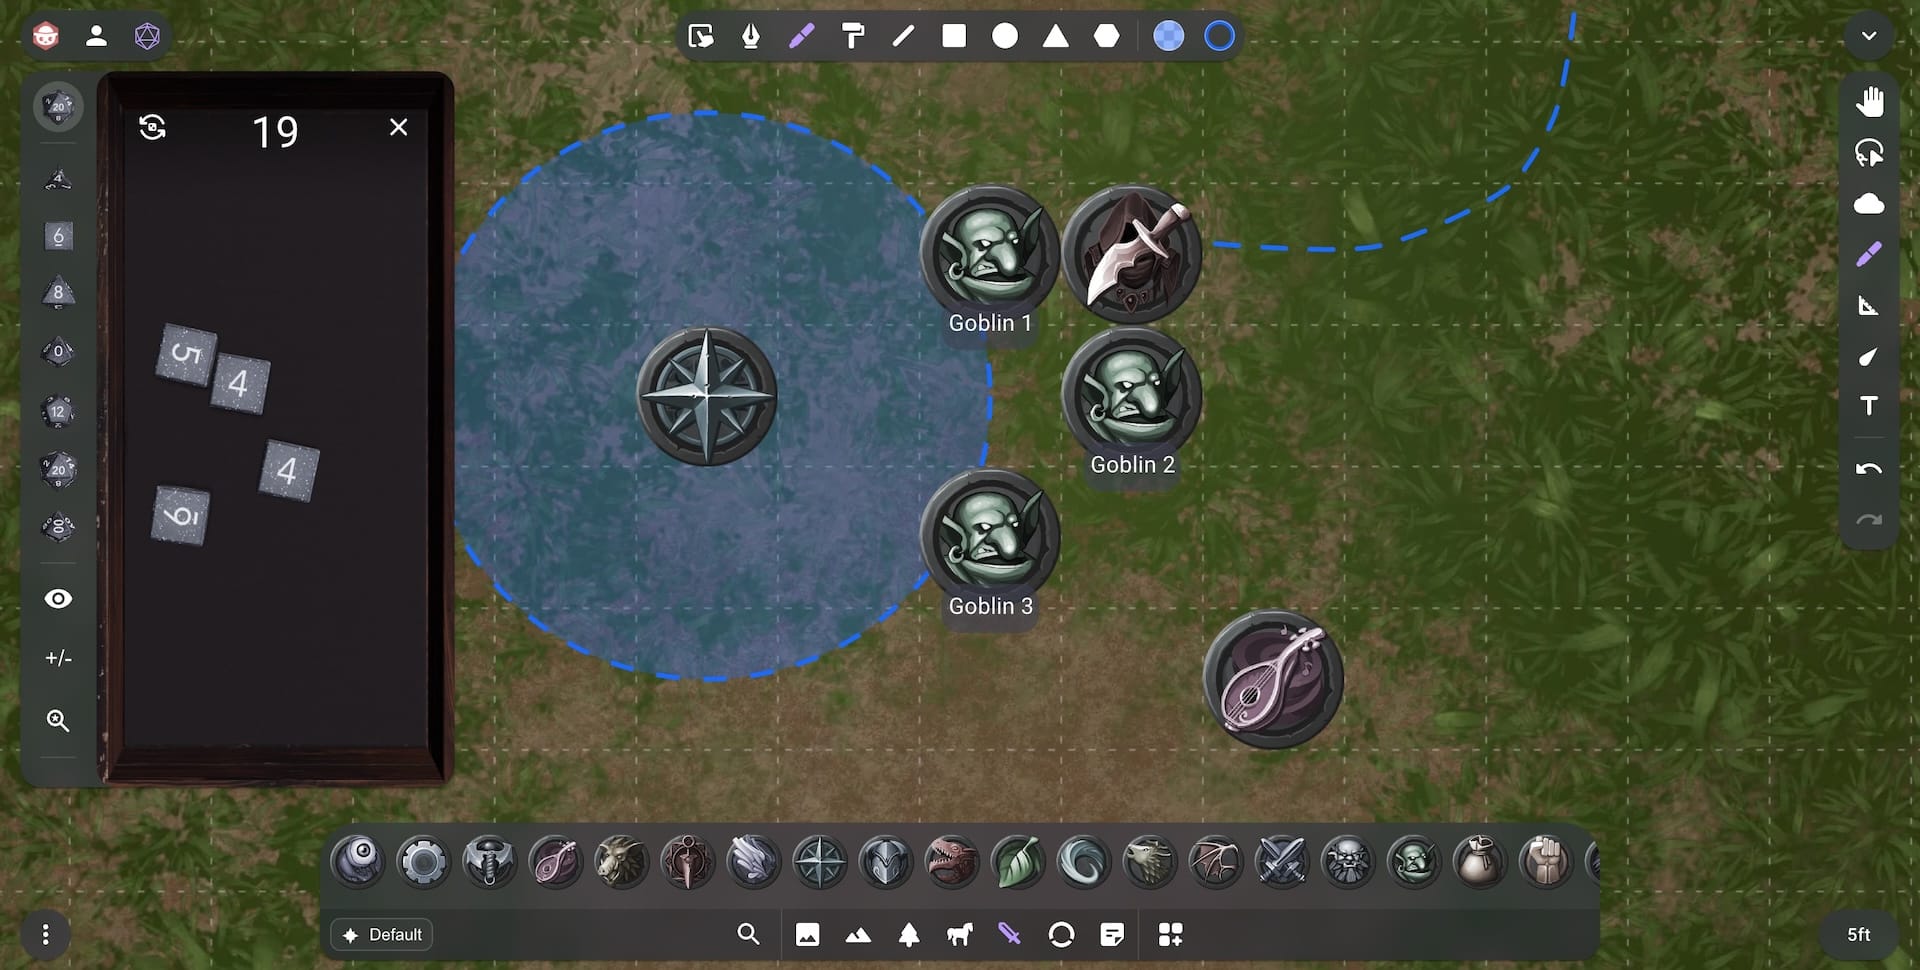
Owlbear Rodeo is a virtual tabletop (VTT) designed to be intuitive and feature rich. It works completely in a web browser so you don't need to download any extra software. The app is also responsive so it works across both mobile and desktop operating systems.
Owlbear Rodeo’s main focus is providing a great battle-map experience. This includes sharing maps, tokens and other images. We also provide robust drawing, text and fog tools that make it easy to replicate a physical tabletop.
We know every table is different so we also offer an easy way to customise Owlbear Rodeo. With deep support for extensions you can ensure that Owlbear Rodeo adapts to how you like to play.
First 5 Minutes in Owlbear Rodeo
The following guide is designed for a Game Master (GM). If you're a player all you need to do is open the link sent to you by your GM and click join.
Creating an account
To get started with Owlbear Rodeo you must first create an account.
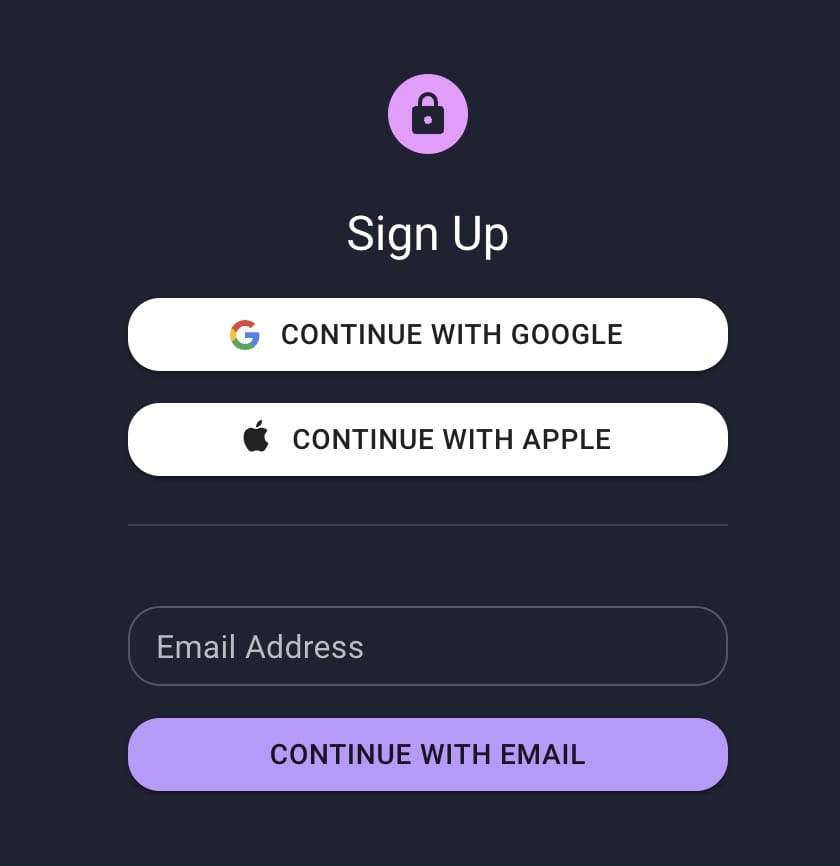
Head to our sign up page and use your Google/Apple account or email.
Your players only need to create an account if they want to bring their own character token
Creating a Room
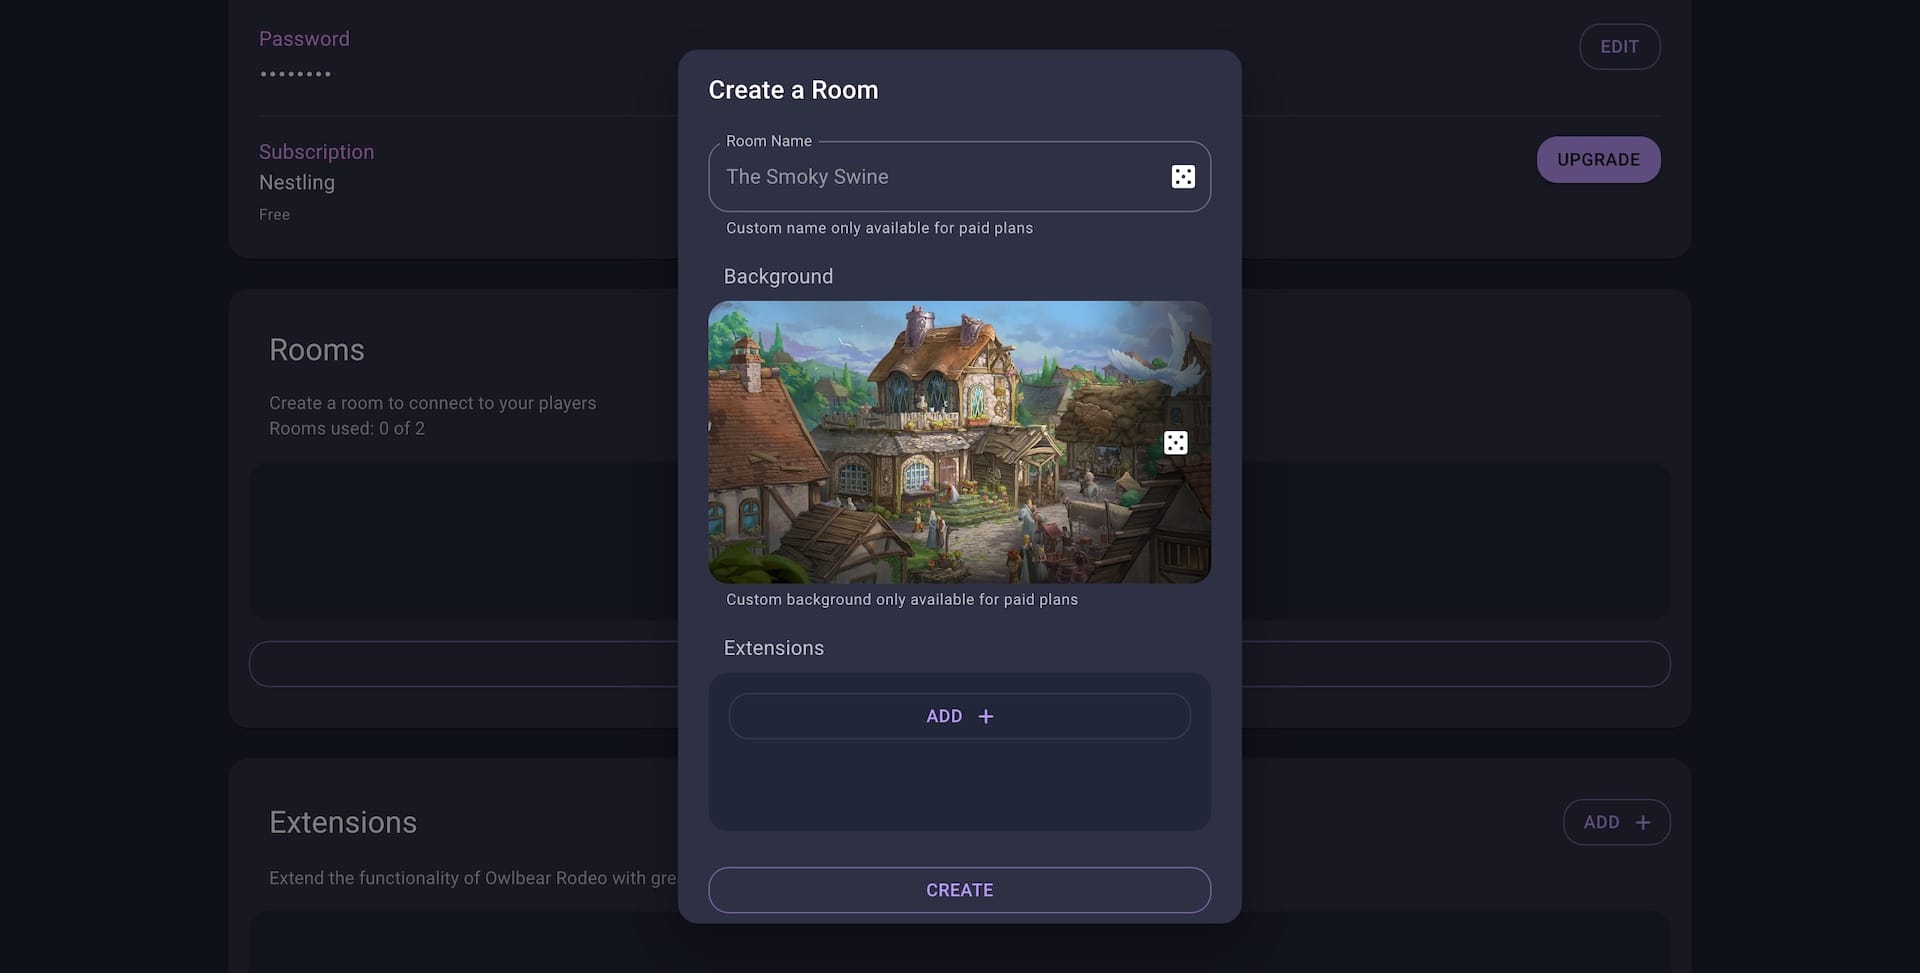
A room connects you and your players.
Create a room from the profile page by using the Create Room button.
You can read more about rooms here.
Creating a Scene
A scene is an infinite space for you to lay out images, drawings, fog and more.
To create a scene open the Asset Manager using the Asset Manager button on the right side of the dock.
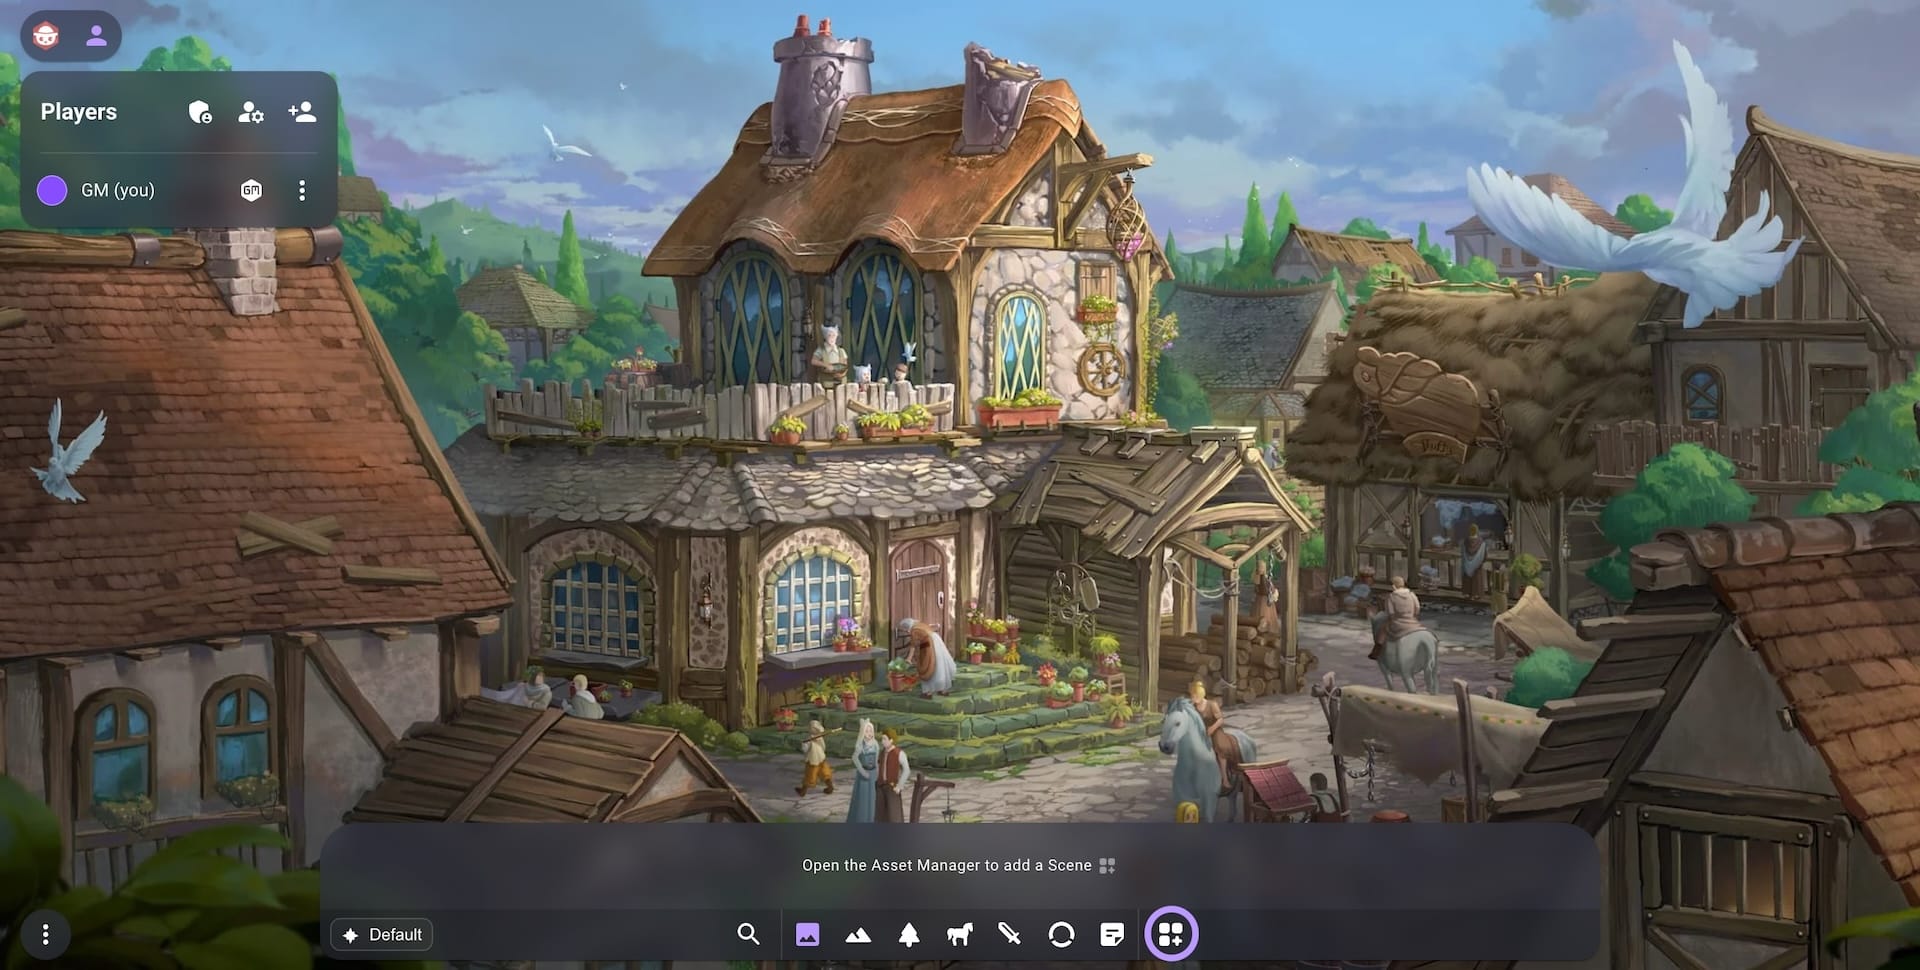
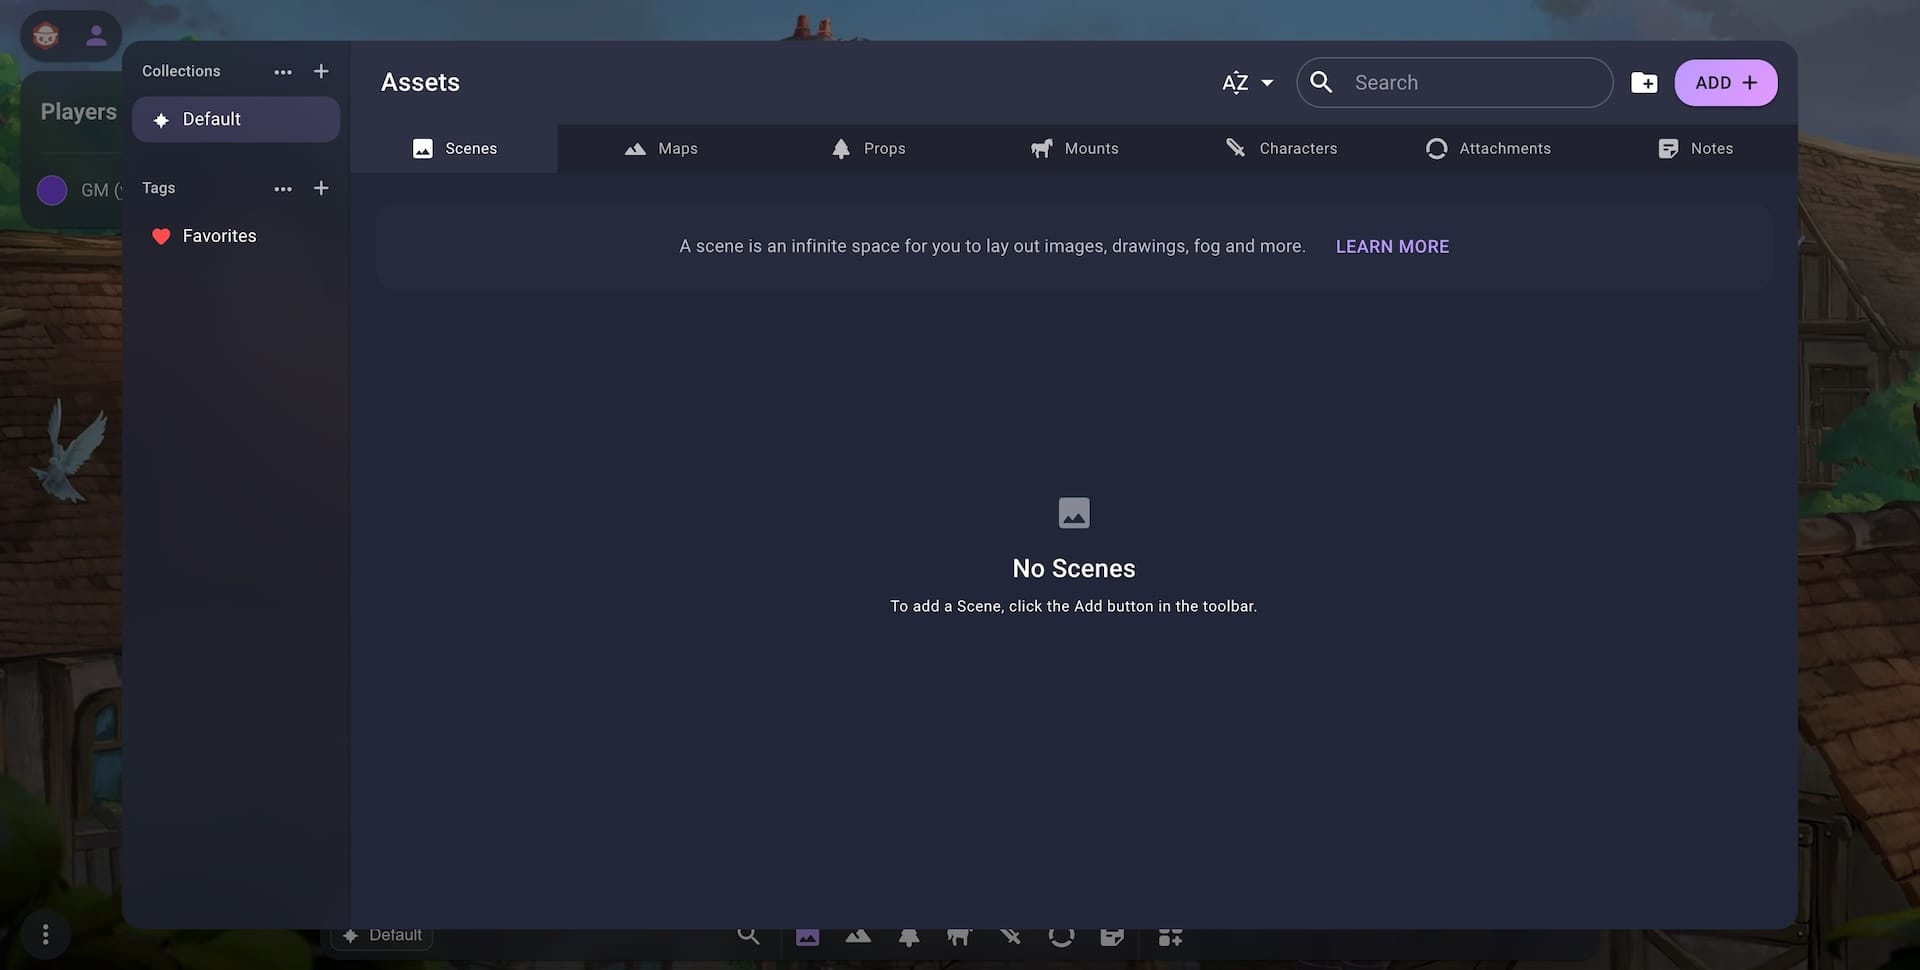
With the Scenes tab selected you can create a scene by clicking the Add button in the top right of the Asset Manager.
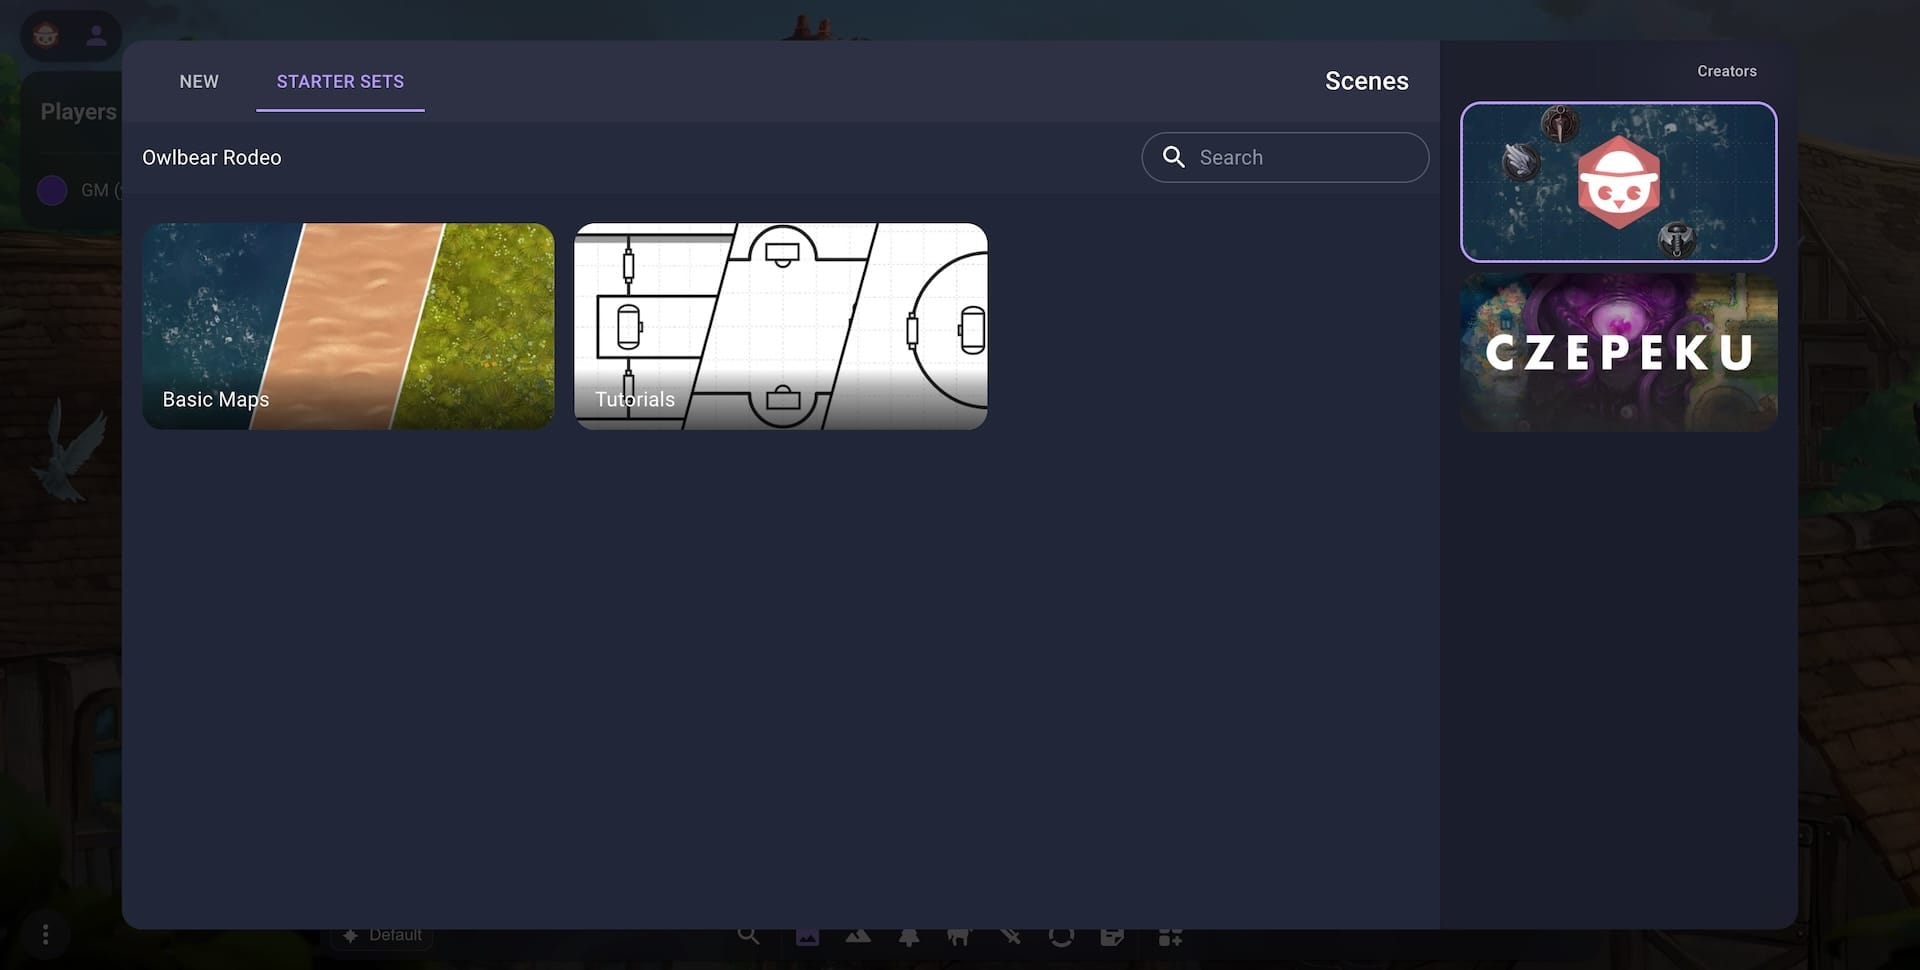
When creating a new scene you can use one of the starter sets to get up and running as quickly as possible.
Clicking on the basic maps starter set will allow you to use a simple battlemat to get started.
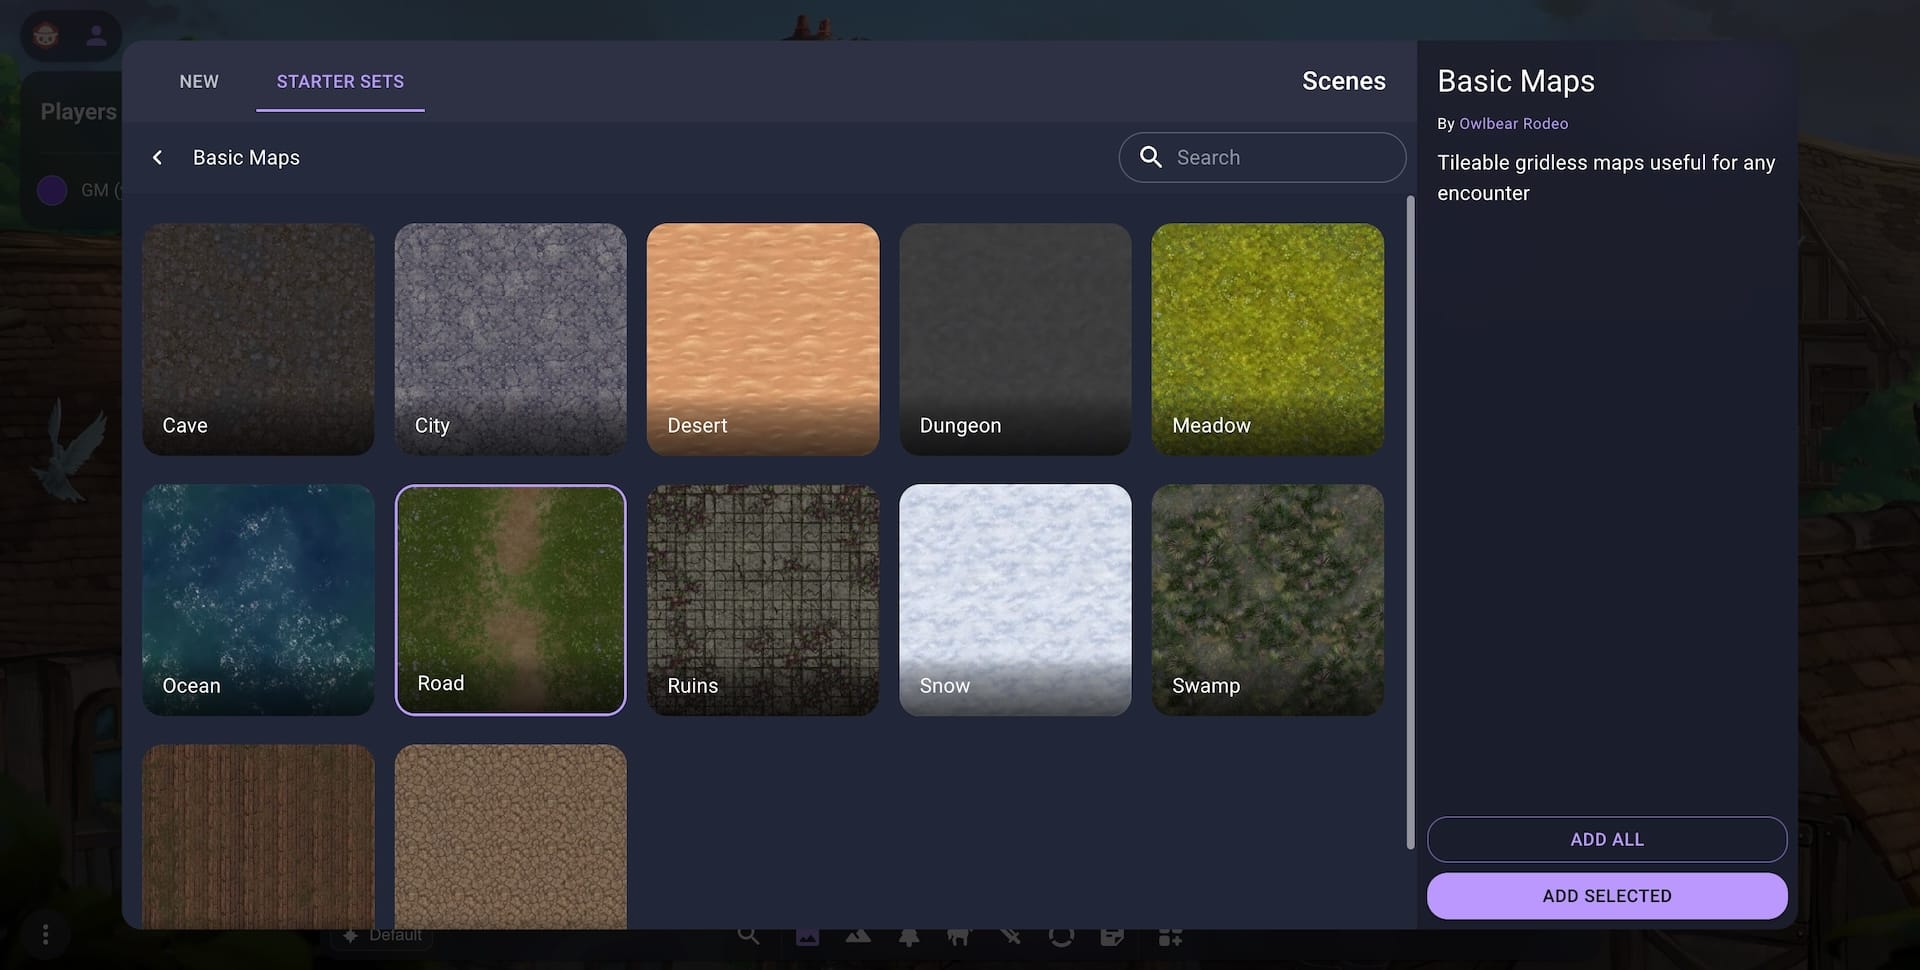
Selecting the Road map and clicking Add Selected in the bottom right will add that scene to your account.
To create a new scene from your own map you can select New tab when creating your scene
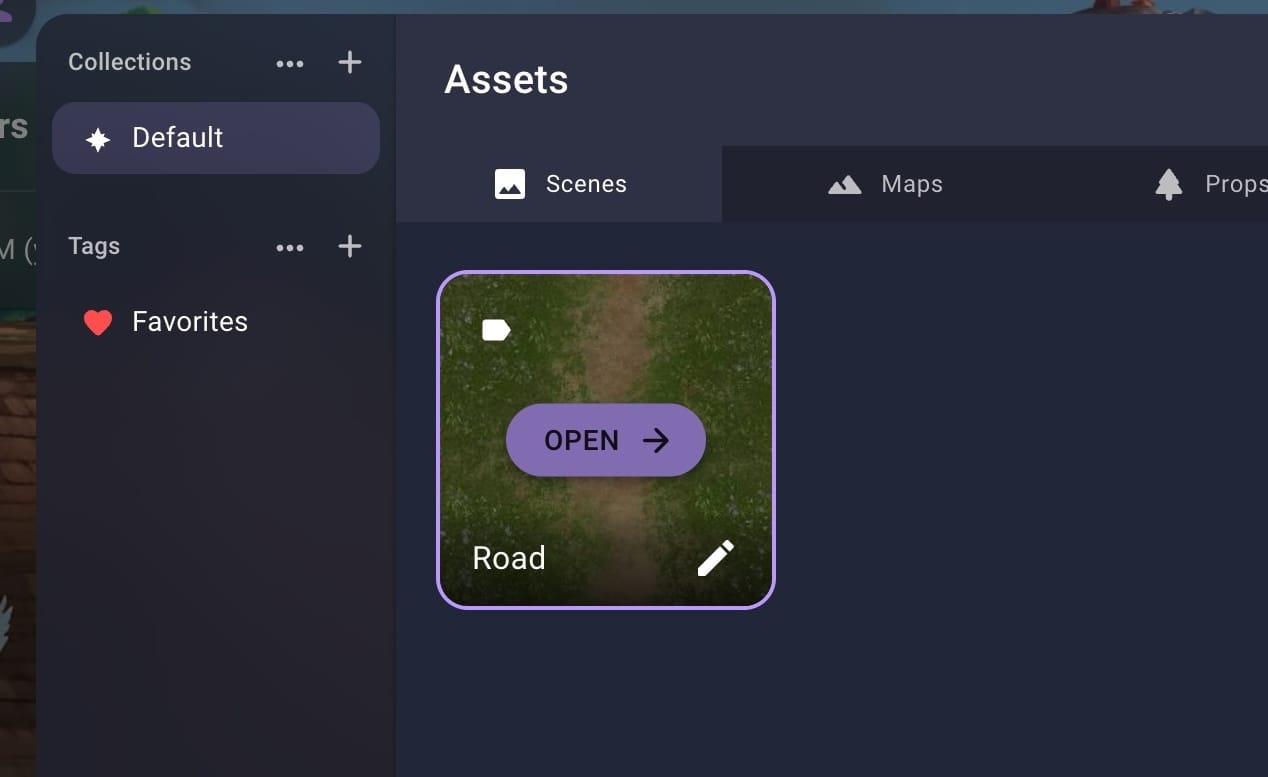
Once you've created the scene, open it by selecting the Open button.
You can read more about scenes here.
Adding Images
To add images to your scene you can use the Dock on the bottom of the room.
The dock is split into a tab for each image type: Maps, Props, Mounts, Characters, Attachments and Notes.
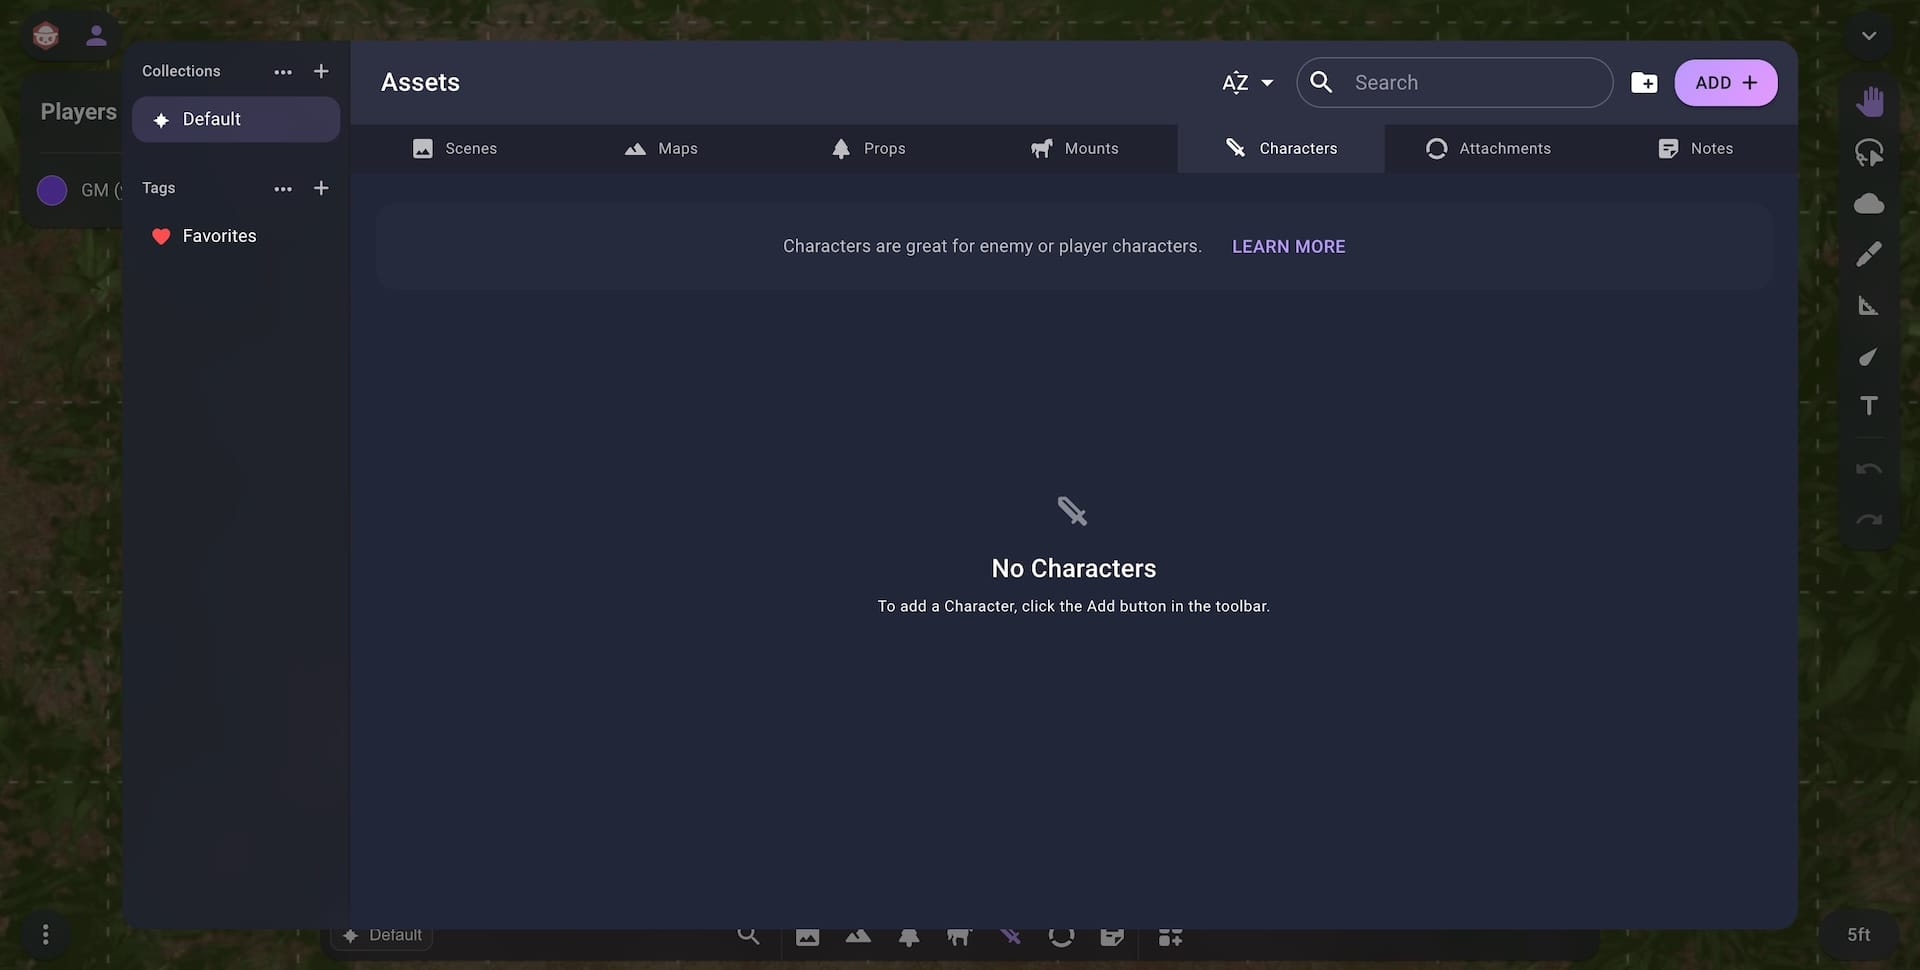
Switch to the Characters tab and open the Asset Manager once again.

Click the Add button in the top right to add more character tokens.
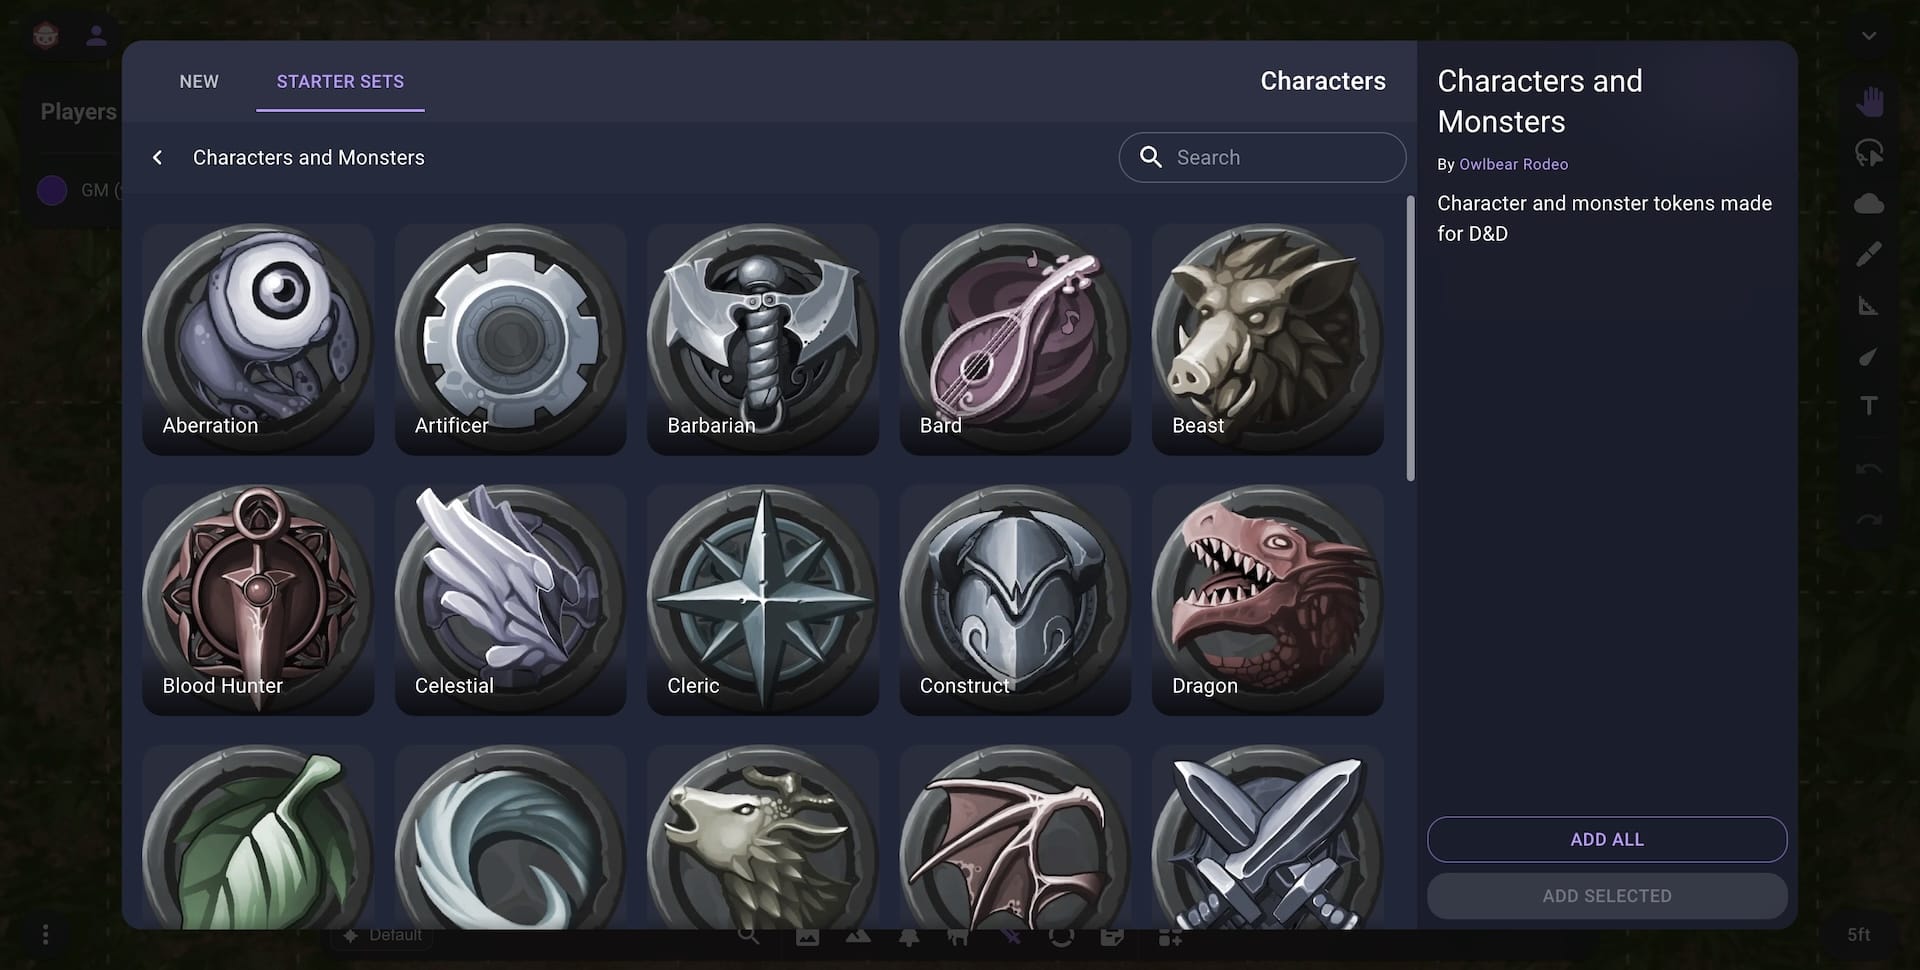
Click the Characters and Monsters starter set and select the tokens you would like or select Add All to add all the tokens.
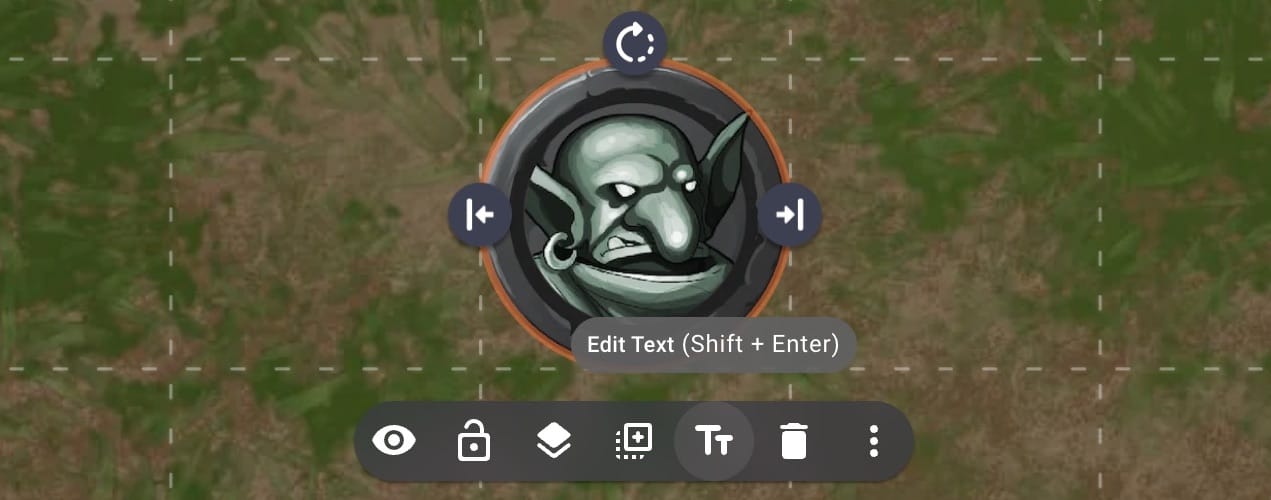
Back in the Scene you can now drag and drop a Goblin token from your dock.
Building an Encounter
To flesh out this encounter we can give our token a label.
Select the goblin we just added by clicking it then click the Edit Text button.
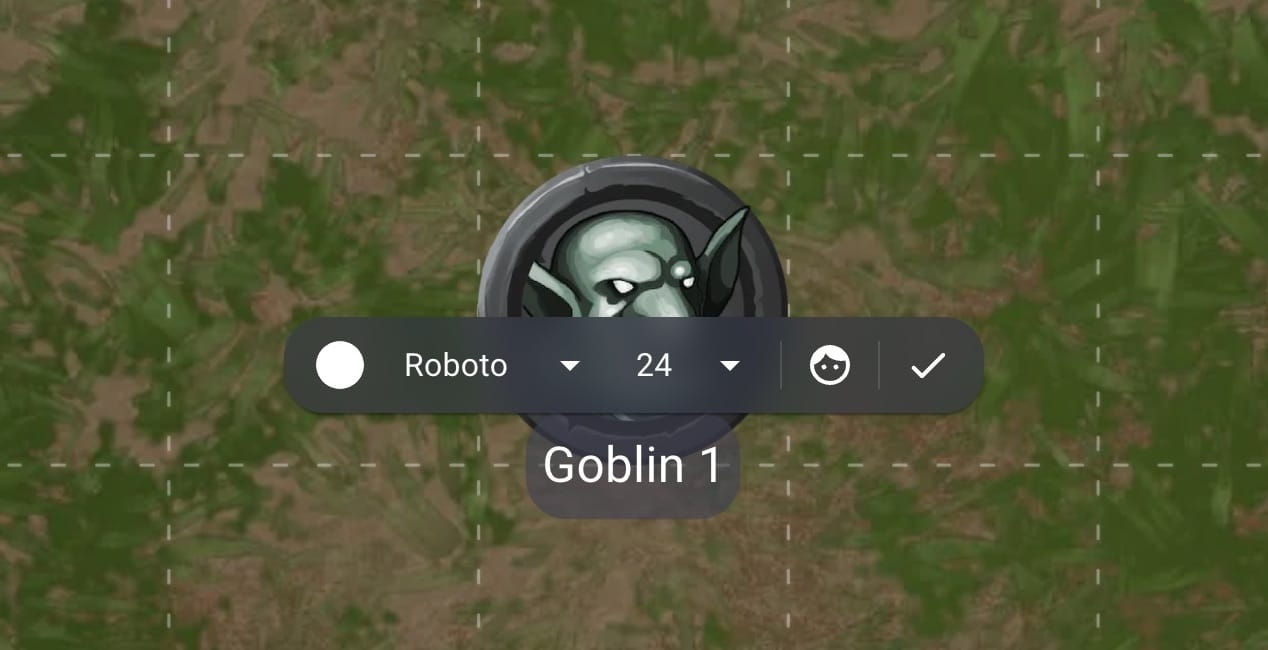
Enter the text "Goblin 1" then click the done button.
To make this encounter more lively you can click the Duplicate button a few times.
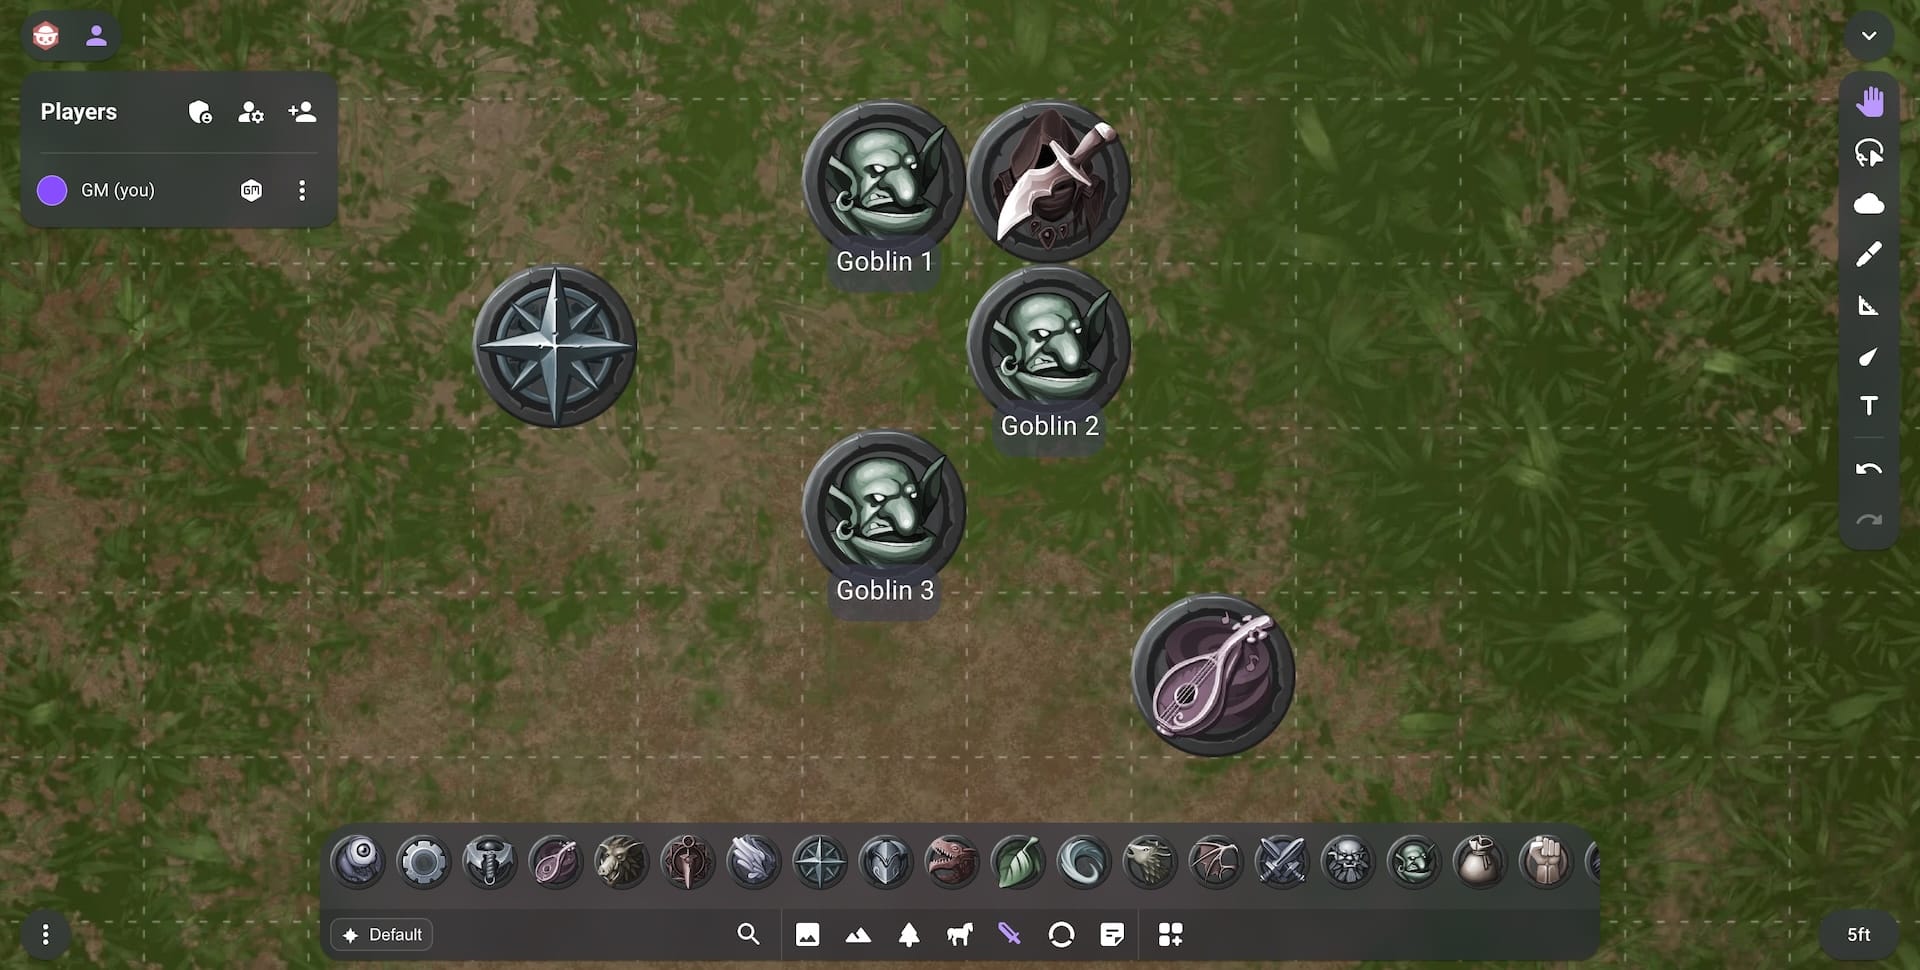
This will create some new Goblin tokens and will also automatically increment the number for you to speed things up.
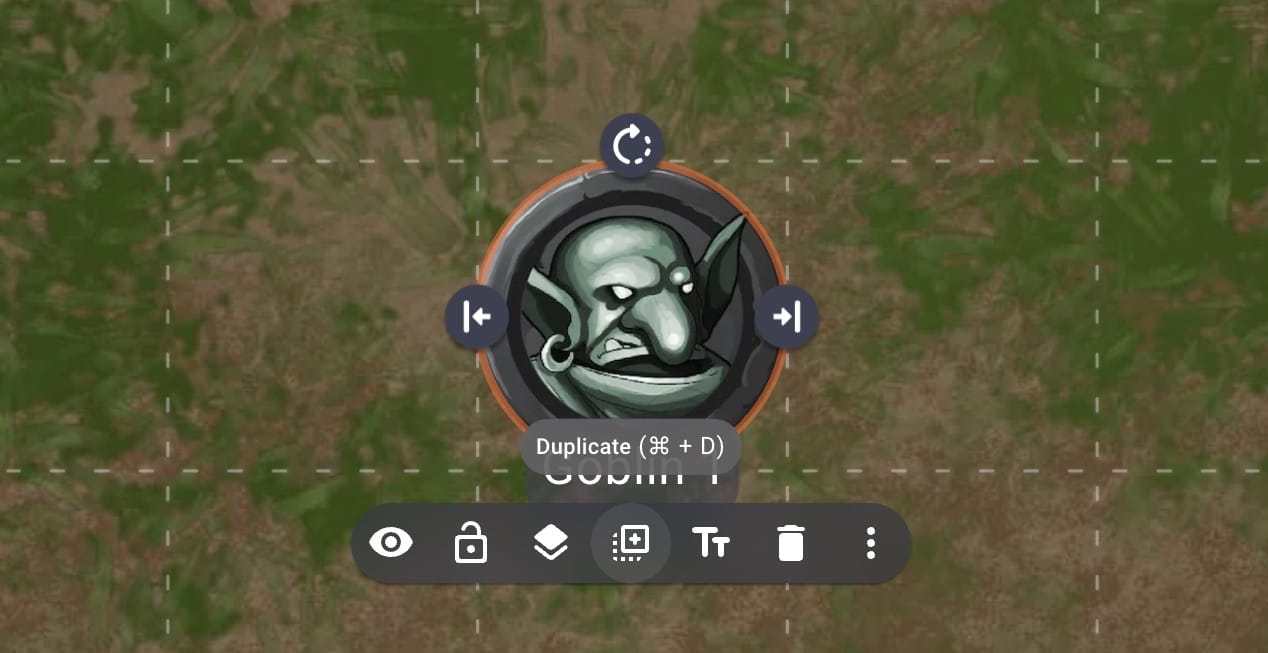
You can now move the goblins to where you want them by dragging and dropping them. You can also add your player tokens by dropping them from the dock into the scene.
Adding Extensions
Owlbear Rodeo has a vibrant ecosystem of extensions for you to be able to customise your experience.
To add a new extension you can open the Extras menu in the bottom left.
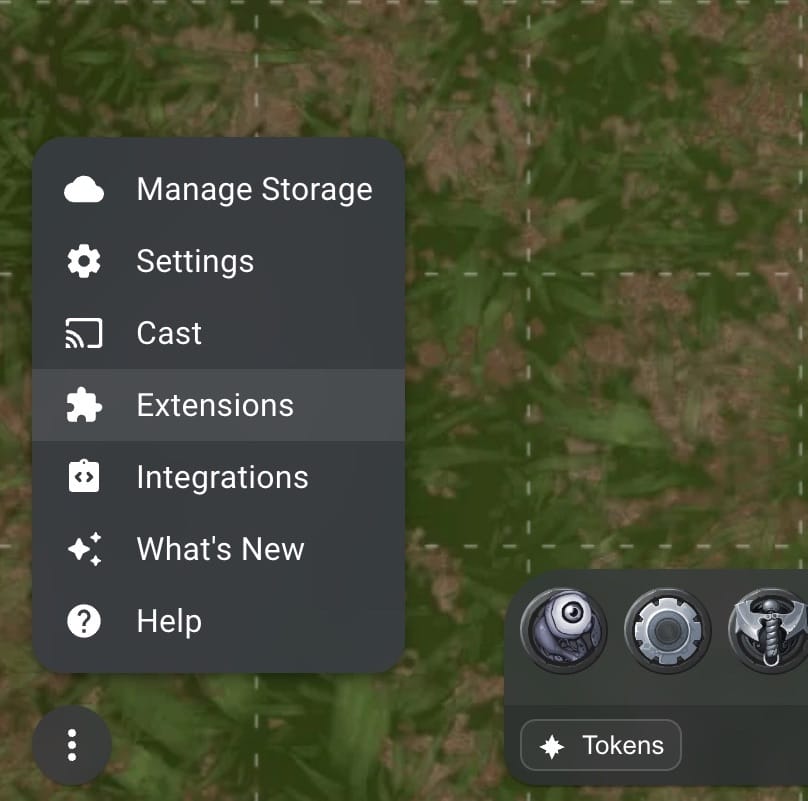
Clicking on the Extensions menu item will open the Extensions Manager.
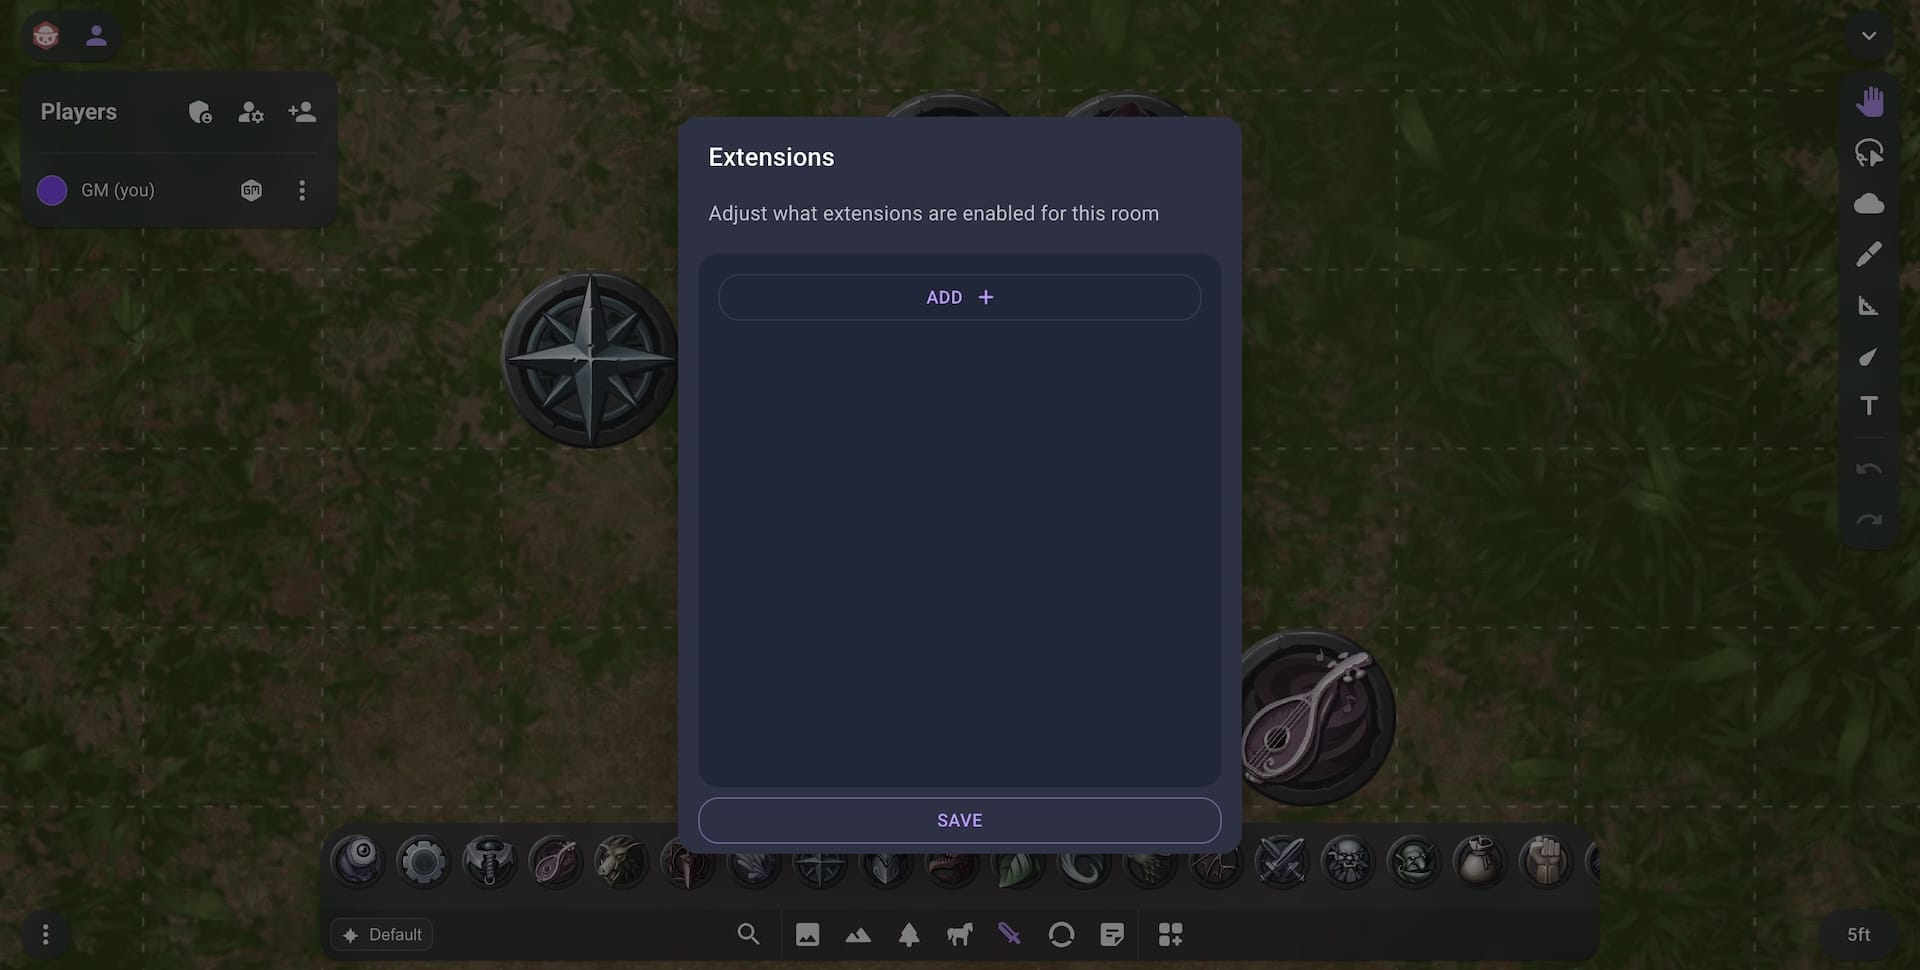
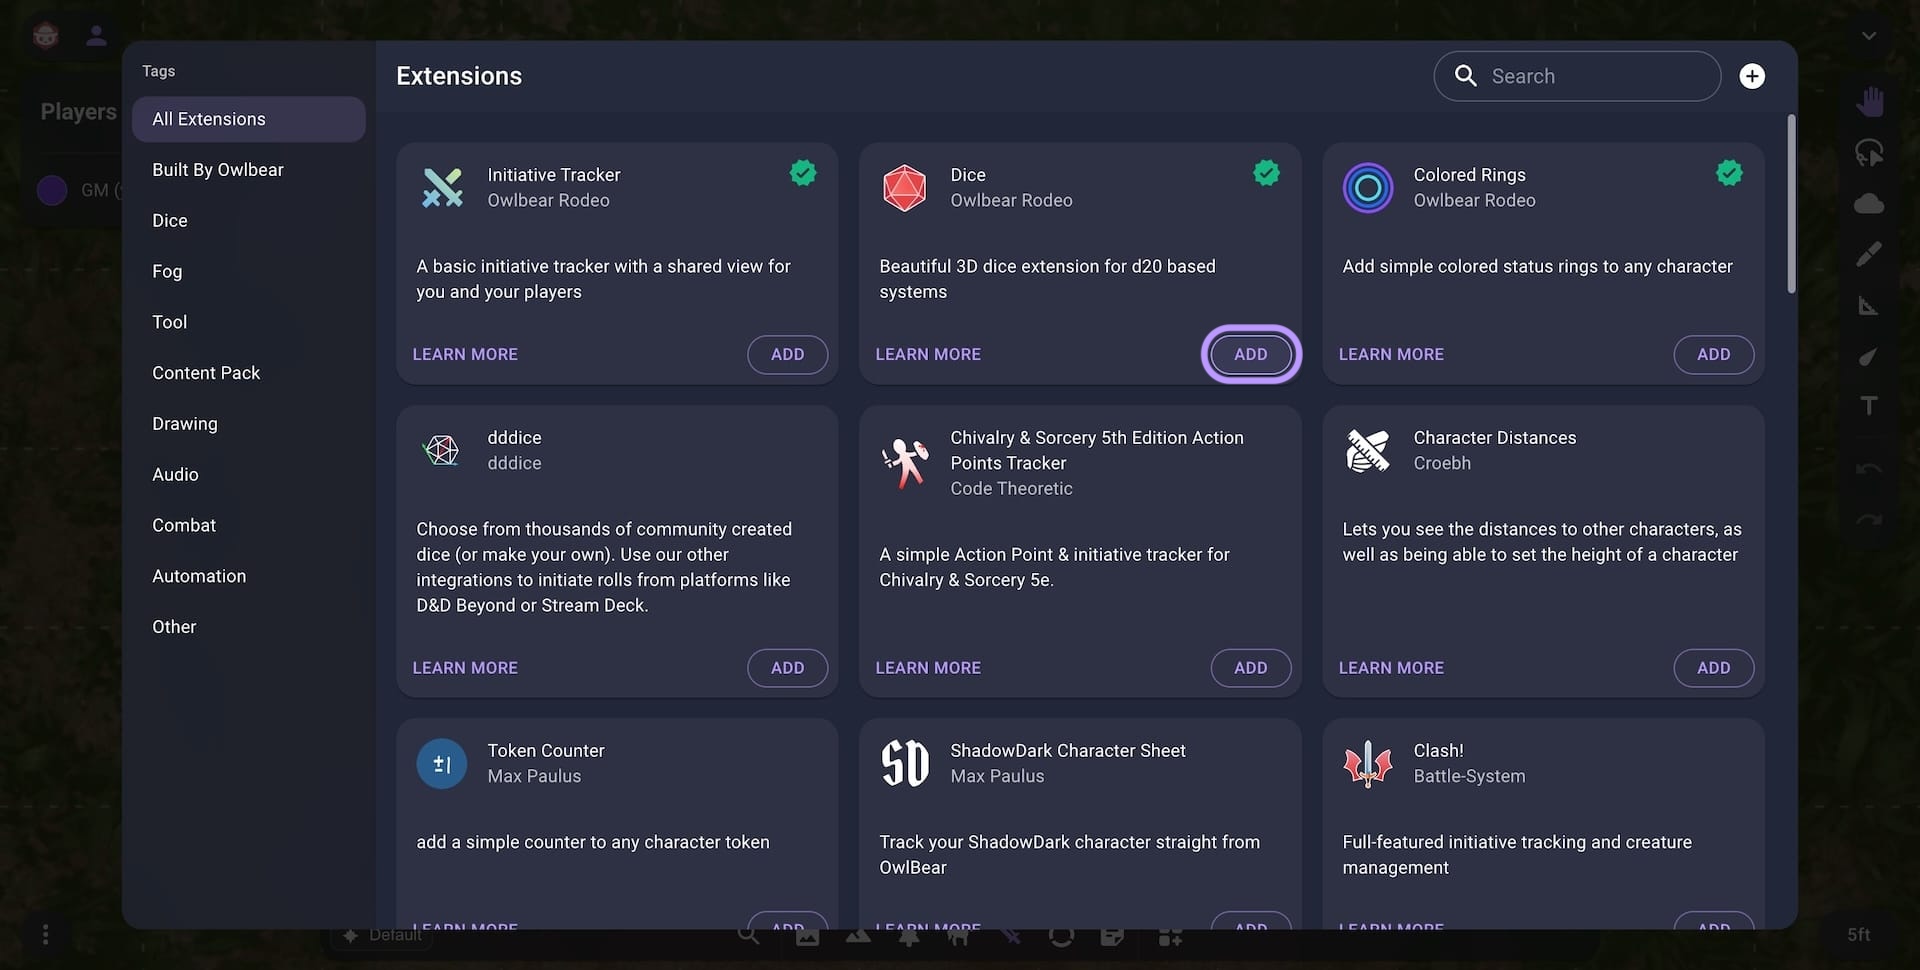
To add a new extension click the Add button.
This will allow you to view the list of published extensions.
To roll some dice add the Dice extension by Owlbear Rodeo.
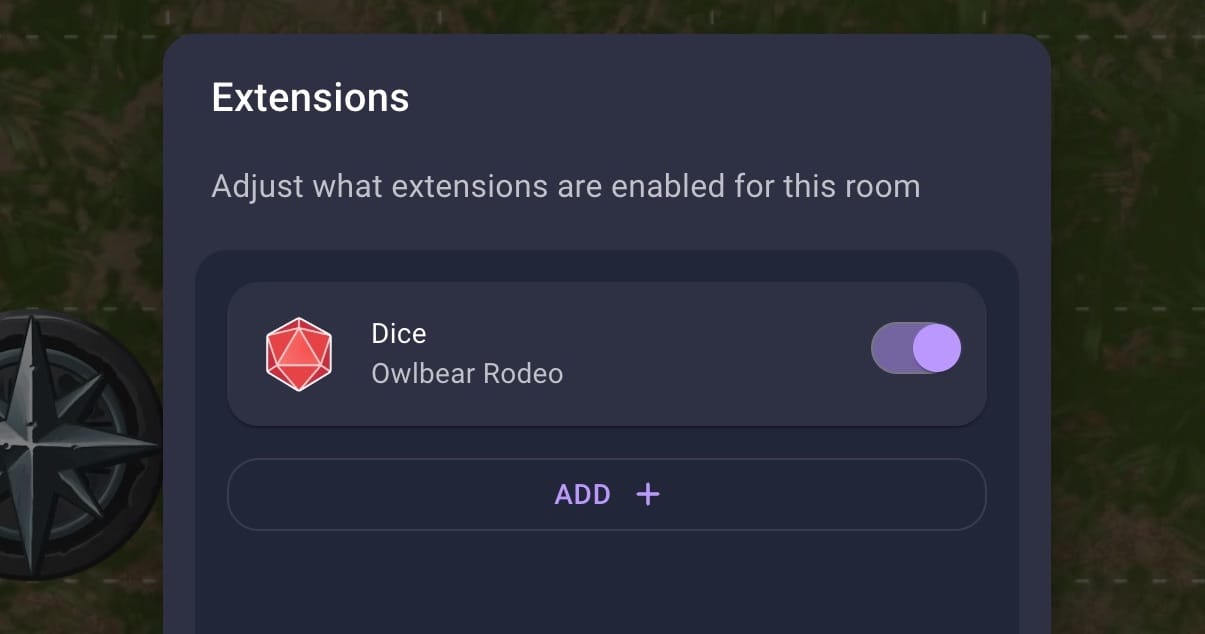
You can then enable that extension in your room by clicking the switch to the right of the extension.
The Dice extension adds a dice action in the top left that will let you roll dice.
Inviting Players
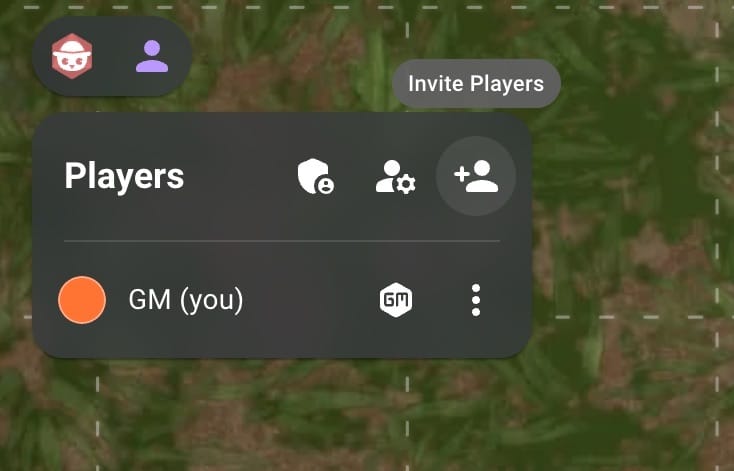
To invite your players to your room send them the link to your room. You can get this link either from your browser’s URL bar or by clicking the Invite Players button.
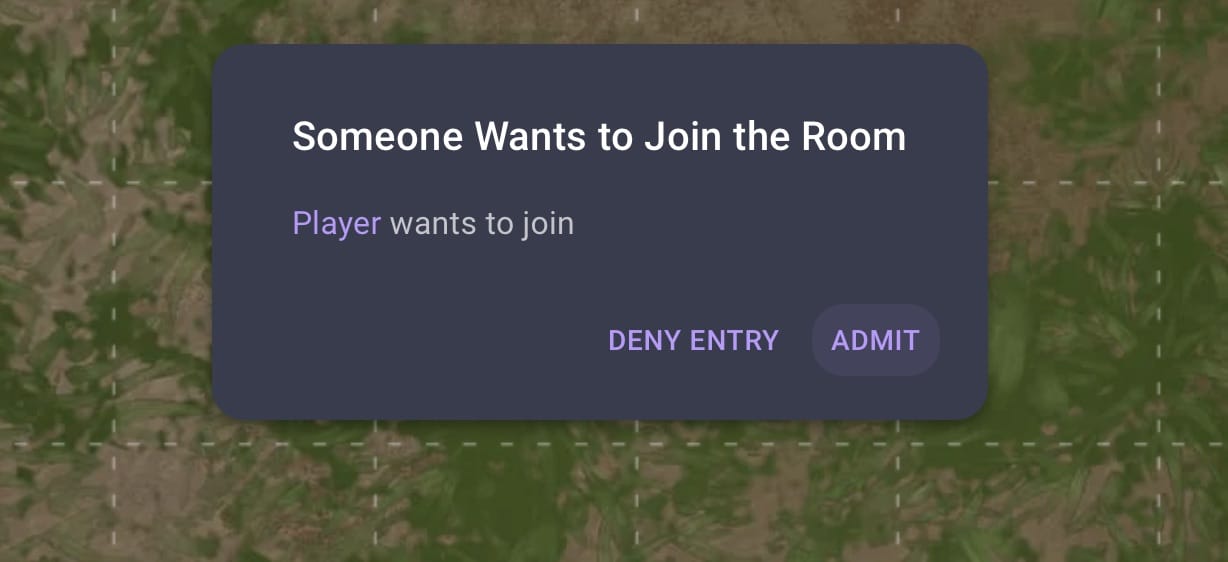
Once the player opens this link they can request to join your room. You can then accept their request.
Now that you and your player are connected you can start adding drawings and more.

And that's it! You should now be ready to start running encounters for your players.
Owlbear Rodeo has a lot more to offer so feel free to continue exploring these guides.