Migrating from Owlbear Rodeo 1.0 to 2.0
Owlbear Rodeo 2.0 is a complete rethink of how Owlbear Rodeo should work. 2.0 shares the same DNA as 1.0 but everything has been rewritten, rethought and rebuilt from the ground up. This guide is designed to help you transfer your knowledge of 1.0 to 2.0. If you’d like to transfer the data you have in 1.0 check out this 1.0 to 2.0 Conversion Guide.
Cloud Storage
In 1.0 all maps and tokens were stored locally in your browser. Unfortunately local browser storage has been very unreliable. For example if you don't visit 1.0 every week when using the Safari browser Apple will delete all of your data. If you run any PC cleaning software your 1.0 data will be erased. And there are many more examples where you can unexpectedly lose all your work in 1.0.
With 1.0 data loss remains one of our most common support issues and it breaks our heart every time we have to tell a user they won't be able to get their data back.
To solve this in 2.0 we've moved to cloud storage. This also has some other benefits like being able to access your Owlbear Rodeo data on any device you own. To support cloud storage we now offer three subscription plans. We have a free tier with 200MB of cloud storage and two paid tiers with 5GB and 10GB of storage.
Games to Rooms
In 1.0 the first thing you would do is create a game. This was a unique URL that you could send to your players, give them the password and have them join you.
In 2.0 a game is now called a room but they behave similarly.
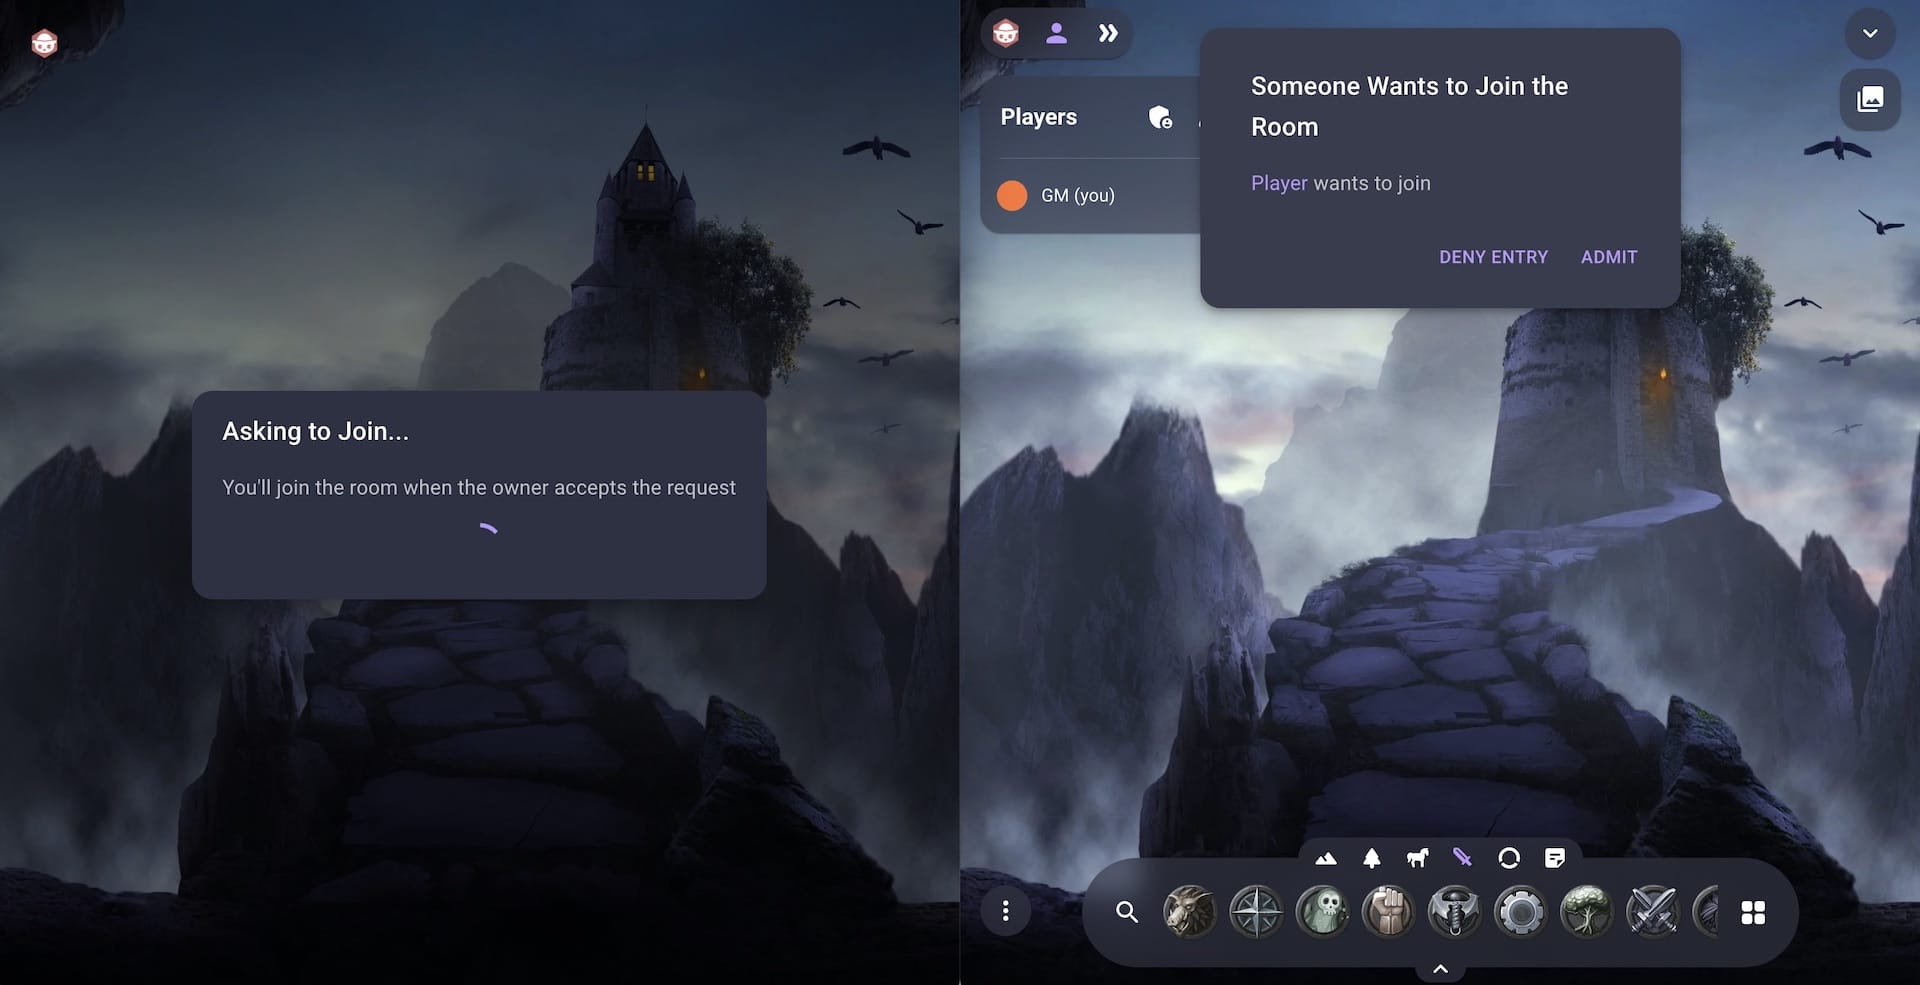
A room is still a unique URL that you can send your players but instead of setting a password we have a request to join system. With this your player can ask to join your room and you will receive a popup to let them in.
In 1.0 a game was only temporary. After 24 hours of inactivity all the state of your game would be cleared. Thanks to the cloud storage of 2.0 all rooms are permanent so no matter if you come back in a day or week everything will be where you left it. This is perfect for play-by-post games.
Maps to Scenes
In 1.0 everything you would see on the canvas was tied to a map.
You could import and share your maps. Then you could place images, drawings, fog and more. But the first step was always uploading a map.
In 2.0 we’ve removed this restriction by introducing scenes.
A scene is an infinite canvas for you to place images, drawings, fog and more.
But unlike 1.0 a scene could have no maps or multiple maps or just a single map.
This means Owlbear Rodeo is now great to use if you just want to draw your encounters as you go. Allowing you to place multiple maps down also means that it is now easier to run an encounter with multiple floors.
This conceptual shift does make the site more complicated but we have some features to help mitigate this complexity.
Firstly we know that the single map per encounter is the most common use case. To optimise this when you create a scene you are met with three options:
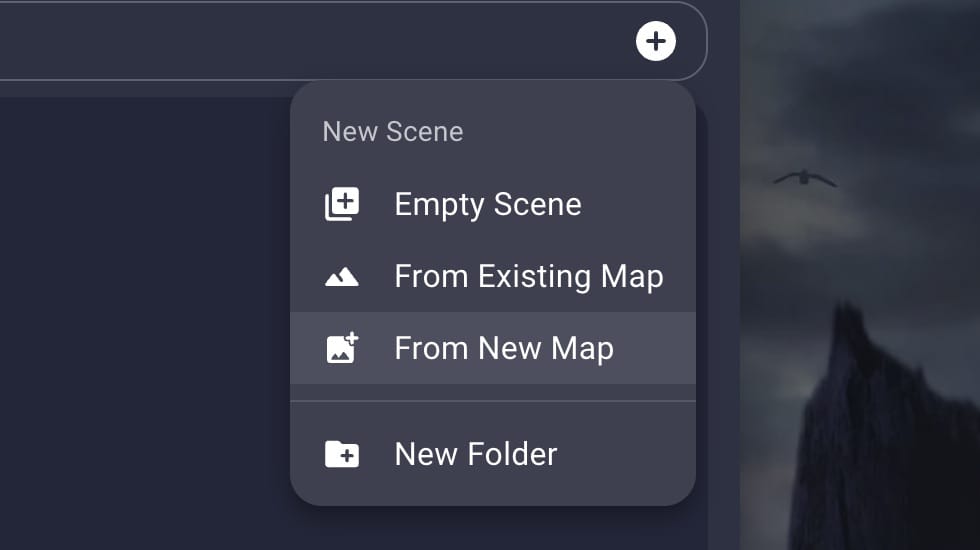
Selecting the Create from New Map option allows you to create a new scene and import a new map at the same time. When you do this the new workflow will mimic the one map per scene workflow of 1.0.
In 2.0 we also have some great new grid alignment tools which means the import flow is faster than ever.
The scene importer will also remember all your settings between each use so if you only ever play with a grid size of 1.5m instead of 5ft then you’ll only need to set it once.
Image Types
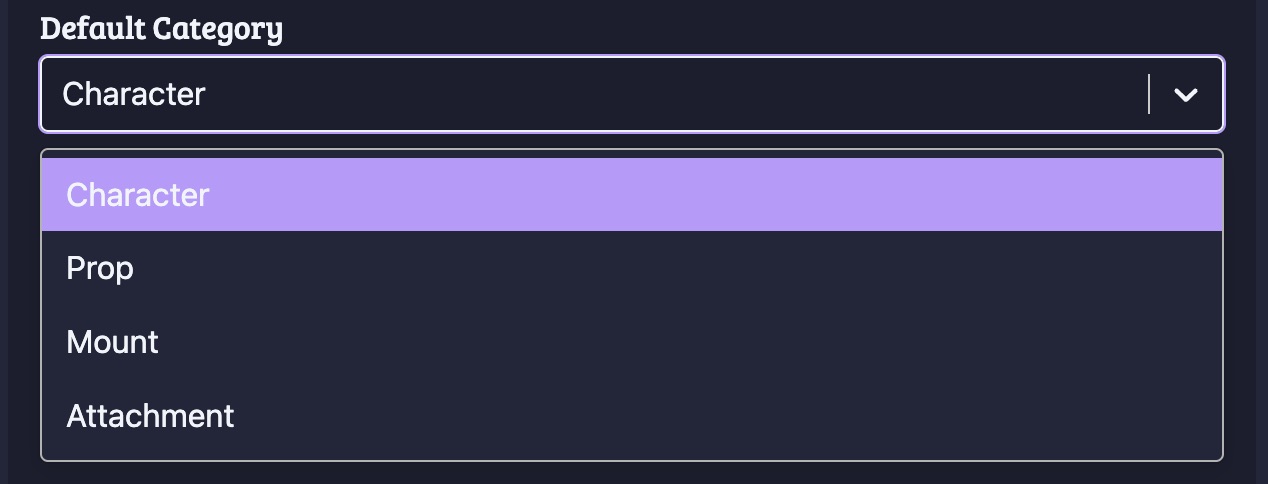
In 1.0 each token had a category.
These categories were Character, Prop, Mount and Attachment.
When we added these categories it was a lightbulb moment for us. We could use these categories as a default layering system which would take most of the busy work out of managing a 2D canvas. It would also allow us to give some categories special behaviours (like automatically attaching to things when a token is marked as an attachment).
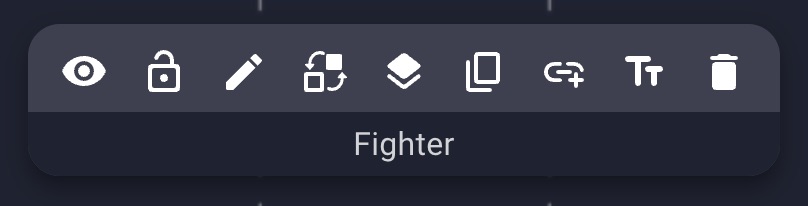
In 2.0 we took the idea of token categories and ran with it. Now called image types, instead of being hidden in the settings page of a token, each image type now gets a prominent place in the UI.
The first place you’ll see these image types is in the image dock. The image dock replaces the token sidebar and adds great features like search. The dock is split into six tabs, one for each image type which you can see below.

In 2.0 these are the image types: Map, Prop, Mount, Character, Attachment and Note.
Most of these are shared with the categories of 1.0 but we’ve added two new types for maps and notes. The map type holds all your maps. We’ve added this because now we have a concept of a scene so we needed a place for your maps to go.
The notes type gives you a rich text editor that sits on top of an image. The most common use case for this is to replace the sticky notes feature from 1.0.
Splitting the image types into tabs means that they can act as a base level of organisation for all your images. While you can still create and manage folders within those tabs we think adding a base level of organisation really helps.
Image types aren’t just used for organisation and layer management though.
Each image type also gets its own permission. So if you’re the GM you can mix and match exactly what types of images your players can interact with. This fine grained control of what your players can do can really help if you’re running a game for people who are new to tabletop RPGs.
Some image types also have special interactions. Mainly the mount and attachment types which will automatically set up attachments when being dragged from the dock.
Attachments
In 1.0 the attachment system was only limited to tokens in the attachment category. In 2.0 the attachment system works with every item. No matter if it’s an image, drawing, fog, text or ruler.
In order to support this wide range of use cases the new attachment system can be used from the context menu that appears when selecting an item.
To create and attachment all you need to do is click the attach button then click on the item you want to create a connection to.
Due to this new workflow a few things are different compared to attachments in 1.0.
In 1.0 you couldn’t select an attachment image by clicking on it. Instead a little grey handle would appear at the bottom of the image. In 2.0 attachment images can be selected like any other image.
In 1.0 when you moved an attachment image on top of a character it would automatically set up the connection between the two images. Although we found this very neat it limited what you could do with attachments. For example you could never place an attachment away from the base image because it required an overlap between the two images. In 2.0 attachments no longer automatically attach/detach when dragging them around. We found that this has lead to a lot of really creative use cases for attachments. To still keep some of the simplicity of the 1.0 system, when you drag an attachment from the dock it will automatically attach to any character it is dropped on.
Fog
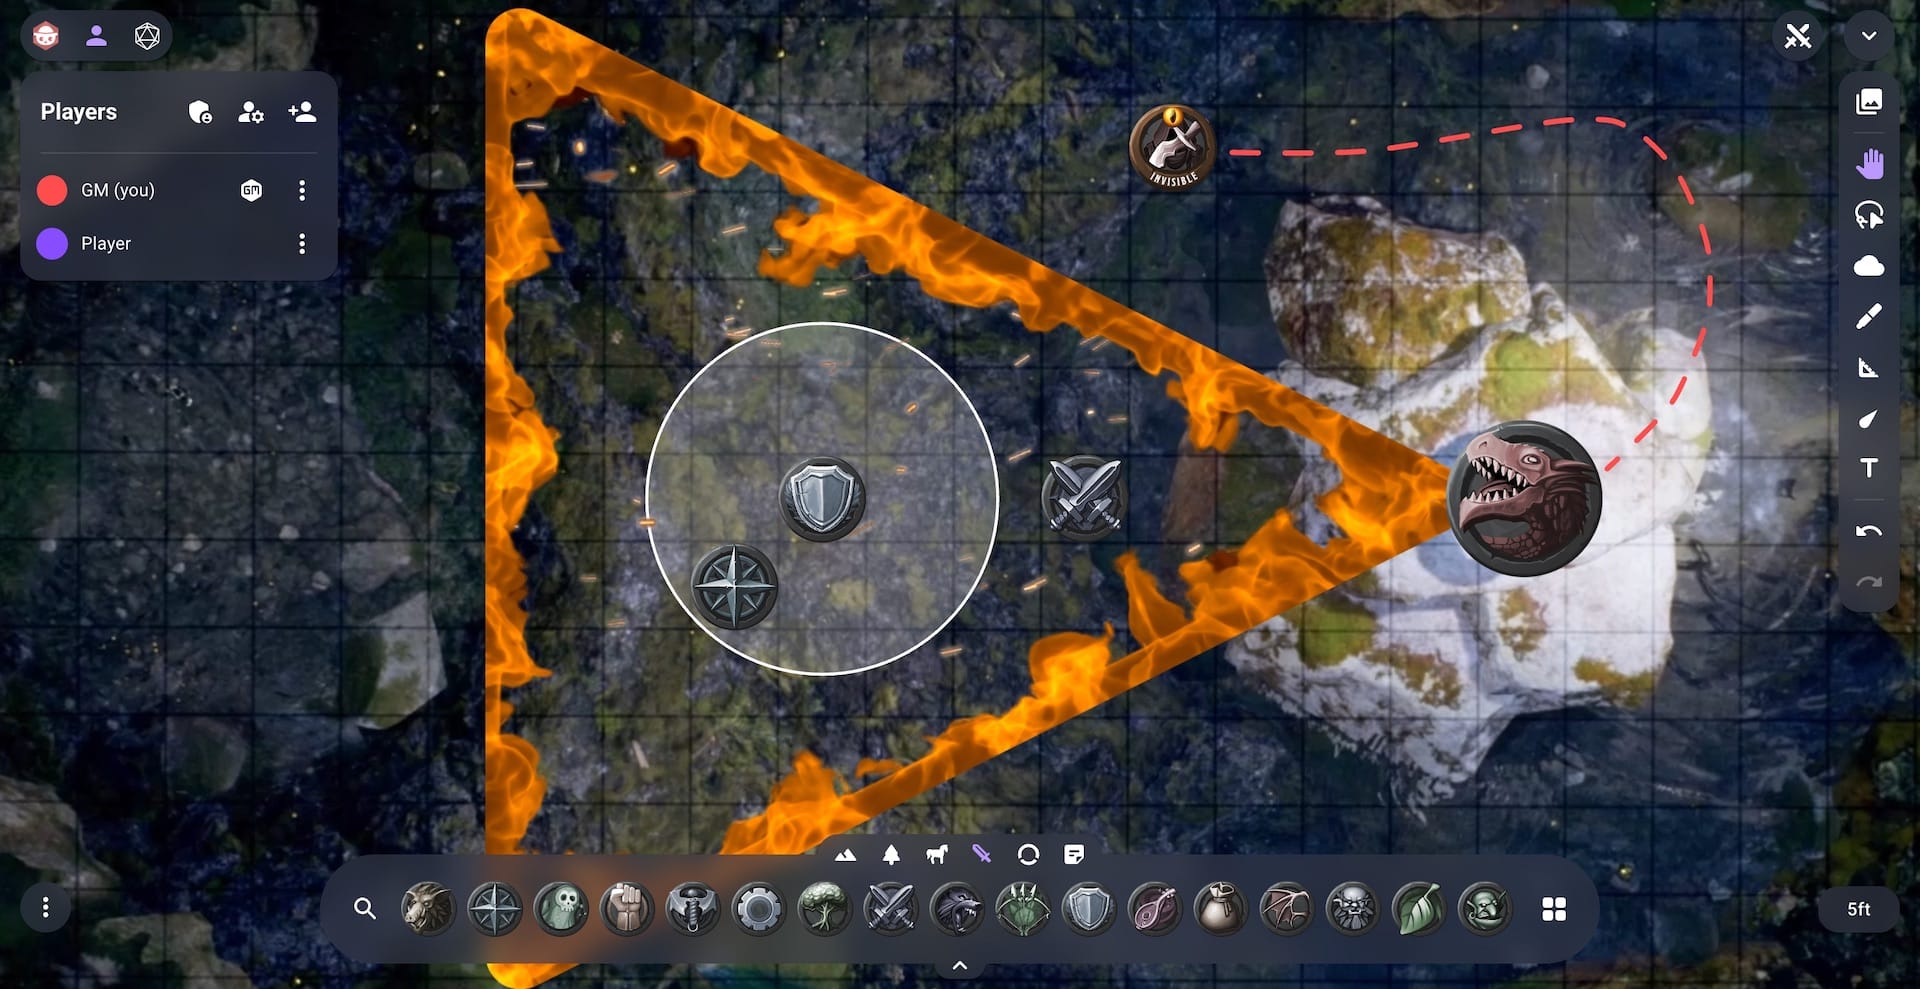
The fog tool in 2.0 is familiar to 1.0 but it has been improved in quite a few ways.
In 1.0 the most common method for creating fog was drawing a large rectangle that covered your whole map then using the Fog Cutting mode to cut out each room.
In 2.0 you no longer need to add a large rectangle around your map. Instead just draw a fog shape around each of your rooms then use the Fill Fog button to create an infinite sheet of fog that hides the rest of your map from your players.
In 1.0 you would use the Toggle Fog tool to turn fog shapes on and off. In 2.0 every drawing can be moved, selected and edited once it has been created. This includes shapes made with the fog tool. So to reveal an area to your players you can select a fog shape by clicking it and using the Cut/Uncut options.
The new fog tool has so many new features and workflow improvements so make sure you check out the fog documentation or watch our 2.0 fog tutorial video.
Drawing
In 2.0 we really wanted to set the drawing tool free. We’ve added both a polygon and hex drawing mode alongside the existing brush, line, rectangle, triangle and circle options.
You can now control the fill color separate from the line color. We’ve added a custom color picker with opacity and dashed line support.
Once you’ve created a shape you now have full freedom of moving, scaling and rotating it. We’ve also created advanced edit modes that give you full control over every point in a polygon.
If you want even more control we’ve also added support for boolean operations like join and split.
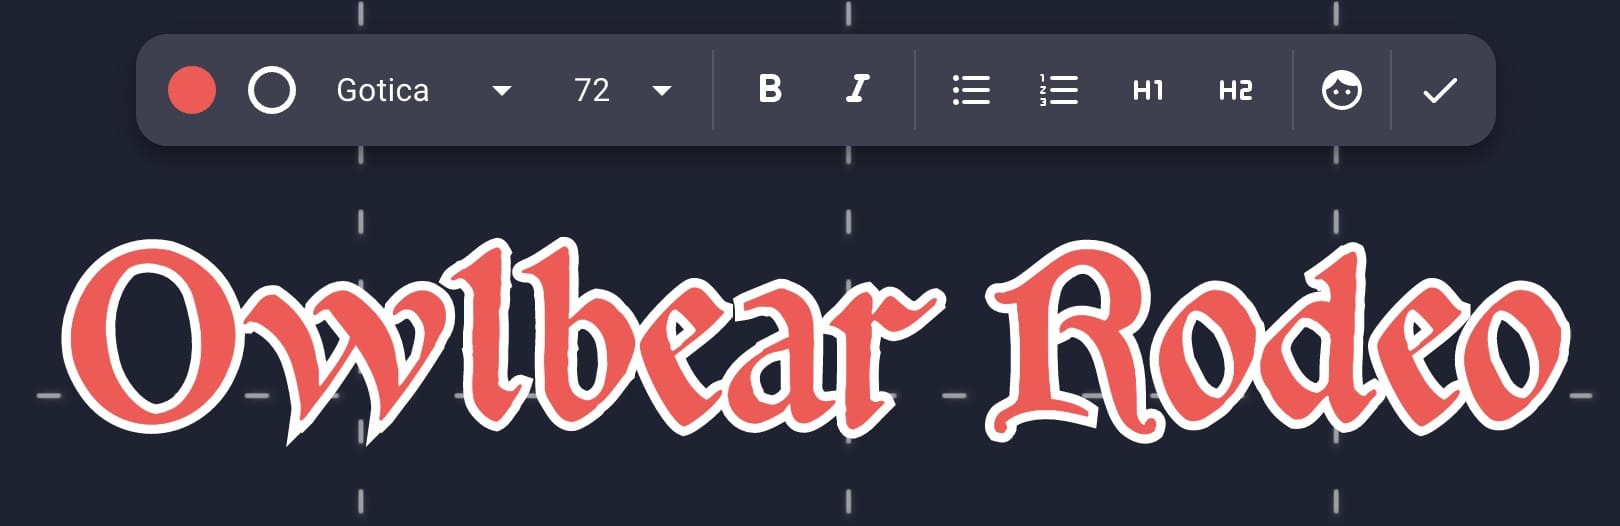
Text
In 1.0 we had the notes tool that could create sticky notes as well as blank text. In 2.0 sticky notes can be created with the notes image type. If you just want to place text into your scene you can use the new text tool.
It allows you to click anywhere in a scene and create headings, lists and more.
Ruler
In 1.0 the ruler tool allowed you to measure between two points on a grid. In 2.0 the ruler tool has two different modes: ruler and movement. In ruler mode measurements can be made like 1.0 but because of our new realtime system your measurements will be shown to all other players. In movement mode you can move a character at the same time that you take a measurement.
Extensions
We’re going to look at dice next but before we get to that we’ll need to talk about extensions.
From the very first design of 2.0 we knew we wanted extensions to be a big part of the site. After building 1.0 it became apparent to us that the world of tabletop RPGs is just too big to fit in a single site. To accommodate this 2.0 needed to be able to grow and shrink depending on what you wanted to do with it.
With this in mind we decide that 2.0 would need to have a lean but extremely flexible base layer. Then on top of this base layer each user could add whatever extension they needed to run their current game.
You can install extensions from your profile or view available extensions in our extension store.
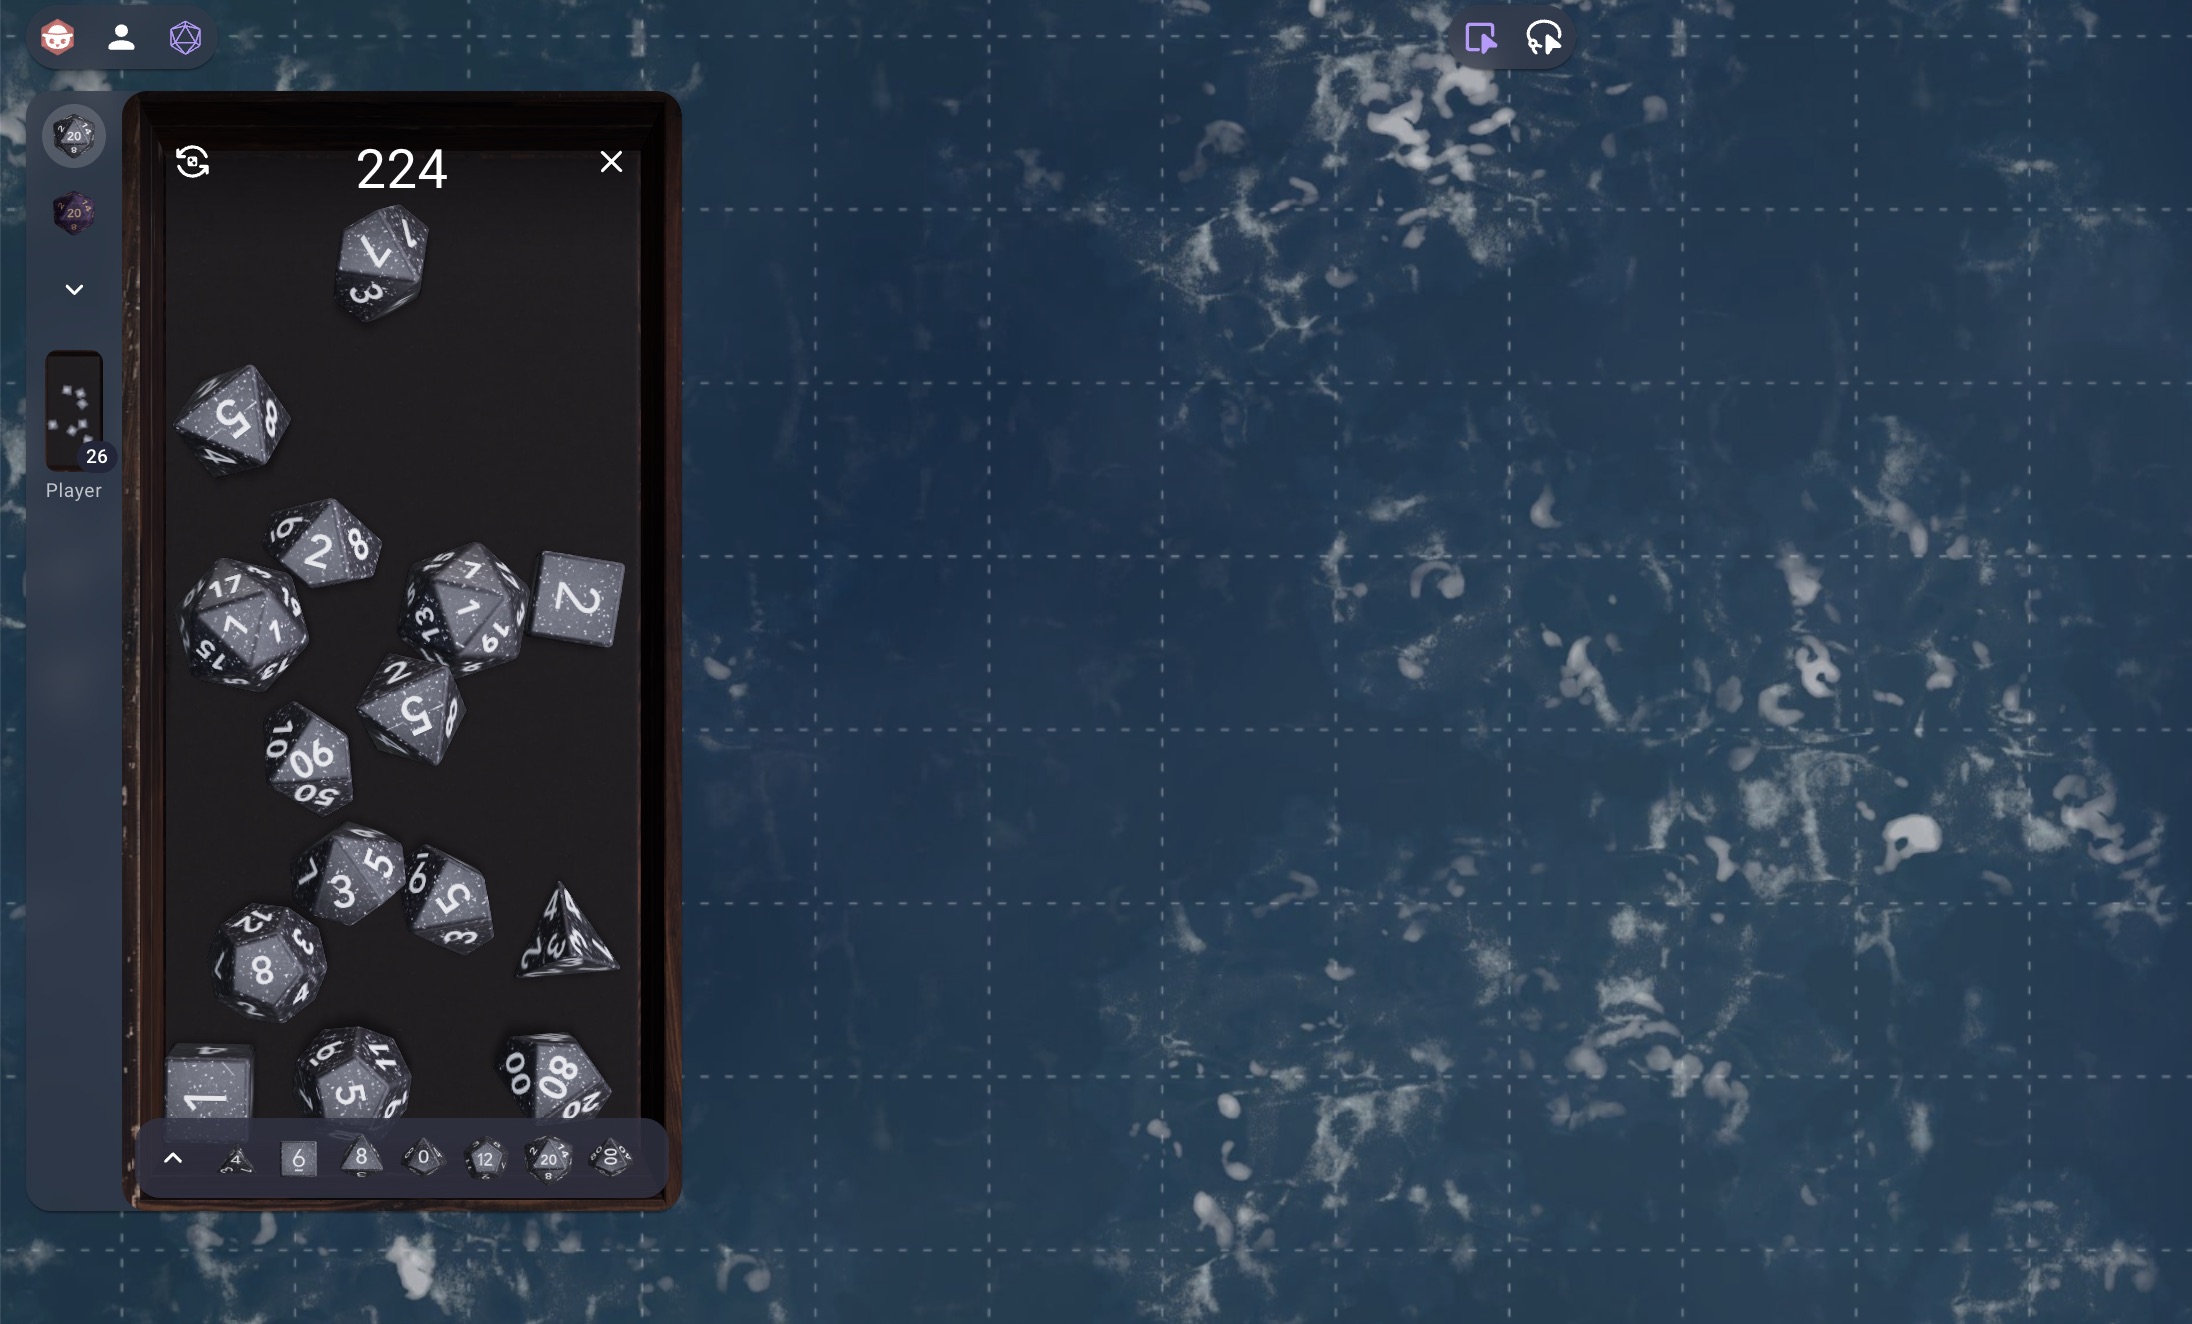
Dice
In 2.0 we provide a dice system that is similar to 1.0 but improved in a lot of ways.
The Owlbear Rodeo dice have always been opinionated and we know they’re definitely not for everyone. To accommodate this we provide our dice system in 2.0 as an extension. This means that if you need dice that aren’t the traditional d20 system or if you just don’t like 3D dice. Then you can completely replace the dice system with one that perfectly suits your needs.
If you like our dice system then you’ll be happy to hear that the new dice is very similar but provides some great benefits like fully networked dice rolls so you can see all your players rolls in real-time.
You can install our new dice either from your profile page or in our extensions store.
Audio Sharing
In 1.0 we had an audio sharing system that only worked on Google Chrome. It worked by opening a screen sharing dialog where you could click another tab in chrome and broadcast its audio to other players.
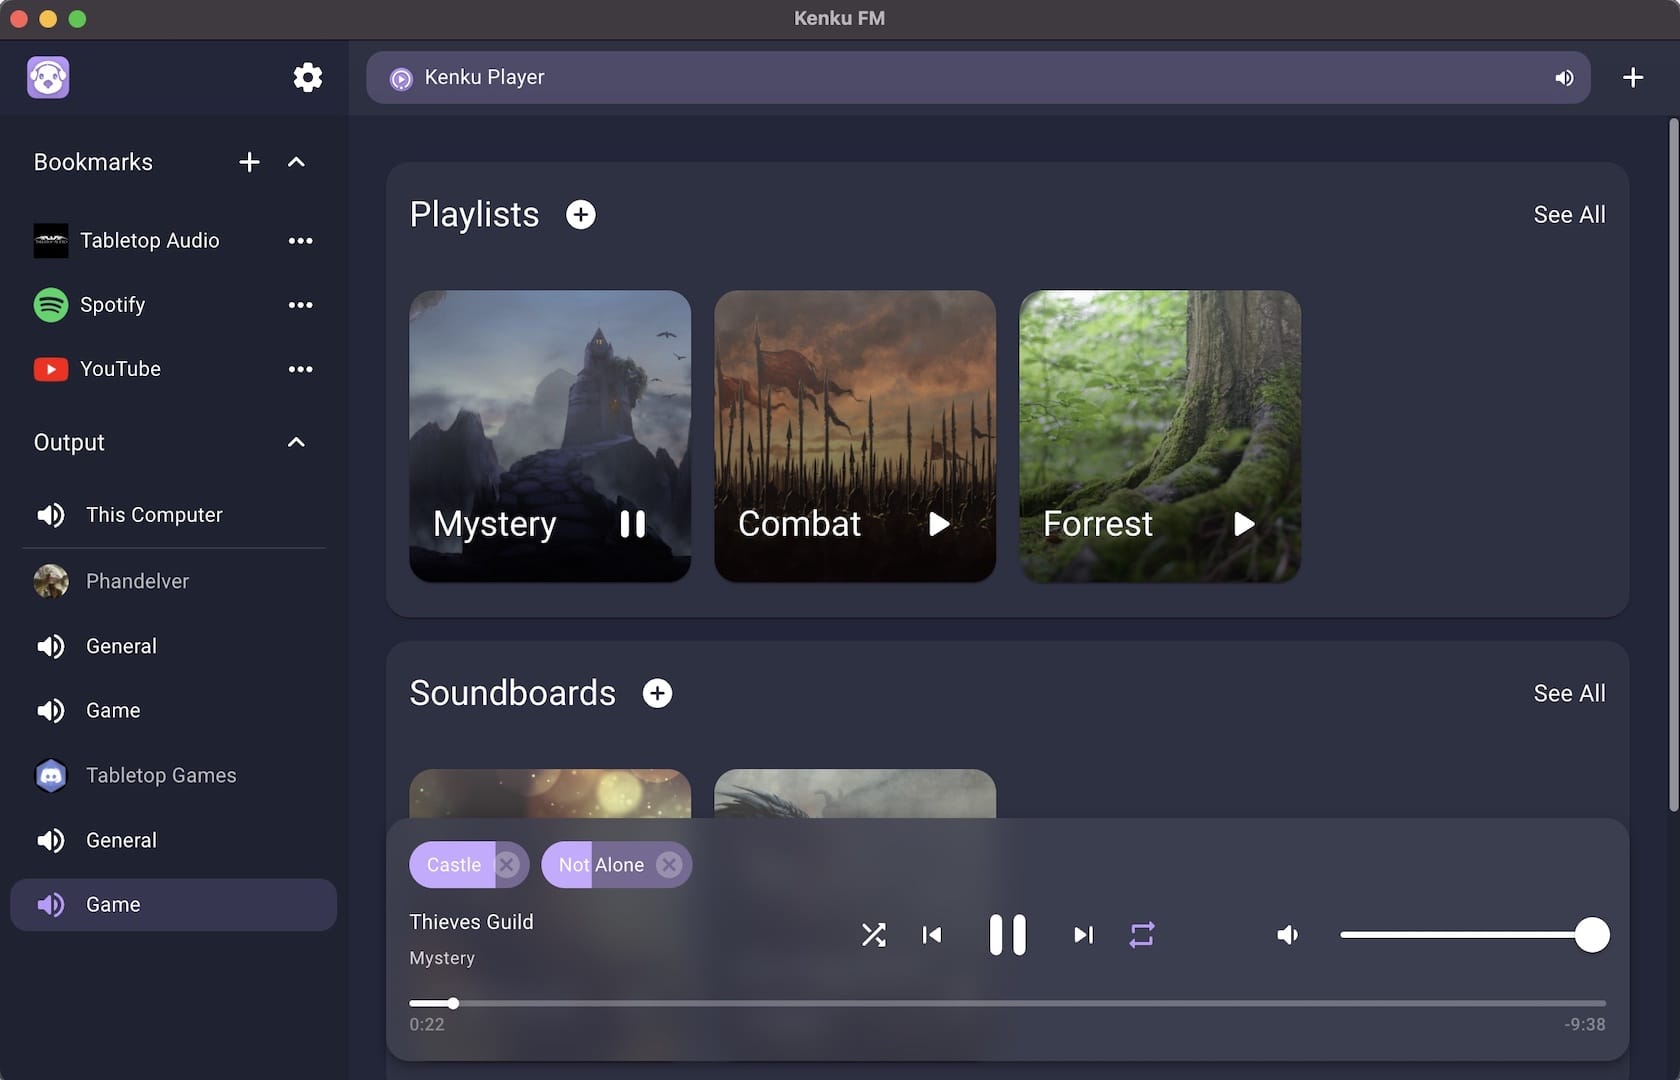
After building this feature we built an app called Kenku FM. We took the same idea of broadcasting your favorite sites to your players but wrapped it in a desktop app.
We also added a built in music player that would make it easy to play your local tracks.
At the moment Kenku FM works with Discord but we would love to expand this to more services soon.
Kenku FM is an open source project and is available as a pay-what-you-want download here.
Countdown Timer
We’ve removed the countdown timer as a base feature in 2.0. This is similar to dice where we think a timer would be best suited as an extension so you have the choice of whatever timer you need.
At the moment we haven’t built this extension but we have plans to offer one before full launch.
More
Owlbear Rodeo 2.0 also has many new features such as Chromecast support, real-time networking, viewport syncing and more.
If you need any support with your 1.0 to 2.0 migration don't hesitate to reach out to [email protected].