Create a Context Menu Item
To add a character to the initiative tracker we're going to create a custom context menu item. We can do this using the Context Menu API but first let's add the icons we want to use to the public folder of our project.
Create a new add.svg file in the public folder of your project:
<svg xmlns="http://www.w3.org/2000/svg" height="24" width="24">
  <path d="M11 19v-6H5v-2h6V5h2v6h6v2h-6v6Z" />
</svg>
Create a new remove.svg file in the public folder of your project:
<svg xmlns="http://www.w3.org/2000/svg" height="24" width="24">
  <path d="M5 13v-2h14v2Z" />
</svg>
Using the Context Menu API
We want to create a button in the context menu that when clicked will add the selected character to our initiative tracker.
Create a new contextMenu.js file in the base folder of your project.
import OBR from "@owlbear-rodeo/sdk";

const ID = "com.tutorial.initiative-tracker";

export function setupContextMenu() {
  OBR.contextMenu.create({
    id: `${ID}/context-menu`,
    icons: [
      {
        icon: "/add.svg",
        label: "Add to Initiative",
        filter: {
          every: [{ key: "layer", value: "CHARACTER" }],
        },
      },
    ],
    onClick() {},
  });
}
First we create an ID com.tutorial.initiative-tracker to uniquely identify our extension. The convention used here is called reverse domain name notation. This helps us prevent namespace collisions with other extensions. When making your own extension you should change this ID to match the domain name of your site. To learn more see here.
Next we export a function that will setup our context menu item. The context menu item here will show our add.svg icon with label of Add to Initiative. We also make use of a filter so that our menu item will only show when a character is selected.
To learn more about how filters work in Owlbear Rodeo see our reference here.
Show the Context Menu Item
In order to use our setupContextMenu function we can head back to the main.js file and import it.
import "./style.css";
import OBR from "@owlbear-rodeo/sdk";
import { setupContextMenu } from "./contextMenu";

document.querySelector("#app").innerHTML = `
  <div>
    <h1>Initiative Tracker</h1>
  </div>
`;

OBR.onReady(() => {
  setupContextMenu();
});
Note that before we use our setupContextMenu function we make sure that the Owlbear Rodeo SDK is ready by using OBR.onReady.
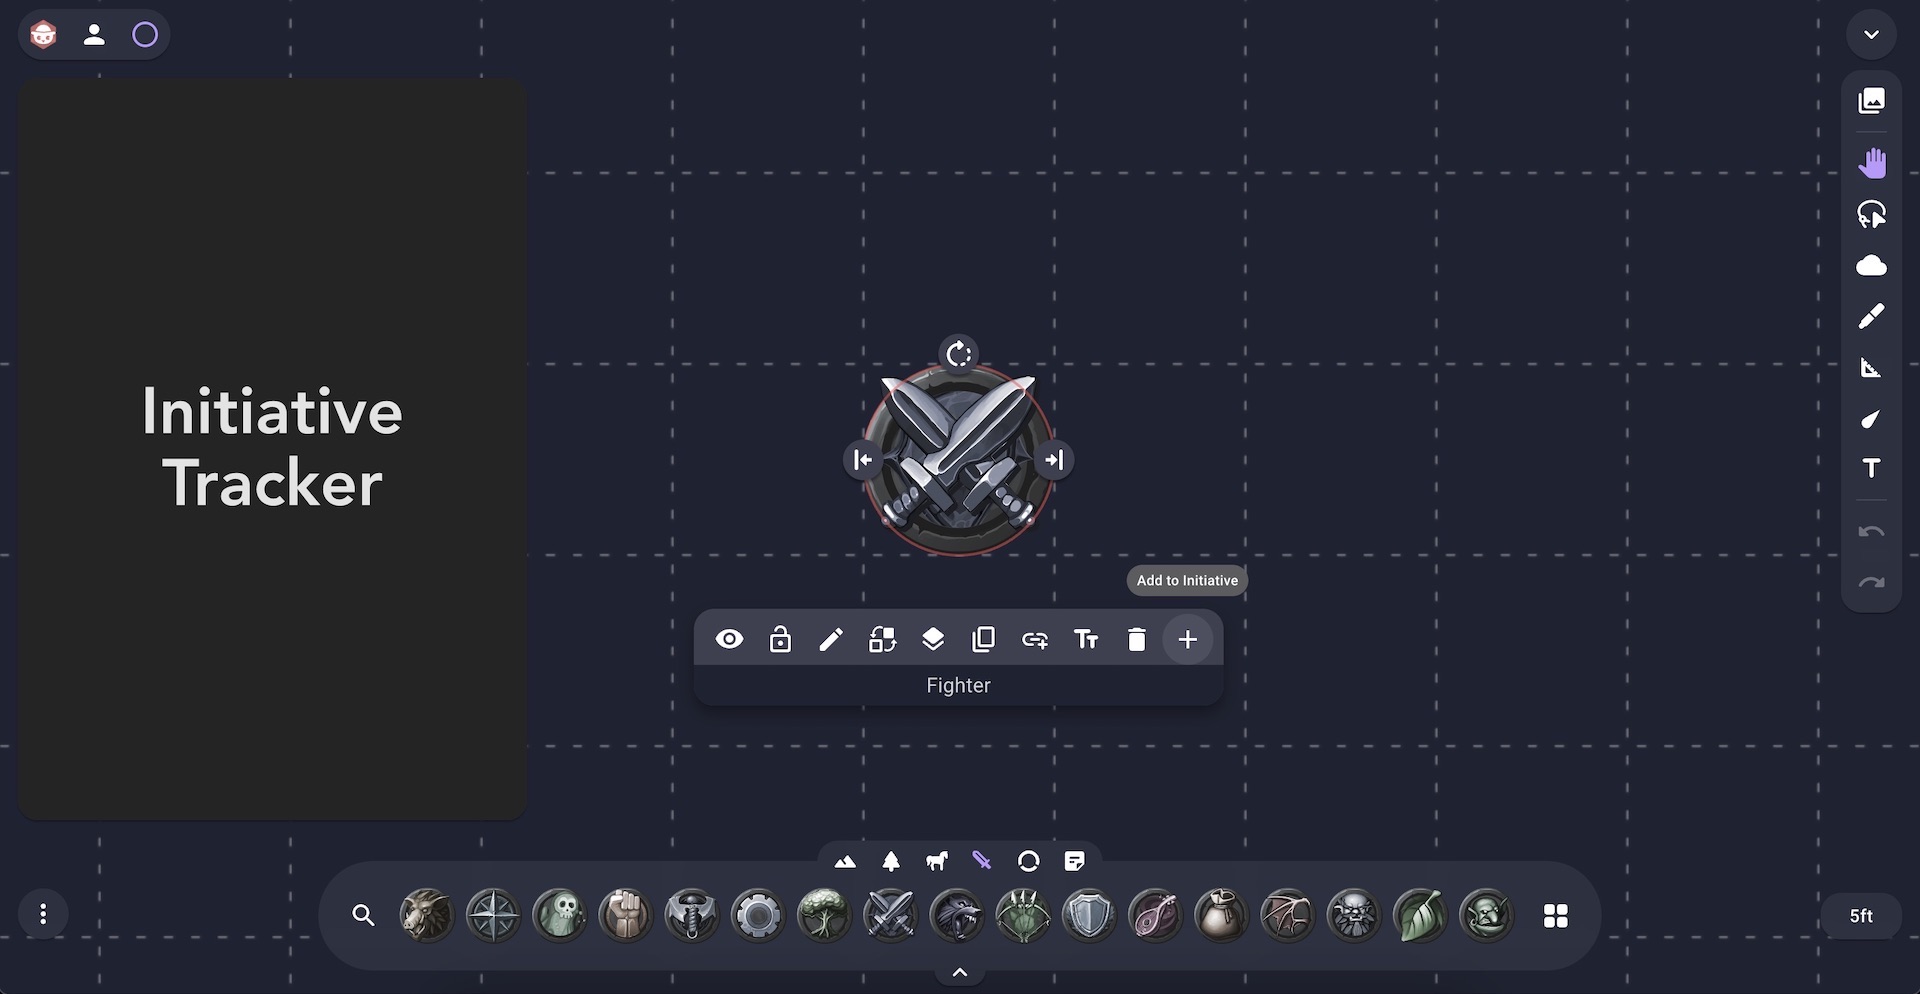
In the Owlbear Rodeo interface you can now click on a character and see your new context menu item.